
The Best White Chocolate Peppermint Pie Recipe for Festive Treats
Decadent desserts have a magical way of bringing joy to any gathering, and this white chocolate peppermint pie recipe delivers pure winter bliss.
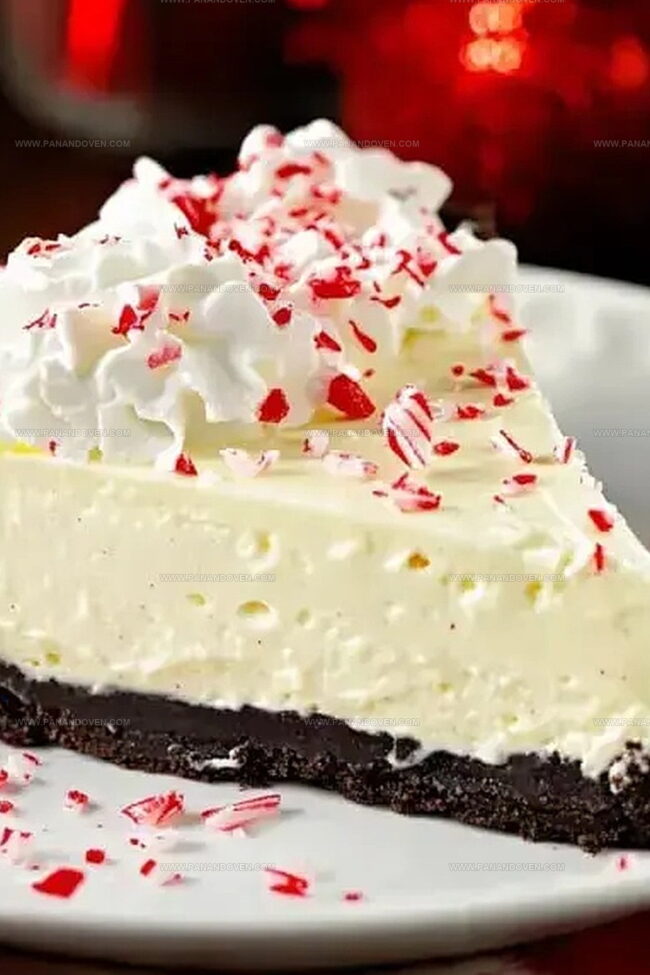
Cool peppermint notes dance perfectly with rich white chocolate in every creamy bite.
The silky smooth filling nestles into a crisp graham cracker crust that crackles with each forkful.
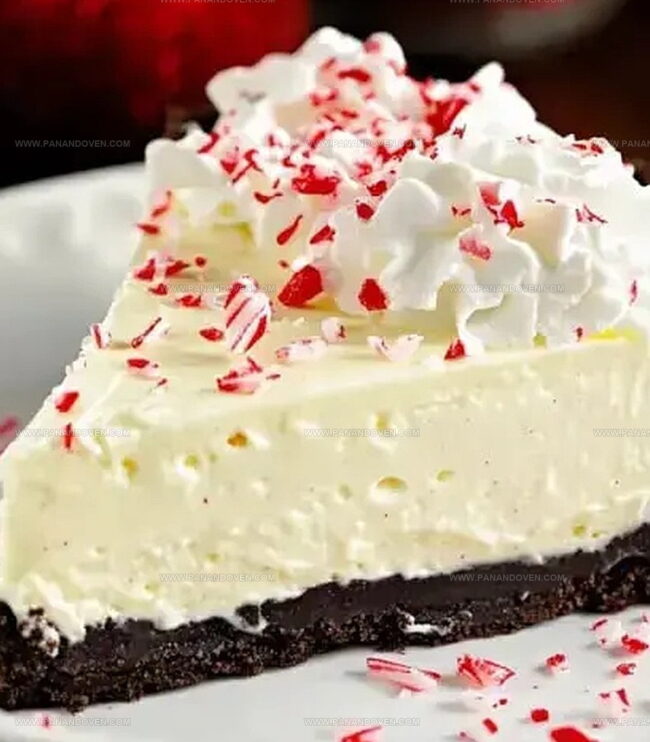
Festive swirls of whipped cream and candy cane pieces crown this elegant dessert.
peppermint lovers will swoon over the delicate balance of flavors and luxurious texture.
Each slice promises a delightful journey through sweet, cool sensations.
Whip up this showstopping pie and watch smiles spread across every face at your holiday table.
White Chocolate Peppermint Pie—Why Everyone Loves It
What Goes Into White Chocolate Peppermint Pie
Crust Ingredients:Filling Ingredients:Topping and Garnish Ingredients:Must-Have Tools for Peppermint Pie
Making White Chocolate Peppermint Pie
Step 1: Crush Oreo Cookies
Pulse Oreo cookies in a food processor until they transform into fine crumbs.
Drizzle melted butter over the crumbs and mix thoroughly until the mixture resembles wet sand.
Press the crumb mixture firmly into a pie plate, creating an even layer across the bottom and sides.
Bake the crust in a preheated oven at 350°F for 8-10 minutes until it sets.
Remove and let cool completely.
Step 2: Create Silky Filling
In a large mixing bowl, beat cream cheese until it becomes smooth and creamy.
Gently fold in melted white chocolate and peppermint extract, ensuring a uniform mixture.
Carefully incorporate whipped topping, folding gently to maintain the light, airy texture.
Mix until all ingredients are well combined and no streaks remain.
Step 3: Build the Pie
Pour the luxurious white chocolate peppermint filling into the cooled Oreo crust.
Use a spatula to spread the filling evenly, smoothing the top.
Place the pie in the refrigerator and allow it to set for 2 hours, giving the filling time to firm up and develop rich flavors.
Step 4: Prepare Whipped Cream Topping
In a chilled mixing bowl, whip heavy cream with powdered sugar and peppermint extract.
Beat until the cream forms stiff, billowy peaks that hold their shape when the whisk is lifted.
Step 5: Decorate and Serve
Spread or pipe the whipped cream over the chilled pie, creating decorative swirls or peaks.
Sprinkle crushed peppermint candies and delicate white chocolate shavings across the top for a festive and elegant finish.
Refrigerate until ready to serve.
Tips for a Perfect Peppermint Pie
Fun Spins on Peppermint Pie
Serving White Chocolate Peppermint Pie
Keeping Peppermint Pie Fresh
FAQs
Yes, graham crackers or chocolate wafers work great as alternatives to Oreos for the pie crust.
The pie can be stored in the refrigerator for up to 4-5 days when covered properly with plastic wrap or in an airtight container.
Absolutely! You can prepare the entire pie up to 2 days in advance, keeping it refrigerated until ready to serve.
Yes, you can freeze the pie for up to 2 weeks. Wrap it tightly in plastic wrap and aluminum foil before freezing to maintain its texture and flavor.
Print
White Chocolate Peppermint Pie Recipe
- Total Time: 40 minutes
- Yield: 8 1x
Description
Indulgent white chocolate peppermint pie promises a festive dessert experience with rich, creamy layers. Holiday bakers will love this elegant North American classic that combines cool mint and smooth white chocolate in a delightful graham cracker crust.
Ingredients
Main Ingredients:
- 25 chocolate cream-filled cookies (Oreos)
- 8 ounces (226 grams) block cream cheese, softened
- 1 1/2 cups (255 grams) white chocolate chips, melted
- 8 ounces (226 grams) container frozen whipped topping, thawed
- 1 cup (240 milliliters) heavy whipping cream
Binding and Flavor Ingredients:
- 4 tablespoons (60 grams) unsalted butter, melted
- 1 teaspoon peppermint extract
- 1/4 cup (30 grams) powdered sugar
- 1/4 teaspoon peppermint extract (or vanilla extract)
Garnish Ingredients:
- 1/4 cup (30 grams) crushed peppermint candies
- White chocolate shavings (optional)
Instructions
- Transform Oreo cookies into fine crumbs using a food processor, then blend thoroughly with melted butter to create a cohesive crust mixture.
- Press the cookie mixture firmly and evenly into a pie plate, creating a compact base with smooth edges.
- Bake the crust at 350°F for 8-10 minutes until lightly set, then remove and allow to cool completely.
- Using an electric mixer, whip cream cheese until silky and uniform in texture.
- Gently incorporate melted white chocolate and peppermint extract into the cream cheese, mixing until fully integrated.
- Carefully fold whipped topping into the cream cheese mixture, maintaining a light and airy consistency.
- Transfer the prepared filling into the cooled crust, spreading evenly with a spatula to ensure smooth coverage.
- Refrigerate the pie for 2 hours to allow filling to set and flavors to meld.
- Whip heavy cream with powdered sugar and peppermint extract until stiff, stable peaks form.
- Once chilled, top the pie with whipped cream using either a spatula or piping bag for decorative presentation.
- Garnish with crushed peppermint candies and delicate white chocolate shavings for a festive finish.
Notes
- Crush Oreos finely for a smoother, more compact crust that holds together perfectly when slicing the pie.
- Ensure white chocolate is completely melted and cooled before mixing with cream cheese to prevent lumpy texture.
- Use peppermint extract sparingly; start with less and taste, as it can quickly become overpowering.
- Make this pie gluten-free by substituting Oreo crumbs with gluten-free chocolate cookie crumbs or ground almond cookies.
- Prep Time: 30 minutes
- Cook Time: 10 minutes
- Category: Desserts
- Method: Baking
- Cuisine: American
Nutrition
- Serving Size: 8
- Calories: 450
- Sugar: 28 g
- Sodium: 220 mg
- Fat: 30 g
- Saturated Fat: 18 g
- Unsaturated Fat: 10 g
- Trans Fat: 0 g
- Carbohydrates: 39 g
- Fiber: 1 g
- Protein: 5 g
- Cholesterol: 60 mg
Clara Thompson
Recipe Developer & Food Educator
Expertise
Plant-based and vegetarian recipe development, Nutritional analysis and meal planning, Culinary education and workshop facilitation, Content writing with a focus on healthy living
Education
Diploma in Culinary Arts, Mt. San Jacinto College, CA
Focus: Comprehensive culinary training with an emphasis on sustainable cooking practices.
Certificate in Nutrition and Healthy Living, Cornell University (Online Program)
Focus: Understanding the principles of nutrition to create balanced and health-conscious recipes.
Clara lives where fresh ideas and fresh ingredients meet. She pairs her culinary know-how with her passion for healthy, planet-friendly cooking.
For Clara, good food should taste great, nourish your body, and feel easy to make. Her recipes highlight whole foods, colorful produce, and a deep respect for seasonal eating.