The Secret to Wendy’s Chili Copycat Recipe: Cozy Comfort in a Bowl
Comfort meets convenience in this mouthwatering Wendy’s chili copycat recipe that captures the essence of a beloved fast-food classic.
Hearty beans, tender ground beef, and rich spices come together in a symphony of flavor.
Home cooks can now recreate this iconic dish with simple ingredients and minimal effort.
The secret lies in layering robust seasonings and allowing the chili to simmer slowly, developing deep, complex notes.
Each spoonful promises warmth and satisfaction that rivals the original restaurant version.
Perfectly balanced and incredibly satisfying, this recipe transforms an everyday meal into a comforting culinary experience.
Grab a bowl and get ready to savor every delicious bite of this beloved chili.
Reasons to Savor Wendy’s Style Chili at Home
What Goes Into This Easy Wendy’s Chili
Meat Base:Beans and Tomatoes:Aromatics and Spices:Tools for Crafting Hearty Homemade Chili
How to Make Your Own Wendy’s Chili Experience
Step 1: Brown The Beef
Heat up a large skillet and cook the ground beef until it turns completely brown.
Break the meat into small crumbly pieces while cooking.
Drain off any extra grease to keep the chili from becoming too oily.
Step 2: Prepare Aromatic Base
Toss chopped onions, green peppers, and minced garlic into a heavy-bottomed pot.
Sauté these vegetables until they become soft and release their delicious fragrance.
The veggies will create a rich foundation for your chili.
Step 3: Merge Protein And Vegetables
Transfer the browned beef into the pot with the sautéed vegetables.
Stir everything together to create a harmonious blend of meat and garden-fresh ingredients.
Step 4: Pour In Liquid Components
Add these ingredients to the pot:Mix thoroughly to ensure all components are well distributed.
Step 5: Spice It Up
Sprinkle in these flavor-boosting spices:Stir carefully to spread spices evenly throughout the mixture.
Step 6: Slow Simmer
Bring the chili to a rolling boil, then reduce heat to low.
Cover and let it simmer gently.
Stir occasionally and allow the flavors to dance and mingle for about 2 hours.
Step 7: Final Flavor Check
Taste the chili and adjust seasonings.
Add more spices if needed to match your heat preference.
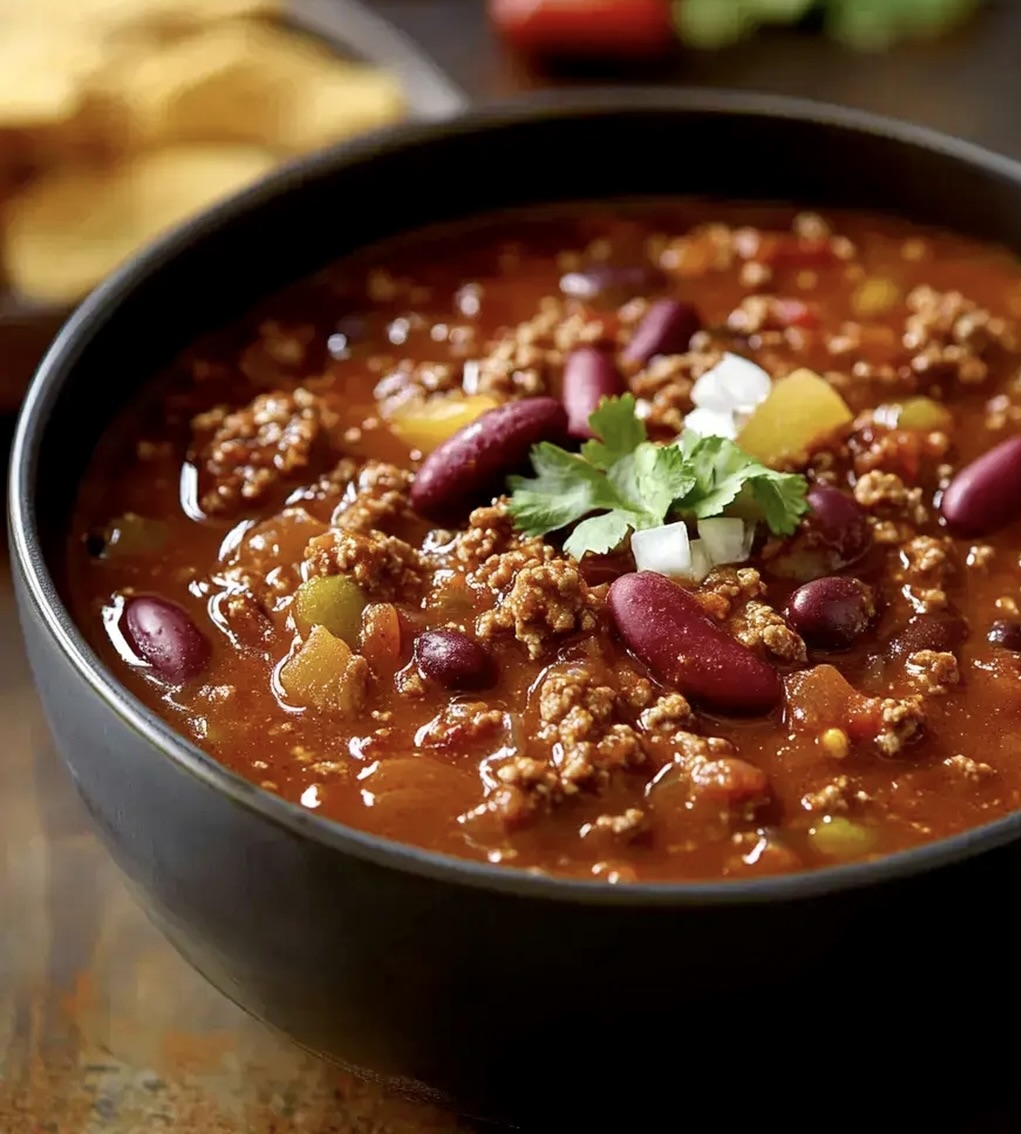
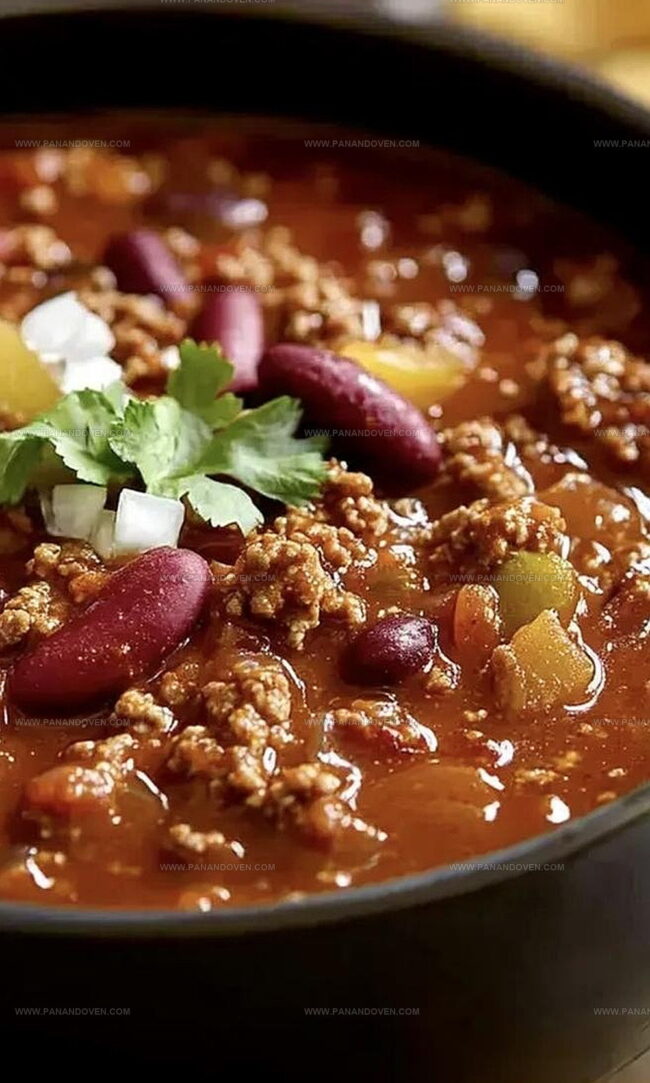
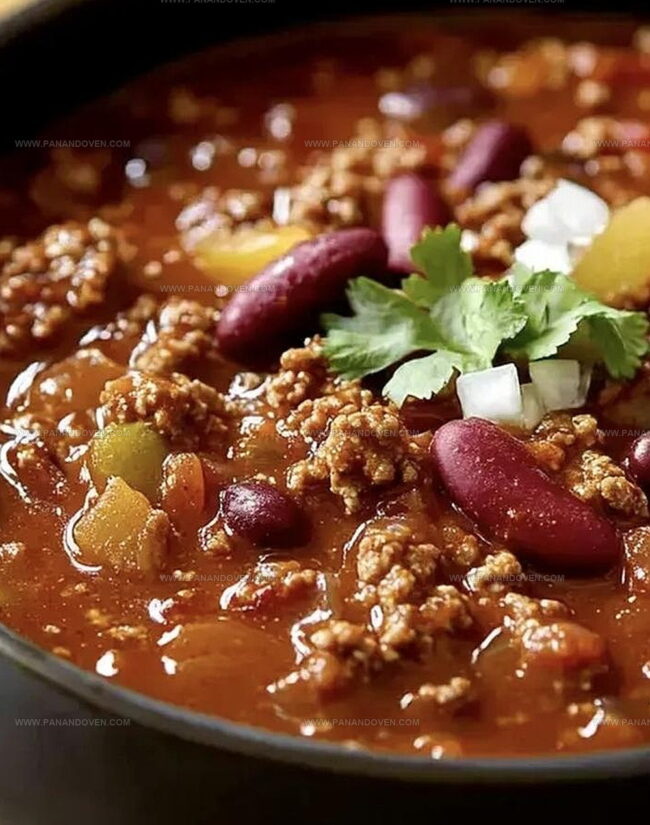
Step 8: Serve And Enjoy
Ladle the steaming chili into bowls.
Top with shredded cheese, chopped onions, or a dollop of sour cream.
Enjoy your homemade Wendy’s-style chili!
Tips for Flavorful Homemade Wendy’s Chili
Chili Variations for Every Taste Preference
Ways to Serve Classic Wendy’s Chili at Home
Storing and Reheating Homemade Wendy’s Chili
FAQs
Yes, ground turkey is a great lean alternative that works perfectly in this chili recipe. Just make sure to cook it thoroughly and drain any excess fat before adding other ingredients.
The recipe uses a small amount of cayenne pepper, which adds a mild heat. You can easily adjust the spiciness by reducing or increasing the cayenne pepper to match your personal heat tolerance.
No, you should add the beans with their liquid. The bean liquid helps enhance the overall flavor and texture of the chili, adding richness to the dish.
Print
Wendy’s Chili Copycat Recipe
- Total Time: 3 hours 20 minutes
- Yield: 8 1x
Description
Wendy’s chili copycat recipe brings hearty comfort to home kitchens with classic southwestern flavors. Meat lovers can easily recreate this nostalgic restaurant favorite that satisfies hungry diners with minimal effort.
Ingredients
Meat:
- 2 pounds (907 grams) ground beef
Vegetables:
- 1 onion, chopped
- 1 green bell pepper, chopped
- 2 cloves garlic, minced
Canned Ingredients and Seasonings:
- 2 cans (14.5 ounces or 411 grams each) diced tomatoes, undrained
- 1 can (16 ounces or 454 grams) kidney beans, undrained
- 1 can (16 ounces or 454 grams) pinto beans, undrained
- 1 can (15 ounces or 425 grams) tomato sauce
- 1 cup (240 milliliters) water
- 1 tablespoon (15 milliliters) chili powder
- 1 teaspoon (5 milliliters) ground cumin
- 1 teaspoon (5 milliliters) paprika
- 1 teaspoon (5 milliliters) salt
- 1/2 teaspoon (2.5 milliliters) black pepper
- 1/2 teaspoon (2.5 milliliters) dried oregano
- 1/2 teaspoon (2.5 milliliters) sugar
- 1/2 teaspoon (2.5 milliliters) cayenne pepper (adjust to taste)
Instructions
- Brown the ground beef in a large skillet over medium-high heat until completely cooked, ensuring no pink remains. Thoroughly drain excess grease to prevent oily texture.
- Transfer beef to a substantial pot and incorporate diced onions, chopped green peppers, and minced garlic. Sauté the vegetables until they soften and become translucent, approximately 4-5 minutes.
- Pour in diced tomatoes with their natural juices, kidney beans, pinto beans, tomato sauce, and water. Gently mix ingredients to create a uniform base for the chili.
- Introduce a robust spice blend including chili powder, ground cumin, paprika, salt, black pepper, dried oregano, sugar, and a hint of cayenne pepper. Stir thoroughly to distribute seasonings evenly throughout the mixture.
- Elevate heat to trigger a rolling boil, then immediately reduce to low temperature. Cover the pot and allow the chili to simmer slowly, developing deep flavors for 2-3 hours. Occasionally stir to prevent bottom scorching and ensure consistent texture.
- Conduct a flavor assessment, carefully adjusting spice levels, particularly the cayenne, to match personal heat preferences.
- Ladle the steaming chili into serving bowls. Enhance with optional garnishes like shredded cheese, diced fresh onions, or a dollop of cool sour cream.
Notes
- Drain beef thoroughly to prevent excess grease, ensuring a cleaner, more concentrated chili flavor.
- Use lean ground beef (90/10) for a healthier version without sacrificing rich taste.
- Add a splash of beer or red wine during simmering to enhance depth and complexity of the chili.
- For vegetarian adaptation, replace ground beef with plant-based crumbles or extra beans, maintaining protein content and hearty texture.
- Prep Time: 20 minutes
- Cook Time: 3 hours
- Category: Lunch, Dinner, Appetizer, Snacks
- Method: Simmering
- Cuisine: American
Nutrition
- Serving Size: 8
- Calories: 400
- Sugar: 3 g
- Sodium: 800 mg
- Fat: 20 g
- Saturated Fat: 8 g
- Unsaturated Fat: 10 g
- Trans Fat: 1 g
- Carbohydrates: 30 g
- Fiber: 8 g
- Protein: 25 g
- Cholesterol: 80 mg
Marcus Reed
Founder & Food Content Creator
Expertise
Single-recipe development, Seasonal and local ingredient utilization, Food photography and styling, Culinary writing and content creation
Education
Culinary Arts Certificate, Blue Ridge Community and Technical College, WV
Focus: Fundamentals of culinary techniques, emphasizing hands-on experience in small-scale kitchen settings.
Marcus’s story begins in Asheville, where good food and family kitchens shaped his earliest memories. After hands-on culinary training and a lot of trial (and a little error), he realized that real cooking isn’t about perfection, it’s about connection.
At Pan and Oven, Marcus crafts recipes that are easy to follow, packed with flavor, and built for real kitchens.