Irresistible Thumbprint Hershey Kiss Cookies Recipe for Sweet Smiles
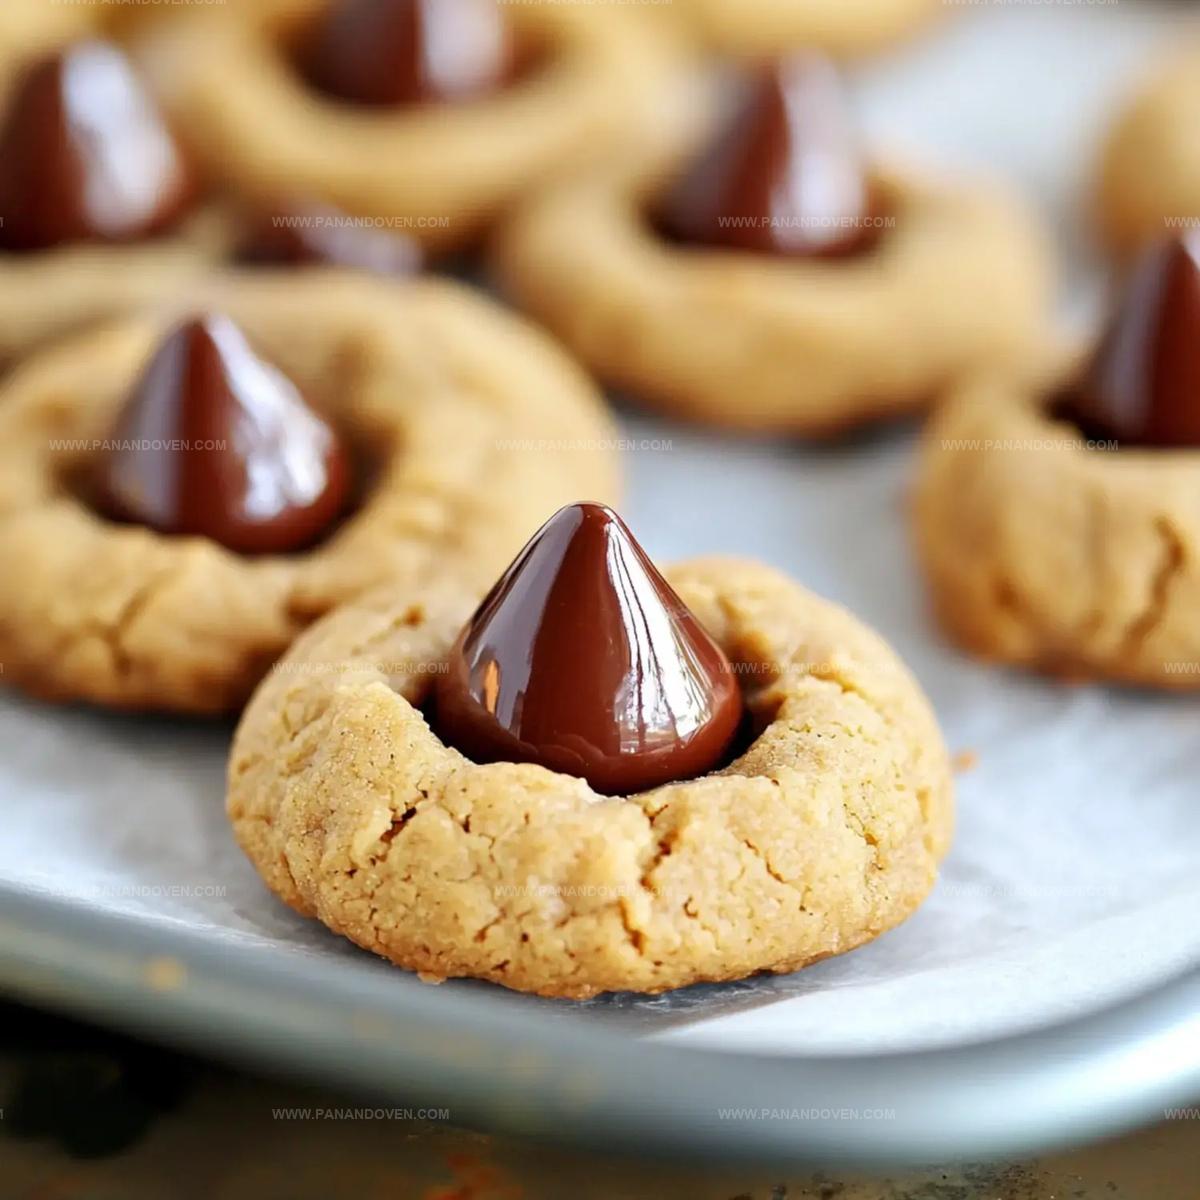
These soft, buttery thumbprint Hershey kiss cookies melt in your mouth with pure holiday magic.
The classic cookie tradition brings warmth to every kitchen.
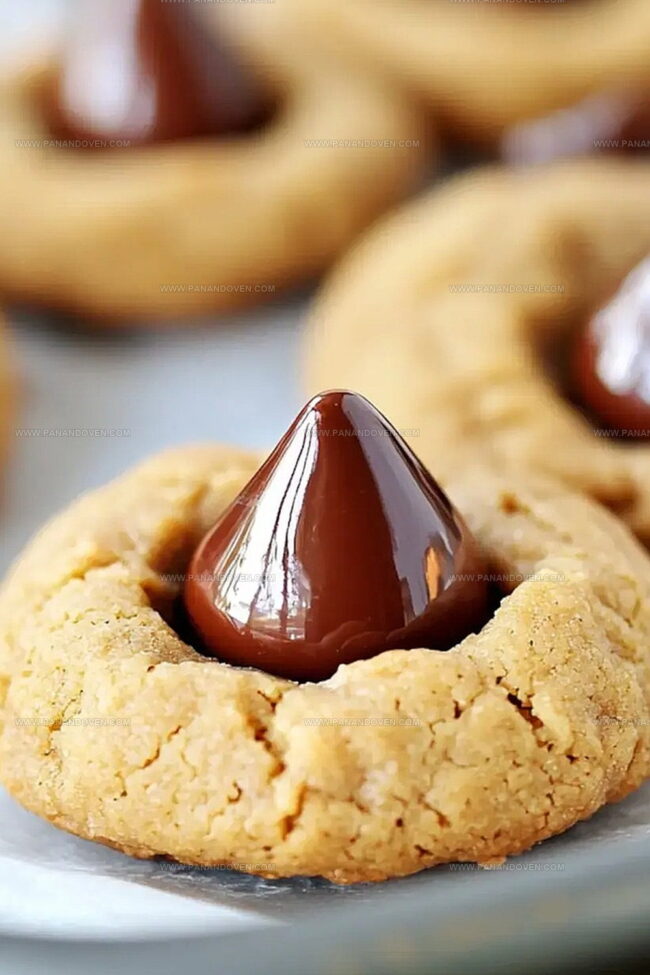
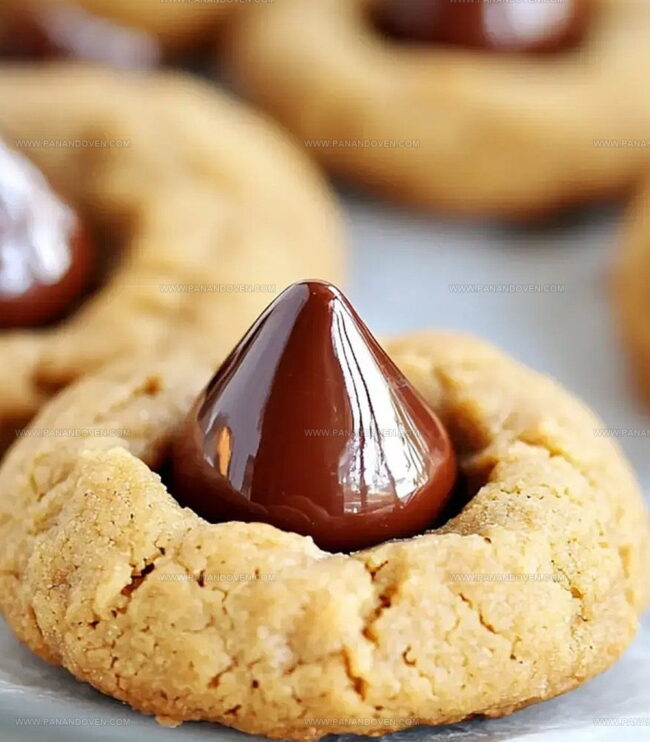
Chocolate lovers rejoice as a perfectly pressed Hershey kiss nestles into a tender, crumbly base.
Sweet hints of vanilla and rich chocolate create an irresistible combination that sparks joy.
Each cookie offers a delightful texture that makes hearts sing with nostalgic delight.
Bakers of all skill levels can craft these simple yet stunning treats that transform ordinary moments into sweet celebrations.
Prepare to indulge in a cookie that promises pure happiness in every bite.
Hershey Kiss Thumbprint Cookies – Crowd Pleasers
Hershey Kiss Thumbprint Cookie Ingredients
Base Ingredients:Wet Ingredients:Finishing Ingredient:Equipment for Thumbprint Cookies
Steps to Bake Hershey Kiss Cookies
Step 1: Prepare Baking Station
Get your oven ready by heating it to 350°F.
Cover a baking sheet with parchment paper to prevent sticking and ensure easy cookie removal.
Step 2: Create Dry Mixture
In a medium bowl, blend flour, baking powder, and salt using a whisk.
Mix thoroughly to distribute ingredients evenly.
Step 3: Whip Creamy Base
Grab a large mixing bowl and cream together softened butter, white and brown sugars, and smooth peanut butter.
Blend until light and fluffy.
Add one egg and vanilla extract, mixing until fully incorporated.
Step 4: Merge Ingredients
Slowly incorporate the dry flour mixture into the wet ingredients.
Use low mixer speed to prevent overmixing.
Stir until a soft, cohesive dough forms.
Step 5: Shape Cookie Balls
Roll the dough into small, uniform balls using your hands.
Place each ball approximately one inch apart on the prepared baking sheet.
Step 6: Bake to Golden Perfection
Slide the cookie sheet into the preheated oven.
Bake for 10 minutes until edges turn slightly golden brown.
Step 7: Add Chocolate Centerpiece
Immediately after removing cookies from the oven, gently press a Hershey’s Kiss into the center of each warm cookie.
The heat will help the chocolate slightly melt and adhere.
Step 8: Cool and Serve
Allow cookies to rest on the baking sheet for 5-10 minutes.
Transfer to a wire rack to complete cooling.
Enjoy these delectable treats with a glass of cold milk!
Hershey Kiss Cookie Advice
Thumbprint Cookies – Fun New Versions
Serving Hershey Kiss Thumbprint Cookies
Storage for Thumbprint Cookies
FAQs
No, these cookies are easy to make and perfect for beginners. The recipe requires basic baking skills and simple ingredients you likely already have in your kitchen.
Absolutely! You can experiment with different Hershey Kiss flavors like milk chocolate, dark chocolate, or even caramel-filled kisses to create unique variations of the cookie.
Roll the dough balls gently and avoid overworking the mixture. Make sure your ingredients are at room temperature and don’t overbake the cookies to keep them soft and smooth.
Print
Thumbprint Hershey Kiss Cookies Recipe
- Total Time: 25 minutes
- Yield: 30 1x
Description
Festive thumbprint Hershey kiss cookies blend chocolate and buttery goodness into delightful holiday treats. Rich chocolate kisses crown tender shortbread-like bases for a perfect seasonal indulgence you will savor.
Ingredients
Dry Ingredients:
- 1 1/3 cups (168 grams) all-purpose flour
- 1 teaspoon baking powder
- 1 teaspoon fine sea salt
Wet and Sweet Ingredients:
- 1/2 cup plus 2 tablespoons (142 grams) unsalted butter, melted
- 1/2 cup (100 grams) light brown sugar
- 1/2 cup plus 1 tablespoon (113 grams) granulated sugar
- 1 large egg
- 1 teaspoon vanilla extract
- 1 cup (256 grams) peanut butter
Topping:
- 60 unwrapped Hershey’s Chocolate Kisses
Instructions
- Preheat the oven to 350°F and prepare a parchment-lined baking sheet for the cookies.
- In a medium bowl, thoroughly combine the dry ingredients by whisking flour, baking powder, and salt until evenly mixed.
- Using an electric mixer, cream together butter, sugars, and peanut butter until smooth and fluffy. Incorporate egg and vanilla extract, mixing until well blended.
- Gradually add the dry ingredient mixture to the wet ingredients, mixing on low speed until a cohesive dough forms.
- Roll the dough into small, uniform balls approximately the size of a tablespoon, positioning them one inch apart on the prepared baking sheet.
- Bake for 10 minutes, watching for slight golden edges and a soft center.
- Immediately after removing from the oven, gently press a Hershey Kiss into the center of each warm cookie, creating a slight indentation.
- Allow cookies to rest and cool completely for 5-10 minutes, ensuring the chocolate kiss sets and the cookie stabilizes before serving or storing.
Notes
- Customize dough consistency by chilling for 30 minutes to prevent spreading during baking.
- Swap peanut butter with almond or sunflower seed butter for nut-free alternative.
- Use dairy-free chocolate kisses or dark chocolate chunks for vegan adaptation.
- Press Hershey Kiss gently and quickly right after removing cookies from oven to create perfect indentation.
- Prep Time: 15 minutes
- Cook Time: 10 minutes
- Category: Desserts, Snacks
- Method: Baking
- Cuisine: American
Nutrition
- Serving Size: 30
- Calories: 146
- Sugar: 7.5 g
- Sodium: 75 mg
- Fat: 8 g
- Saturated Fat: 3.5 g
- Unsaturated Fat: 4 g
- Trans Fat: 0 g
- Carbohydrates: 16 g
- Fiber: 0.5 g
- Protein: 3 g
- Cholesterol: 12 mg


Clara Thompson
Recipe Developer & Food Educator
Expertise
Plant-based and vegetarian recipe development, Nutritional analysis and meal planning, Culinary education and workshop facilitation, Content writing with a focus on healthy living
Education
Diploma in Culinary Arts, Mt. San Jacinto College, CA
Focus: Comprehensive culinary training with an emphasis on sustainable cooking practices.
Certificate in Nutrition and Healthy Living, Cornell University (Online Program)
Focus: Understanding the principles of nutrition to create balanced and health-conscious recipes.
Clara lives where fresh ideas and fresh ingredients meet. She pairs her culinary know-how with her passion for healthy, planet-friendly cooking.
For Clara, good food should taste great, nourish your body, and feel easy to make. Her recipes highlight whole foods, colorful produce, and a deep respect for seasonal eating.