Sizzling Cheeseburger Sliders Recipe Everyone Will Love
Succulent slider magic happens when juicy beef meets melted cheese in this irresistible cheeseburger sliders recipe.
Mini burgers pack massive flavor into every single bite.
These tiny sandwiches deliver big taste in small packages.
Tender ground beef sizzles with savory seasonings that make mouths water instantly.
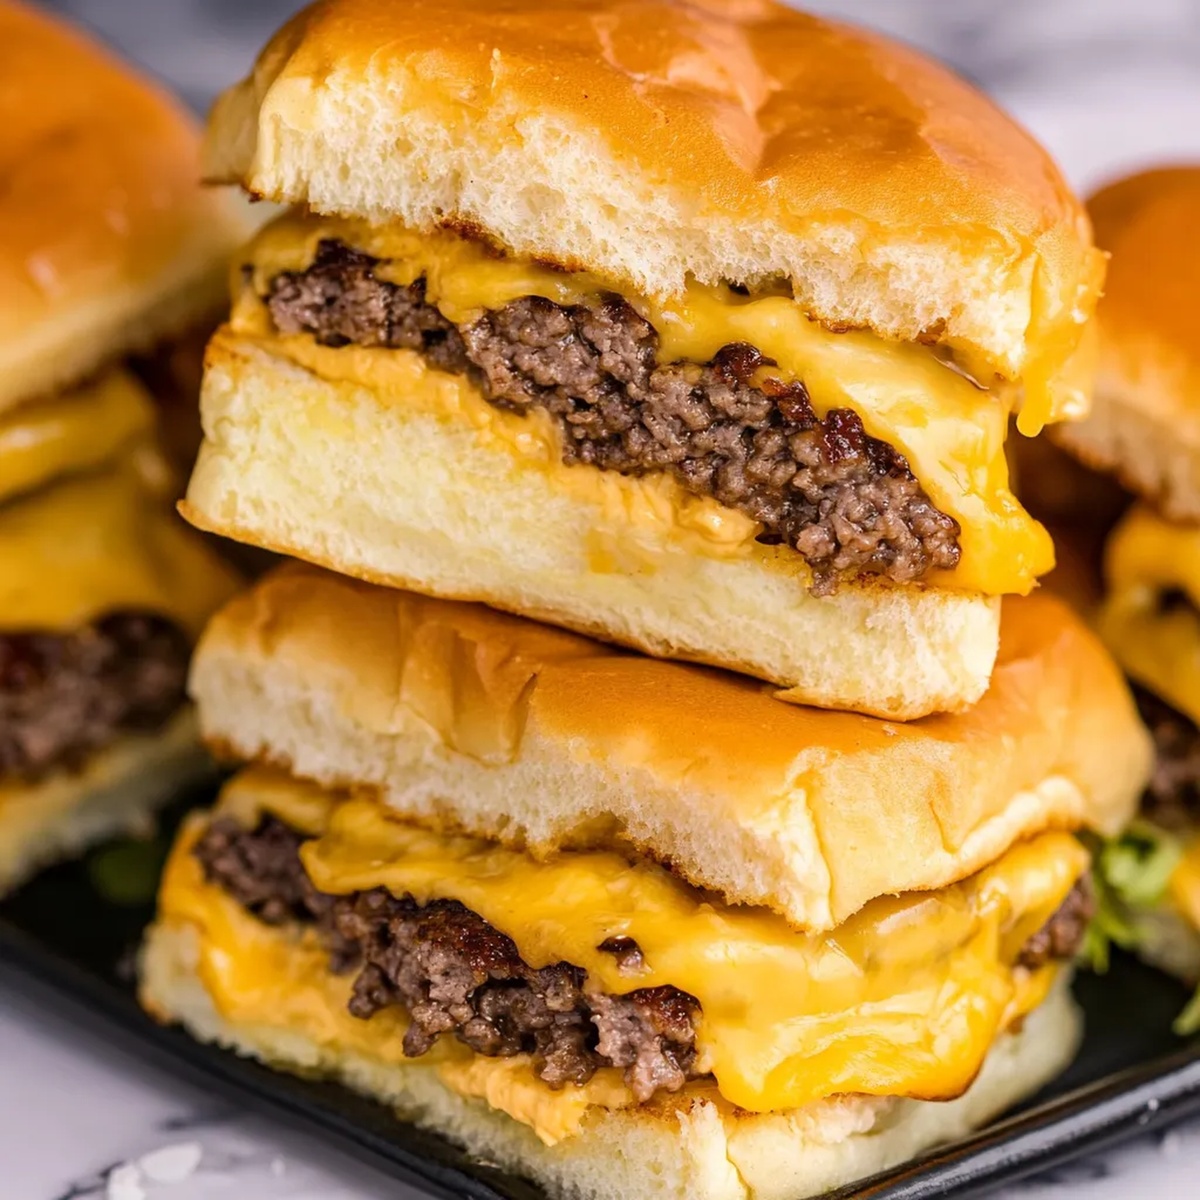
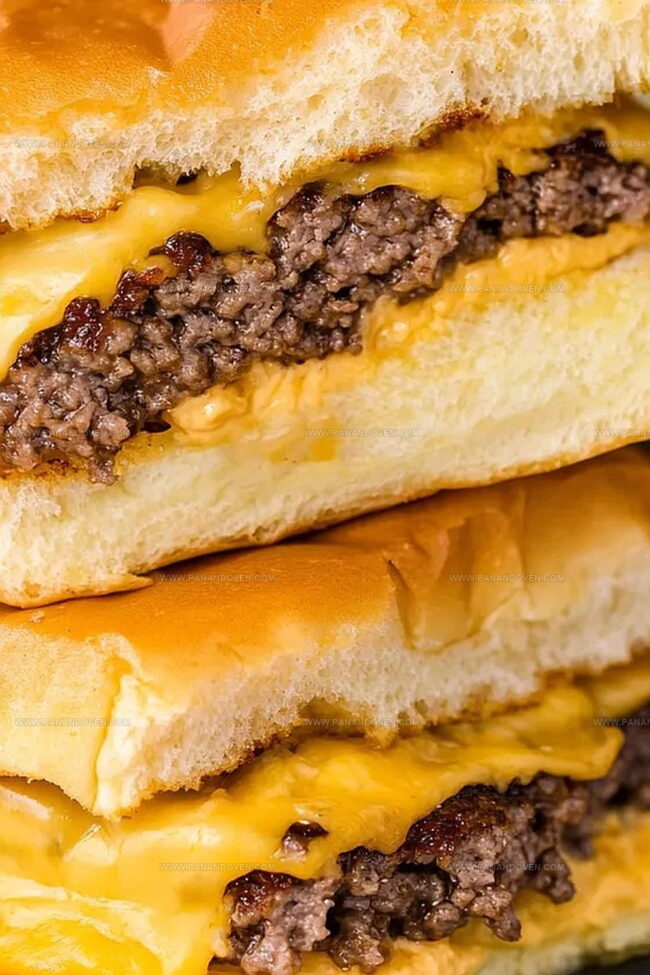
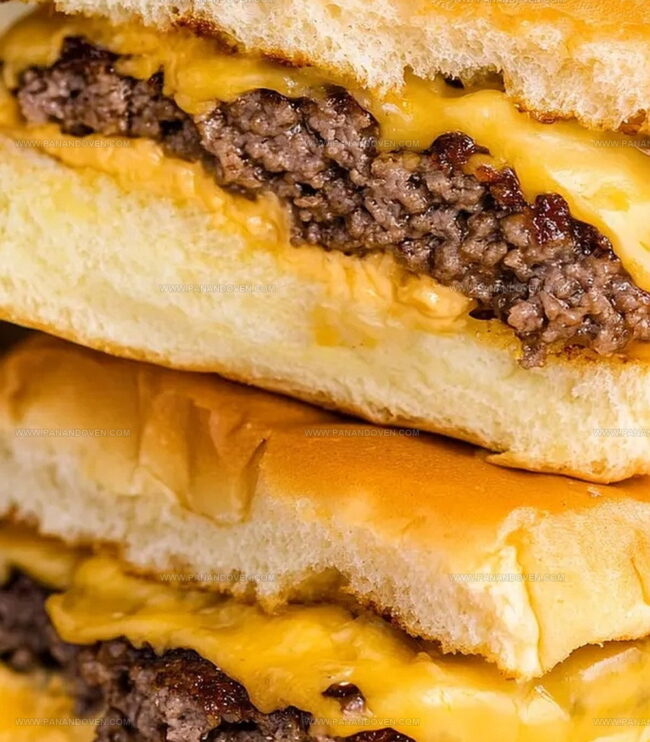
Each slider combines perfectly seasoned meat with gooey cheese nestled between soft, golden buns.
the secret is balancing rich ingredients with precise cooking techniques.
These sliders will be the star of your next game day or casual gathering, guaranteed to disappear faster than you can plate them.
Cheeseburger Sliders Everyone Raves About
The Full Ingredient List for Cheeseburger Sliders
Main Protein:Bread Components:Cheese and Topping Ingredients:Seasoning Ingredients:Additional Components:Cheeseburger Sliders Prep Tools You’ll Want on Hand
Building Your Best Cheeseburger Sliders Step by Step
Step 1: Preheat and Prepare
Fire up your oven to a toasty 375°F.
Grab a rimmed baking sheet and line it with parchment paper that matches the size of your Hawaiian roll tray.
Step 2: Craft the Meat Layer
Spread ground beef onto the parchment paper, creating a perfectly flat rectangle that’s slightly larger than the roll tray.
This clever trick ensures full coverage as the meat shrinks during cooking.
Step 3: Season and Roast
Sprinkle the meat with:Transfer the parchment with seasoned meat to the baking sheet.
Slide into the oven and bake for 15-17 minutes until the meat juices run clear and look fully cooked.
Step 4: Prepare the Bun Base
While the meat cooks, slice the connected Hawaiian rolls horizontally, keeping them as one large top and bottom bun piece.
In a small bowl, melt butter and mix with garlic salt for a flavor-packed topping.
Step 5: Create the Slider Stack
Once the meat is done, carefully drain any excess grease.
Place the bottom bun layer upside down directly on the cooked meat.
Flip the entire creation onto a clean baking sheet and remove the parchment paper.
Layer cheese slices across the meat, then crown with the top bun layer.
Brush the top generously with the garlic butter mixture.
Step 6: Final Melt and Golden Finish
Return to the oven for 3-4 minutes until the cheese melts completely and the buns turn a beautiful golden brown.
For extra softness, wrap in foil after baking.
Slice into individual sliders and serve piping hot for maximum deliciousness.
Secrets for Making Top-Notch Cheeseburger Sliders
Cheeseburger Slider Variations to Try Next
Cheeseburger Sliders Ready to Serve
Keeping Cheeseburger Sliders Fresh and Tasty
FAQs
Yes, ground turkey or chicken work great as alternatives to beef. Just ensure the meat is lean and cooked thoroughly.
Spread the meat slightly larger than the roll tray and avoid pressing it down too firmly. The meat will naturally contract during cooking.
American, cheddar, or provolone are excellent choices. They melt smoothly and provide great flavor for cheeseburger sliders.
No, just a rimmed baking sheet, parchment paper, and a standard oven. Basic kitchen tools are all you need to create these delicious sliders.
Print
The BEST Cheeseburger Sliders Recipe
- Total Time: 35 minutes
- Yield: 12 1x
Description
Cheeseburger sliders showcase miniature beef patties nestled between pillowy potato rolls with melted cheese. Grill masters and backyard barbecue enthusiasts can quickly craft these delectable bite-sized sandwiches you’ll crave at every gathering.
Ingredients
Meat and Protein:
- 1 pound ground beef
- 6 slices American cheese
Bread:
- 12 Hawaiian Rolls (1 package King’s Hawaiian preferred)
Seasonings and Toppings:
- 1 teaspoon seasoned salt
- 1/2 teaspoon black pepper
- 2 tablespoons butter
- 1/2 teaspoon garlic salt
Instructions
- Preheat the oven to 375°F, ensuring an even temperature for consistent cooking.
- Cut parchment paper to match the dimensions of the Hawaiian roll tray, creating a precise cooking surface.
- Spread ground beef across the parchment paper, forming a rectangular shape slightly larger than the intended size to compensate for meat shrinkage during cooking.
- Evenly distribute seasoned salt and black pepper across the meat surface for balanced flavor.
- Transfer the parchment-lined meat to a rimmed baking sheet and cook for 15-17 minutes until meat juices run clear and the beef is thoroughly cooked.
- While meat is cooking, carefully slice the connected Hawaiian rolls horizontally, maintaining the roll structure as one large top and bottom bun.
- Melt butter and combine with garlic salt, creating a fragrant and flavorful topping for the sliders.
- After cooking, drain excess grease from the meat to prevent sogginess.
- Place the bottom bun layer upside down directly on the cooked meat, then carefully flip the entire preparation onto a clean baking sheet.
- Remove the parchment paper and layer cheese slices across the meat surface.
- Position the top buns over the cheese and generously brush with the prepared garlic butter mixture.
- Return to the oven for 3-4 minutes, allowing cheese to melt and buns to turn golden brown.
- Optional: Wrap sliders in foil after baking to retain moisture and enhance steaming effect.
- Slice into individual sliders and serve immediately while hot and fresh.
Notes
- Meat Mastery Choose high-fat ground beef (80/20 blend) for juicier, more flavorful sliders that won’t dry out during baking.
- Strategic Seasoning Distribute seasoned salt and pepper evenly across meat surface to ensure consistent flavor in every bite.
- Moisture Magic Let cooked meat rest for 2-3 minutes after baking to redistribute juices, preventing dry slider textures.
- Dairy Flexibility Swap regular cheese with dairy-free alternatives like vegan cheddar for lactose-intolerant or plant-based diets without compromising taste.
- Prep Time: 15 minutes
- Cook Time: 20 minutes
- Category: Lunch, Dinner, Appetizer, Snacks
- Method: Baking
- Cuisine: American
Nutrition
- Serving Size: 12
- Calories: 320
- Sugar: 2g
- Sodium: 600mg
- Fat: 18g
- Saturated Fat: 8g
- Unsaturated Fat: 10g
- Trans Fat: 0g
- Carbohydrates: 24g
- Fiber: 1g
- Protein: 15g
- Cholesterol: 60mg
Clara Thompson
Recipe Developer & Food Educator
Expertise
Plant-based and vegetarian recipe development, Nutritional analysis and meal planning, Culinary education and workshop facilitation, Content writing with a focus on healthy living
Education
Diploma in Culinary Arts, Mt. San Jacinto College, CA
Focus: Comprehensive culinary training with an emphasis on sustainable cooking practices.
Certificate in Nutrition and Healthy Living, Cornell University (Online Program)
Focus: Understanding the principles of nutrition to create balanced and health-conscious recipes.
Clara lives where fresh ideas and fresh ingredients meet. She pairs her culinary know-how with her passion for healthy, planet-friendly cooking.
For Clara, good food should taste great, nourish your body, and feel easy to make. Her recipes highlight whole foods, colorful produce, and a deep respect for seasonal eating.