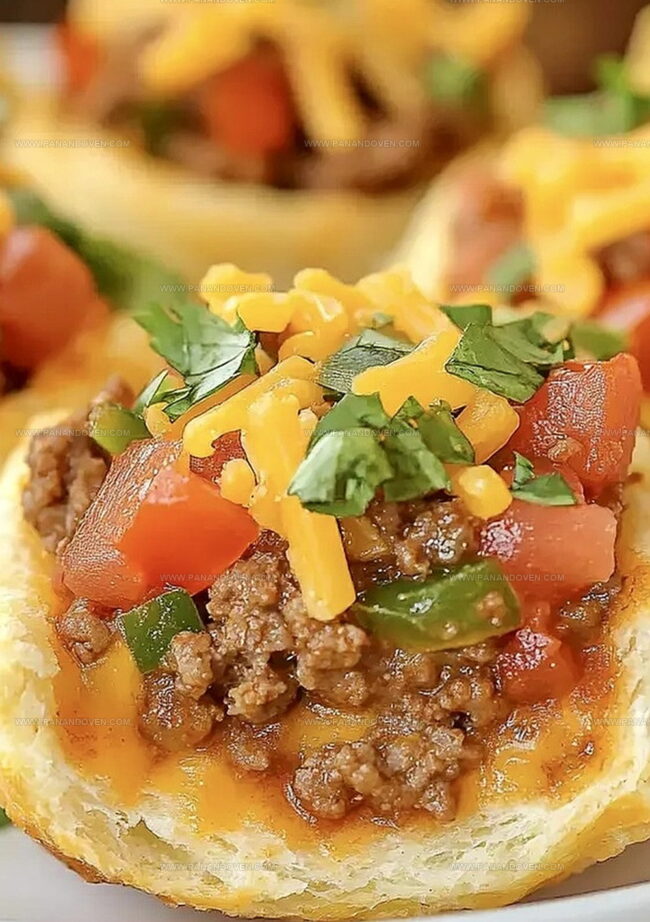
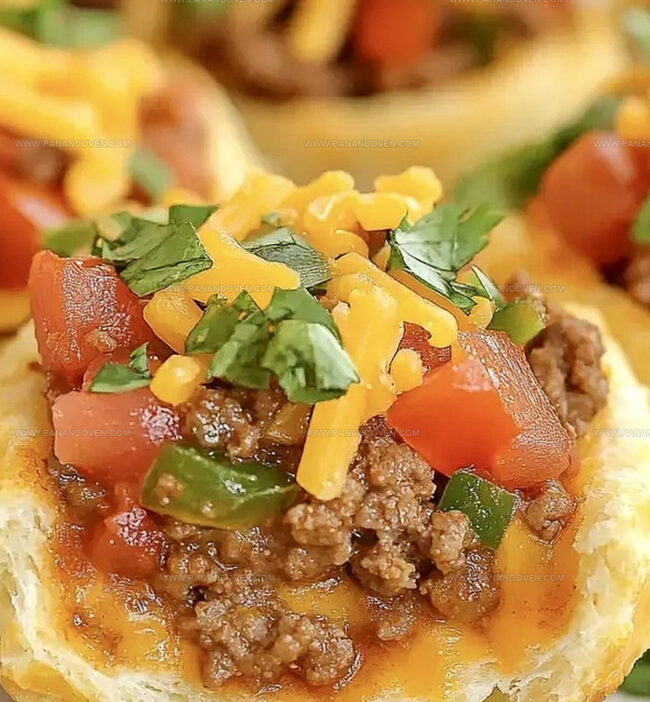
The Best Taco Biscuit Cups Recipe for Flavor-Packed Snacking
Comfort meets creativity in these delightful taco biscuit cups that bring a zesty twist to your dinner table.
Packed with bold flavors and easy-to-find ingredients, this recipe turns ordinary biscuits into an extraordinary meal.
The golden, flaky cups cradle seasoned ground beef and melted cheese in a handheld delight.
Each bite delivers a perfect balance of crispy biscuit edges and savory taco filling.
Kids and adults alike will devour these tasty morsels faster than you can say “dinner’s ready.” Forget complicated dinner preparations and embrace this simple, crowd-pleasing recipe that promises to become a weeknight favorite.
Prepare to be amazed by how quickly these taco biscuit cups disappear from the plate.
Taco Biscuit Cups: Why They’re Crowd-Pleasers
Biscuit Cup Ingredients for Taco Night
Main Ingredients:Seasoning and Herbs:Cooking Essentials:Taco Cup Essentials: Tools & Pans
Making Taco Biscuit Cups at Home
Step 1: Warm Up the Oven
Crank the oven to a toasty 400F.
Give your muffin tin a quick spritz of nonstick spray to prevent any sticky situations.
Step 2: Sizzle the Beef
Toss ground beef into a large skillet and cook it until it’s beautifully browned and fully cooked.
Make sure to drain away any extra grease for a cleaner dish.
Step 3: Spice Things Up
Ingredients:Sprinkle taco seasoning over the beef and pour in water.
Let it simmer until the liquid vanishes into the meat.
If you’re feeling adventurous, toss in some chopped cilantro for an extra flavor kick.
Step 4: Shape the Biscuit Cups
Grab your biscuit dough and gently press each piece into the muffin tin.
Stretch and shape the dough up the sides, creating little edible cups that will cradle your tasty filling.
Step 5: Assemble and Bake
Fill each biscuit cup with the seasoned beef mixture.
Shower the tops with a generous layer of cheese.
Slide the muffin tin into the oven and bake until the cups turn a gorgeous golden brown, about 10-12 minutes.
Tips for Biscuit Cup Crunch & Flavor
Biscuit Taco Cups: Mix-In Inspiration
Plating and Serving Taco Biscuit Cups
Keeping Taco Biscuit Cups Fresh
FAQs
Yes, ground turkey is a great lean alternative to beef. Simply follow the same cooking method and seasoning instructions.
Fresh cilantro provides more vibrant flavor, but dried cilantro works fine if that’s what you have on hand. Use about 1 teaspoon of dried cilantro.
Refrigerated canned buttermilk biscuits are perfect. Use the regular-sized biscuits, not the jumbo or mini versions, for the best cup shape.
You can prepare the meat mixture in advance and store it in the refrigerator. Assemble and bake the biscuit cups just before serving to maintain their crispy texture.
Print
Taco Biscuit Cups Recipe
- Total Time: 27 minutes
- Yield: 4 1x
Description
Delightful taco biscuit cups combine Mexican-inspired flavors with flaky biscuit bases for a quick weeknight dinner. Hearty filling and crispy edges make this recipe a crowd-pleasing favorite you’ll want to add to your regular meal rotation.
Ingredients
Main Ingredients:
- 1 pound lean ground beef
- 12 ounces (340 grams) refrigerated biscuits
- 1 cup (240 milliliters) shredded cheddar cheese
Seasoning and Liquid:
- 1 ounce (28 grams) packet taco seasoning
- 3/4 cup (180 milliliters) water
Garnish:
- 2 tablespoons (30 milliliters) fresh cilantro, chopped (optional)
Instructions
- Preheat the oven to 400°F and coat a muffin tin thoroughly with nonstick cooking spray to prevent sticking.
- In a large skillet, cook ground beef over medium-high heat for 8-10 minutes, breaking it into crumbly pieces until no pink remains.
- Drain excess fat from the skillet, then return meat to the pan and sprinkle with taco seasoning.
- Pour water into the skillet and simmer the seasoned meat for 5 minutes, stirring occasionally until liquid completely absorbs.
- Gently fold chopped cilantro into the meat mixture for added freshness, if desired.
- Separate individual biscuits and carefully press each into the prepared muffin tin, stretching the dough to cover bottom and sides completely.
- Evenly distribute the seasoned beef mixture into each biscuit cup, ensuring a consistent portion in each.
- Sprinkle shredded cheese generously over the meat-filled biscuit cups.
- Transfer the muffin tin to the preheated oven and bake for 10-12 minutes until biscuit edges turn golden brown and crispy.
- Remove from oven and let cool for 2-3 minutes before carefully removing taco biscuit cups from the tin.
Notes
- Customize the heat level by choosing mild, medium, or hot taco seasoning to match your spice preference.
- Swap ground beef for ground turkey or plant-based crumbles to create a lighter or vegetarian version of the dish.
- Create make-ahead meals by preparing the meat mixture and biscuit cups separately, then assembling and baking just before serving to maintain crispness.
- Enhance nutrition by adding finely chopped bell peppers or diced onions to the meat mixture for extra vegetables and flavor complexity.
- Prep Time: 15 minutes
- Cook Time: 12 minutes
- Category: Lunch, Dinner, Appetizer, Snacks
- Method: Baking
- Cuisine: Mexican
Nutrition
- Serving Size: 4
- Calories: 390
- Sugar: 2g
- Sodium: 900mg
- Fat: 24g
- Saturated Fat: 10g
- Unsaturated Fat: 12g
- Trans Fat: 0g
- Carbohydrates: 26g
- Fiber: 1g
- Protein: 18g
- Cholesterol: 70mg


Marcus Reed
Founder & Food Content Creator
Expertise
Single-recipe development, Seasonal and local ingredient utilization, Food photography and styling, Culinary writing and content creation
Education
Culinary Arts Certificate, Blue Ridge Community and Technical College, WV
Focus: Fundamentals of culinary techniques, emphasizing hands-on experience in small-scale kitchen settings.
Marcus’s story begins in Asheville, where good food and family kitchens shaped his earliest memories. After hands-on culinary training and a lot of trial (and a little error), he realized that real cooking isn’t about perfection, it’s about connection.
At Pan and Oven, Marcus crafts recipes that are easy to follow, packed with flavor, and built for real kitchens.