
Irresistible Sweet and Sour Chicken Recipe Everyone Will Love
Weeknight dinners demand bold flavors that satisfy every craving, and this sweet and sour chicken recipe delivers a delightful punch of taste.
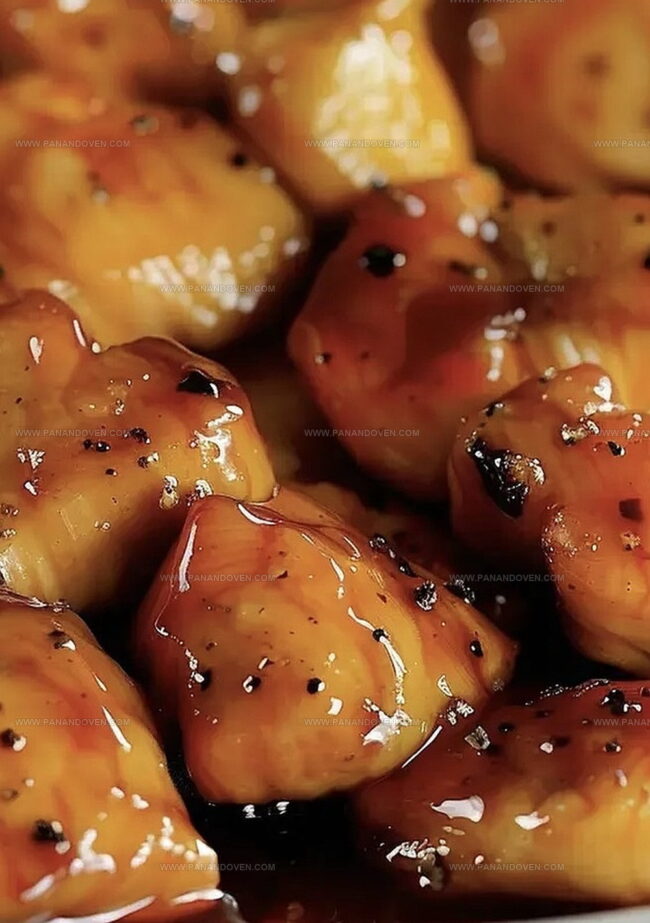
Crispy chicken pieces coated in a tangy sauce bring restaurant-quality excitement to your home kitchen.
Each bite combines the perfect balance of zesty and sugary notes that dance across your palate.
The golden-brown chicken emerges from the skillet with a glossy, irresistible coating that beckons you closer.
Tender meat mingles with vibrant bell peppers and pineapple chunks, creating a colorful plate that promises deliciousness.
Simple ingredients transform into an extraordinary meal that will have everyone asking for seconds.
Grab your apron and let this recipe become your new dinnertime superhero.
Sweet and Sour Chicken: What Makes It So Addictive
Sweet and Sour Chicken: Complete Ingredient List
Main Protein:Coating Ingredients:Sauce Ingredients:Cooking Ingredient:Tools and Gadgets for Sweet and Sour Chicken Night
Cooking Up Sweet and Sour Chicken: Step-by-Step
Step 1: Warm Up the Oven
Fire up your oven to a cozy 325°F (163°C).
This gentle heat will help transform your chicken into a mouthwatering masterpiece.
Step 2: Dress the Chicken
Sprinkle salt and pepper generously over the chicken pieces.
Create a crispy coating by rolling each piece in cornstarch, then giving it a quick dip in beaten eggs.
This technique will give your chicken a delightful crunch.
Step 3: Golden Brown the Chicken
Grab a large skillet and pour in canola oil.
Crank up the heat to medium-high and let the magic begin.
Sizzle the chicken pieces until they turn a gorgeous golden brown on all sides.
Transfer these beauties to a baking dish, ready for their saucy adventure.
Step 4: Whip Up the Tangy Sauce
In a mixing bowl, combine these flavor-packed ingredients:Stir these ingredients until they become best friends, creating a sauce that will make your taste buds dance.
Step 5: Bake to Perfection
Pour the tangy sauce over the chicken in the baking dish.
Slide the dish into the oven and let it work its magic.
Every 15 minutes, give the chicken a gentle stir to ensure it’s bathing evenly in the delicious sauce.
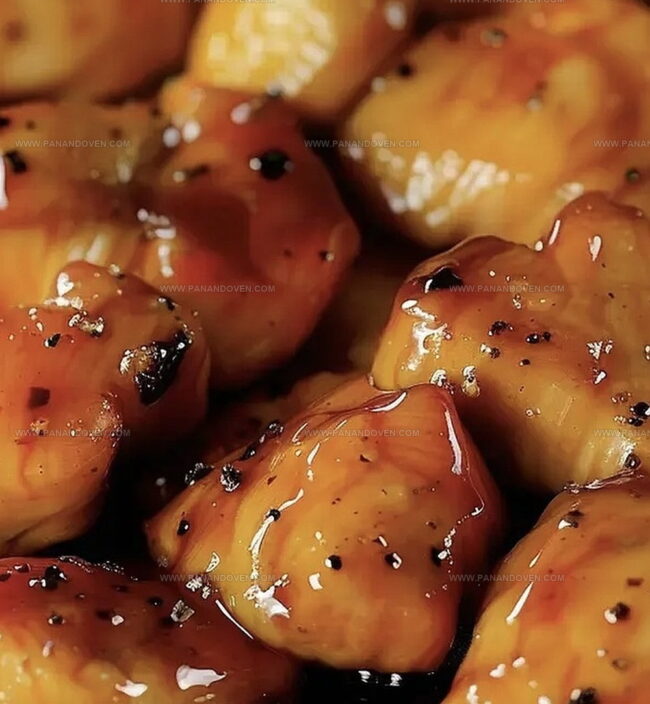
After 60 minutes, you’ll have a dish where the sauce has thickened into a glossy glaze and the chicken is tender enough to fall apart with a fork.
Smart Tips for Extra Flavor in Sweet and Sour Chicken
Fun Variations for Sweet and Sour Chicken Lovers
Serving Sweet and Sour Chicken with the Best Sides
Storing Sweet and Sour Chicken for Leftover Magic
FAQs
Yes, you can substitute chicken with pork or turkey. Just ensure the meat is cut into similar-sized pieces and adjust cooking time accordingly.
Absolutely! Replace regular soy sauce with tamari or gluten-free soy sauce, and use cornstarch as directed in the recipe.
The recipe is not spicy at all. It has a balanced sweet and tangy flavor from the vinegars and ketchup, making it mild and kid-friendly.
No, the recipe uses white vinegar and apple cider vinegar, which are common pantry ingredients found in most grocery stores.
Print
Sweet and Sour Chicken Recipe
- Total Time: 1 hour 20 minutes
- Yield: 4 1x
Description
Homemade sweet and sour chicken brings classic Chinese-American flavors to your dinner table. Crispy battered chicken pieces glazed in tangy sauce offer a delightful meal you’ll savor with each bite.
Ingredients
Main Protein:
- 1 pound (454 grams) chicken breast, cut into 1-inch pieces
Coating and Frying Ingredients:
- 1 cup cornstarch
- 2 eggs, beaten
- 1/4 cup (60 milliliters) canola oil
- Salt and pepper to taste
Sauce Ingredients:
- 1 cup sugar
- 4 tablespoons ketchup
- 1/4 cup (60 milliliters) white vinegar
- 1/4 cup (60 milliliters) apple cider vinegar
- 1 tablespoon soy sauce
- 1 teaspoon garlic salt
Instructions
- Prepare the oven by heating to 325°F (163°C), ensuring a consistent temperature for optimal cooking.
- Sprinkle chicken pieces with salt and pepper, creating a foundational flavor profile. Delicately coat each piece in cornstarch, then immerse in beaten eggs for a crisp, golden exterior.
- Warm canola oil in a large skillet over medium-high heat. Sear chicken until each side develops a rich, golden-brown color, which will help seal in moisture and enhance overall taste.
- Create the signature sauce by whisking together sugar, ketchup, white vinegar, apple cider vinegar, soy sauce, and garlic salt in a mixing bowl. The combination will deliver a complex sweet and tangy flavor.
- Transfer browned chicken to a baking dish and generously pour the prepared sauce over the pieces, ensuring complete coverage.
- Slide the baking dish into the preheated oven. Gently stir the chicken every 15 minutes to distribute the sauce evenly and prevent burning. Bake for approximately 60 minutes until the sauce caramelizes and thickens, and the chicken becomes exceptionally tender.
Notes
- Make chicken extra crispy by double-coating with cornstarch and letting it sit for 10 minutes before frying to create a crunchier exterior.
- Use low-sodium soy sauce and reduce sugar content for a healthier version that still maintains delicious flavor profile.
- Consider using boneless, skinless chicken thighs instead of breasts for more moisture and richer taste during baking process.
- For gluten-free adaptation, replace regular soy sauce with tamari and ensure cornstarch is certified gluten-free to accommodate dietary restrictions.
- Prep Time: 20 minutes
- Cook Time: 1 hour
- Category: Dinner, Lunch, Appetizer
- Method: Baking
- Cuisine: Chinese
Nutrition
- Serving Size: 4
- Calories: 680
- Sugar: 32 g
- Sodium: 800 mg
- Fat: 18 g
- Saturated Fat: 2 g
- Unsaturated Fat: 16 g
- Trans Fat: 0 g
- Carbohydrates: 94 g
- Fiber: 1 g
- Protein: 36 g
- Cholesterol: 140 mg
Marcus Reed
Founder & Food Content Creator
Expertise
Single-recipe development, Seasonal and local ingredient utilization, Food photography and styling, Culinary writing and content creation
Education
Culinary Arts Certificate, Blue Ridge Community and Technical College, WV
Focus: Fundamentals of culinary techniques, emphasizing hands-on experience in small-scale kitchen settings.
Marcus’s story begins in Asheville, where good food and family kitchens shaped his earliest memories. After hands-on culinary training and a lot of trial (and a little error), he realized that real cooking isn’t about perfection, it’s about connection.
At Pan and Oven, Marcus crafts recipes that are easy to follow, packed with flavor, and built for real kitchens.