The Sweetest Strawberry Kiss Cookies Recipe for Baking Lovers
Soft, buttery cookies studded with strawberry kiss cookies are the ultimate sweet treat for any occasion.
Bursting with vibrant flavor, these delightful morsels combine rich shortbread with a delicate chocolate center.
The magic happens when warm cookies embrace the chocolate kiss, creating a melt-in-your-mouth sensation.
Bakers of all skill levels can master this simple yet impressive dessert.
Each bite promises a perfect balance of crumbly texture and rich chocolate notes.
The strawberry kiss adds a playful twist that elevates these cookies from ordinary to extraordinary.
You’ll fall in love with this irresistible recipe that’s sure to become a cherished favorite.
Strawberry Kiss Cookies Appeal
Ingredients for Strawberry Kiss Cookies
Main Ingredients:Coating Ingredients:Baking Essentials:Tools for Strawberry Kiss Cookies
Steps to Make Strawberry Kiss Cookies
Step 1: Preheat Oven
Set your oven to 375°F and grab a baking sheet.
Cover the sheet with parchment paper to prevent sticking and make cleanup super easy.
Step 2: Create Cookie Dough
In a mixing bowl, blend together:Mix until the ingredients transform into a soft, delightful dough.
The mixture should feel smooth and easy to handle.
Step 3: Shape Delightful Cookies
Scoop small portions of dough and roll them in:Pro tip: If the dough feels too sticky, pop it in the refrigerator for 30-60 minutes to firm up.
Step 4: Bake to Perfection
Arrange cookie dough balls about 1½ inches apart on the prepared baking sheet.
Slide the sheet into the preheated oven and bake for 8-12 minutes.
Watch for slightly set edges – that’s your signal they’re almost done.
Step 5: Add Strawberry Kisses
After removing cookies from the oven, let them cool for 3-5 minutes.
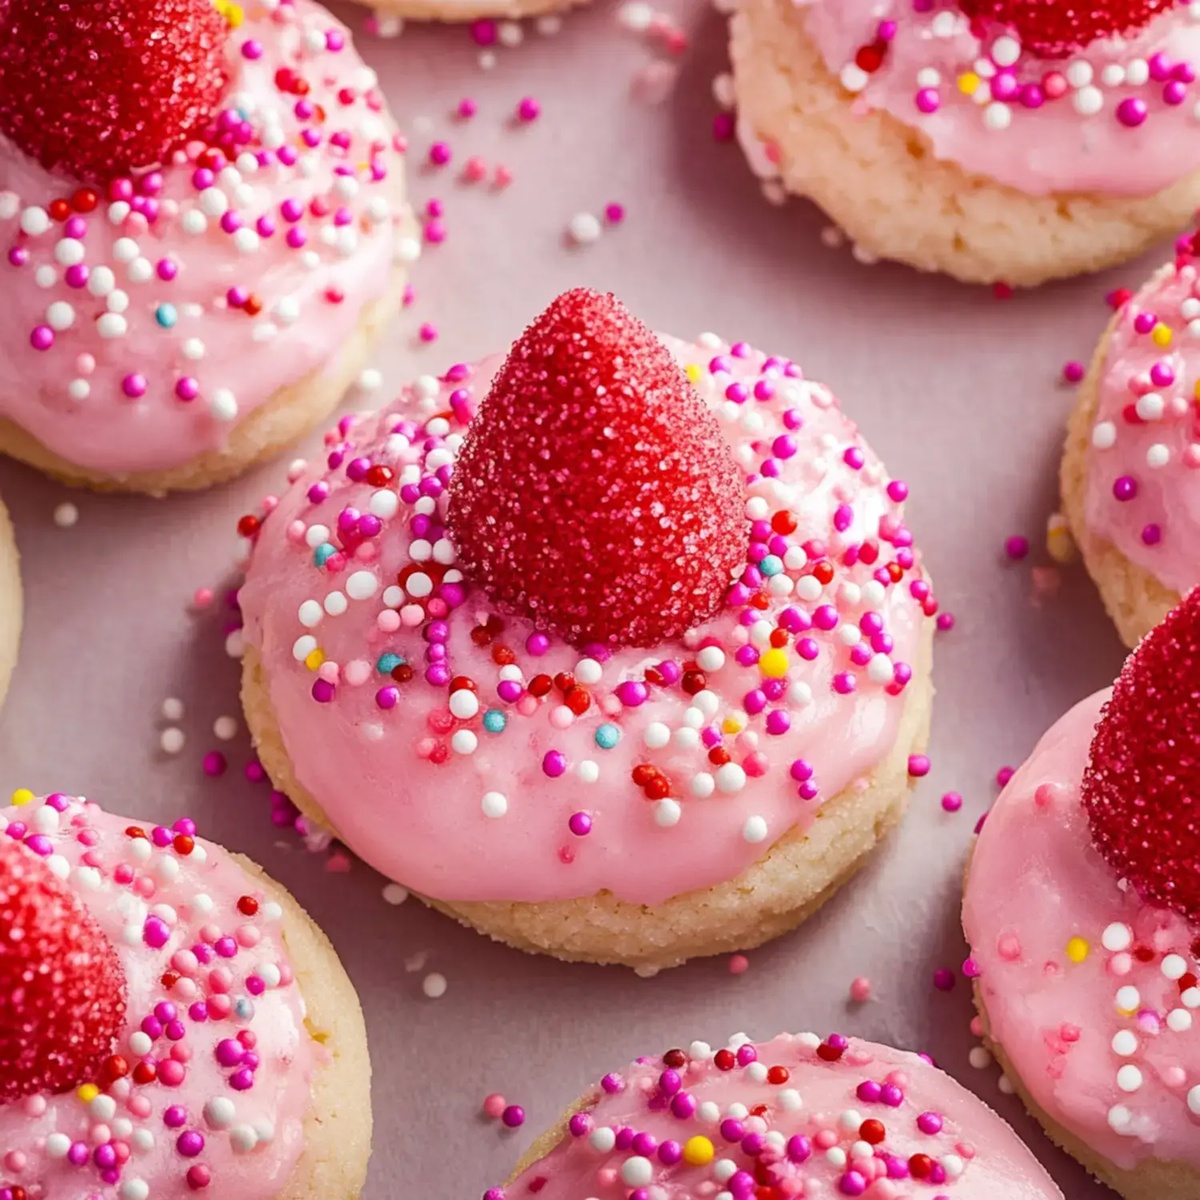
Gently press a Strawberry Kiss into the center of each warm cookie.
The residual heat will help the kiss melt slightly and stick perfectly.
Step 6: Final Cooling
Transfer cookies to a cooling rack.
They’re delicious served warm or completely cooled – your choice!
Tips for Strawberry Kiss Cookies

Strawberry Kiss Cookie Twists

Serving Strawberry Kiss Cookies
Storage for Strawberry Kiss Cookies
FAQs
Yes, you can substitute Strawberry Kisses with other Kiss flavors like Milk Chocolate, Dark Chocolate, or Caramel Kisses depending on your preference.
Chill the dough for 30-60 minutes before baking, use a cool baking sheet, and ensure your butter or cream cheese isn’t too soft. This helps maintain the cookie’s shape.
If the dough feels sticky, refrigerate it for 30-60 minutes before shaping. You can also lightly dust your hands with powdered sugar when rolling the dough balls.
Print
Strawberry Kiss Cookies Recipe
- Total Time: 55 minutes
- Yield: 24 1x
Description
Romantic strawberry kiss cookies blend sweet strawberry essence with classic butter cookie charm. Delicate heart-shaped treats offer a delightful blend of romance and confectionary skill you’ll savor with each tender bite.
Ingredients
Main Ingredients:
- 16 ounces (454 grams) Funfetti sugar cookie mix
- 4 ounces (113 grams) cream cheese, softened
- 1 large egg
Coating Ingredients:
- 1/2 cup (120 milliliters) pink or white sanding sugar or nonpareils
Topping Ingredients:
- 18 Hershey’s strawberry ice cream cone kisses
Instructions
- Preheat oven to 375°F and line a baking sheet with parchment paper for easy cookie removal.
- Create a smooth, uniform dough by thoroughly blending cookie mix, cream cheese, and egg until fully incorporated.
- Form small, uniform dough balls and generously coat each in sugar or colorful nonpareils for added texture and visual appeal.
- If dough feels overly soft, refrigerate for 30-60 minutes to enhance manageability and prevent spreading during baking.
- Arrange cookie dough balls with sufficient spacing on prepared baking sheet to allow proper expansion during cooking.
- Bake for 8-12 minutes, watching for lightly golden edges and set centers as indicators of perfect doneness.
- Remove cookies from oven and allow a brief 3-5 minute cooling period to stabilize their structure.
- Gently press a Strawberry Kiss into the center of each warm cookie, creating an elegant and delicious focal point.
- Transfer cookies to a wire cooling rack, allowing them to reach complete room temperature or serve while still slightly warm for a delightful melting sensation.
Notes
- Chill dough for easier handling and to prevent spreading, ensuring perfectly shaped cookies every time.
- Use room temperature cream cheese and egg for smoother, more consistent dough texture.
- Experiment with different coatings like colored sugar or crushed freeze-dried strawberries for extra flavor and visual appeal.
- For gluten-free option, substitute cookie mix with gluten-free alternative and check Kiss candy compatibility.
- Prep Time: 45 minutes
- Cook Time: 10 minutes
- Category: Desserts, Snacks
- Method: Baking
- Cuisine: American
Nutrition
- Serving Size: 24
- Calories: 150
- Sugar: 10 g
- Sodium: 80 mg
- Fat: 6 g
- Saturated Fat: 3 g
- Unsaturated Fat: 2 g
- Trans Fat: 0 g
- Carbohydrates: 22 g
- Fiber: 0 g
- Protein: 1 g
- Cholesterol: 15 mg
Clara Thompson
Recipe Developer & Food Educator
Expertise
Plant-based and vegetarian recipe development, Nutritional analysis and meal planning, Culinary education and workshop facilitation, Content writing with a focus on healthy living
Education
Diploma in Culinary Arts, Mt. San Jacinto College, CA
Focus: Comprehensive culinary training with an emphasis on sustainable cooking practices.
Certificate in Nutrition and Healthy Living, Cornell University (Online Program)
Focus: Understanding the principles of nutrition to create balanced and health-conscious recipes.
Clara lives where fresh ideas and fresh ingredients meet. She pairs her culinary know-how with her passion for healthy, planet-friendly cooking.
For Clara, good food should taste great, nourish your body, and feel easy to make. Her recipes highlight whole foods, colorful produce, and a deep respect for seasonal eating.