Dreamy Strawberry Crunch Cheesecake Tacos Recipe for Sweet Fans
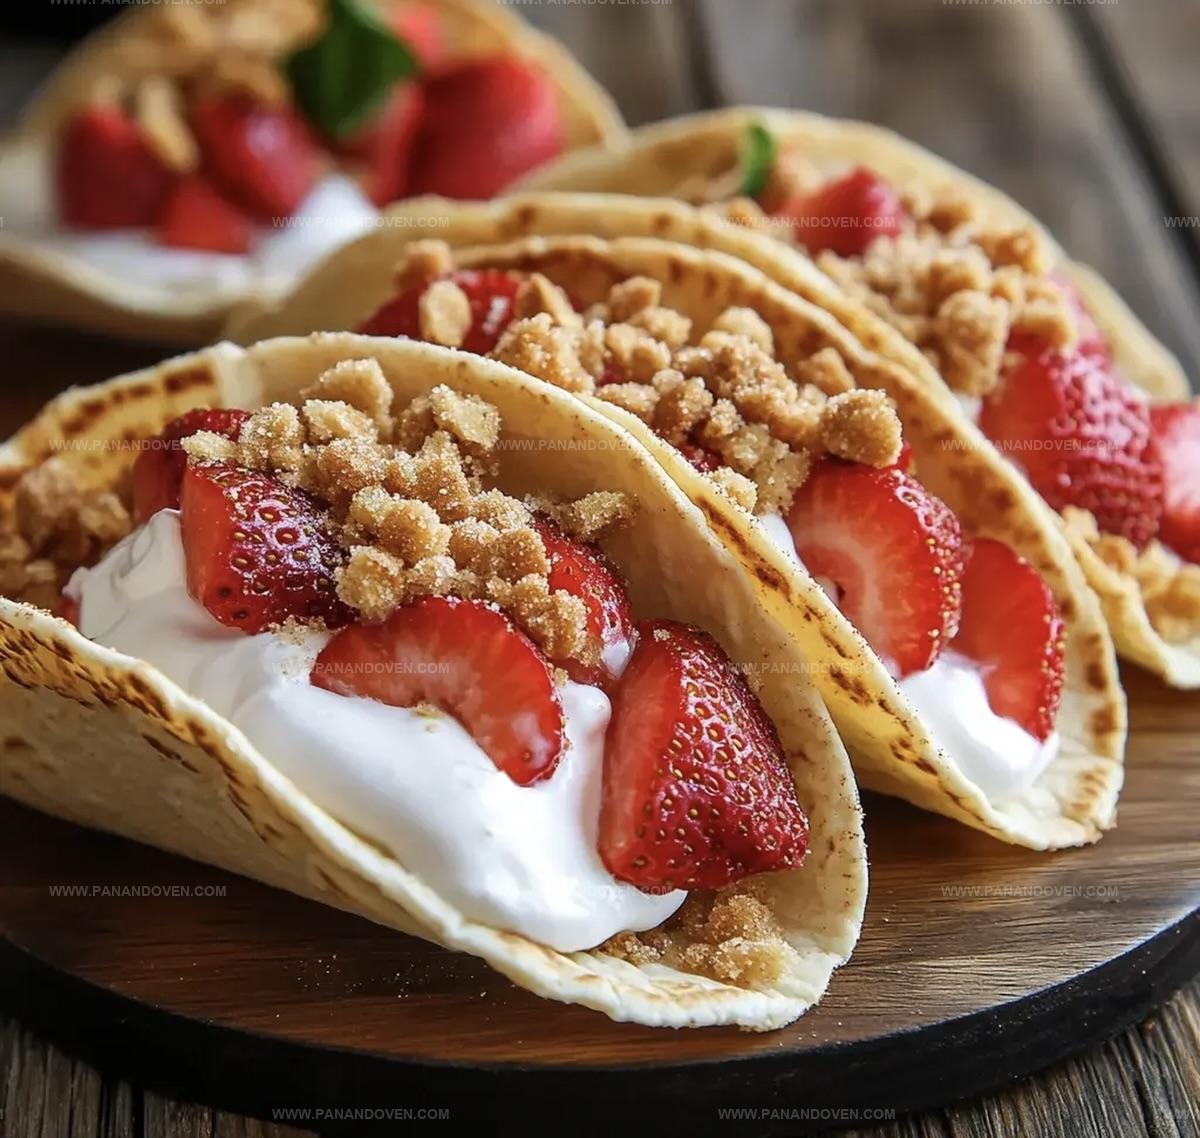
Sweet meets savory in these delightful strawberry crunch cheesecake tacos that blend creamy textures with crisp, fruity goodness.
Dessert lovers will fall head over heels for this unexpected twist on traditional treats.
The combination of crunchy shells and smooth cheesecake filling creates a magical culinary experience.
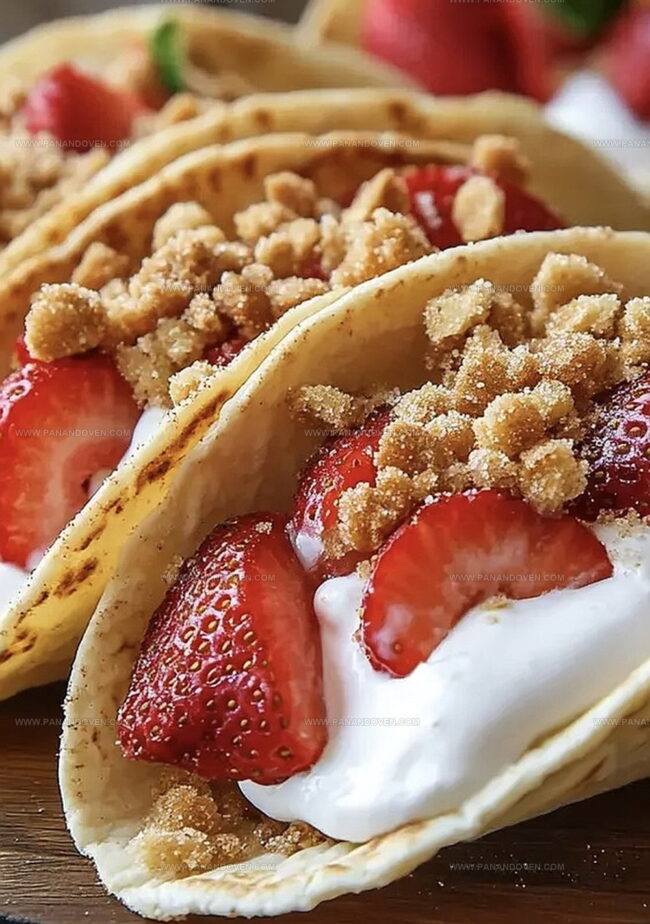
Strawberries add a burst of fresh, vibrant flavor that dances across your palate.
Each bite promises a perfect balance of sweetness and texture that will leave you craving more.
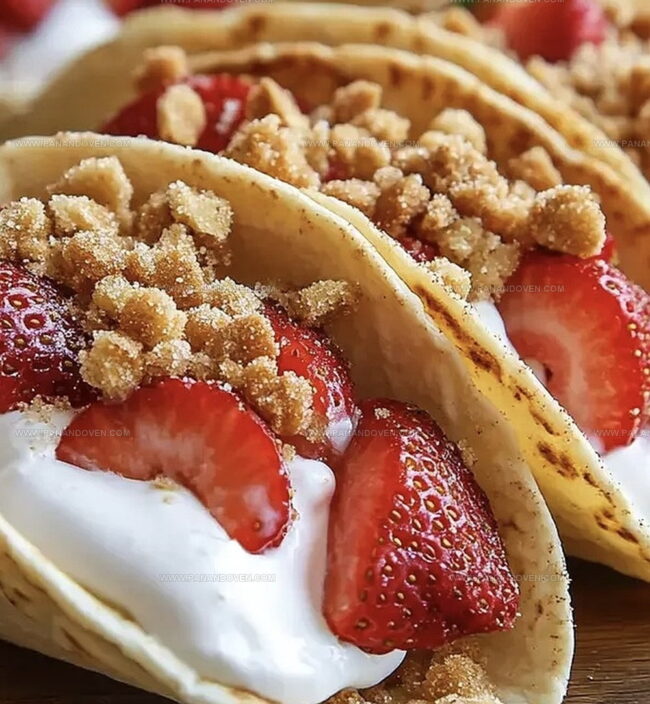
These irresistible tacos transform an ordinary dessert into an extraordinary adventure.
Prepare to indulge in a dessert that breaks all the rules and delights every sense.
Strawberry Crunch Cheesecake Tacos: Dessert You’ll Remember
All You Need for Strawberry Cheesecake Tacos
Taco Shell Base:Cheesecake Filling:Fruit and Frying Components:Additional Ingredients:Taco Assembly Tools for Cheesecake Night
Steps for Crispy Strawberry Cheesecake Tacos
Step 1: Craft Delicious Crust Blend
In a mixing bowl, combine the following ingredients:Mix thoroughly until the ingredients are well integrated and create a consistent texture.
Set the mixture aside for later use.
Step 2: Whip Creamy Cheesecake Filling
In a large mixing bowl, blend cream cheese, powdered sugar, and vanilla extract until smooth and creamy.
In a separate bowl, whip heavy cream until it forms stiff, fluffy peaks.
Gently fold the whipped cream into the cream cheese mixture, creating a light and airy filling.
Step 3: Assemble Taco Foundations
Spoon the luscious cheesecake filling into the center of each tortilla.
Sprinkle fresh diced strawberries over the filling.
Carefully fold the tortillas into taco shapes, securing with toothpicks if needed to maintain the shape.
Step 4: Crisp up the Tacos
Heat oil in a large skillet over medium heat.
Carefully place the assembled tacos into the hot oil.
Fry each side until they turn a beautiful golden brown and become wonderfully crispy, approximately 2-3 minutes per side.
Remove from oil and let drain on paper towels to remove excess oil.
Step 5: Create Crunchy Coating
Roll the freshly fried tacos in the prepared graham cracker mixture, ensuring they are evenly and generously coated with the crunchy blend.
Step 6: Plate and Enjoy
Serve the strawberry crunch cheesecake tacos while they’re warm.
For an extra indulgent touch, offer additional cheesecake filling or fresh strawberries on the side for dipping or topping.
Tricks for Perfect Dessert Taco Crunch
Cheesecake Taco Flavor Swaps
Serving Ideas for Cheesecake Tacos
Storing Dessert Tacos for the Next Craving
FAQs
The key ingredients include graham cracker crumbs, butter, cream cheese, powdered sugar, vanilla extract, heavy cream, strawberries, and tortillas for creating this unique dessert.
No, this recipe is relatively easy to prepare. With basic cooking skills and following the step-by-step instructions, most home cooks can successfully make these delicious dessert tacos.
You can prepare the cheesecake filling and graham cracker mixture in advance. However, it’s best to fry and assemble the tacos just before serving to maintain their crispy texture and freshness.
Print
Strawberry Crunch Cheesecake Tacos Recipe
- Total Time: 30 minutes
- Yield: 6 1x
Description
Sweet strawberry crunch cheesecake tacos blend crisp waffle shells with creamy cheesecake filling and fresh berries. Delightful dessert layers combine Mexican-inspired taco shapes with classic American cheesecake flavors for an unexpected culinary adventure.
Ingredients
Main Ingredients:
- 6 small flour tortillas
- 1 cup diced strawberries
- 8 ounces (226 grams) cream cheese, softened
Shell and Base Ingredients:
- 1 cup graham cracker crumbs
- 1/4 cup (60 milliliters) melted butter
- 1/4 cup (50 grams) granulated sugar
- 1/2 cup (60 grams) powdered sugar
- Oil for frying
Filling and Flavoring Ingredients:
- 1 cup (240 milliliters) heavy cream
- 1 teaspoon vanilla extract
Instructions
- Craft a delectable base by blending graham cracker crumbs with melted butter and granulated sugar until the mixture achieves a uniform consistency.
- Create a luxurious filling by whipping cream cheese with powdered sugar and vanilla extract until silky smooth. Separately whip heavy cream to stiff peaks, then delicately incorporate into the cream cheese mixture.
- Carefully distribute the creamy filling across tortillas, strategically placing diced strawberries throughout. Gently fold each tortilla into a taco shape, using toothpicks to secure if needed.
- Prepare a skillet with oil heated to medium temperature (around 350°F). Carefully fry each taco until they transform into a golden, crispy texture, approximately 2-3 minutes per side. Transfer to paper towels to absorb excess oil.
- Generously coat the freshly fried tacos by rolling them in the prepared graham cracker mixture, ensuring complete coverage.
- Present the strawberry crunch cheesecake tacos while warm, optionally accompanied by additional cheesecake filling or fresh strawberry garnishes for an extra touch of indulgence.
Notes
- Choose firm, ripe strawberries to ensure the best flavor and texture in your filling, preventing excess moisture that could make the tacos soggy.
- Ensure cream cheese is at room temperature for smoother blending and easier mixing with other ingredients.
- Pat strawberries dry after dicing to prevent extra liquid from making the tortillas soggy during frying.
- Use corn tortillas for a more authentic taco texture and better crispiness when fried.
- Maintain consistent oil temperature around 350°F for even golden-brown frying without burning.
- Prepare filling and graham cracker coating ahead of time to streamline the assembly process.
- Cool fried tacos briefly before coating to help graham cracker mixture adhere better.
- Store leftover tacos in an airtight container in the refrigerator and consume within 1-2 days for optimal taste and crunch.
- Prep Time: 20 minutes
- Cook Time: 10 minutes
- Category: Desserts, Snacks
- Method: Frying
- Cuisine: American
Nutrition
- Serving Size: 6
- Calories: 370
- Sugar: 20 g
- Sodium: 150 mg
- Fat: 22 g
- Saturated Fat: 13 g
- Unsaturated Fat: 7 g
- Trans Fat: 0 g
- Carbohydrates: 36 g
- Fiber: 1 g
- Protein: 4 g
- Cholesterol: 60 mg
Marcus Reed
Founder & Food Content Creator
Expertise
Single-recipe development, Seasonal and local ingredient utilization, Food photography and styling, Culinary writing and content creation
Education
Culinary Arts Certificate, Blue Ridge Community and Technical College, WV
Focus: Fundamentals of culinary techniques, emphasizing hands-on experience in small-scale kitchen settings.
Marcus’s story begins in Asheville, where good food and family kitchens shaped his earliest memories. After hands-on culinary training and a lot of trial (and a little error), he realized that real cooking isn’t about perfection, it’s about connection.
At Pan and Oven, Marcus crafts recipes that are easy to follow, packed with flavor, and built for real kitchens.