Scrumptious Strawberry Cheesecake Dump Cake Recipe for All
Summer’s sweetest dessert meets pure comfort with this strawberry cheesecake dump cake that promises pure bliss in every single bite.
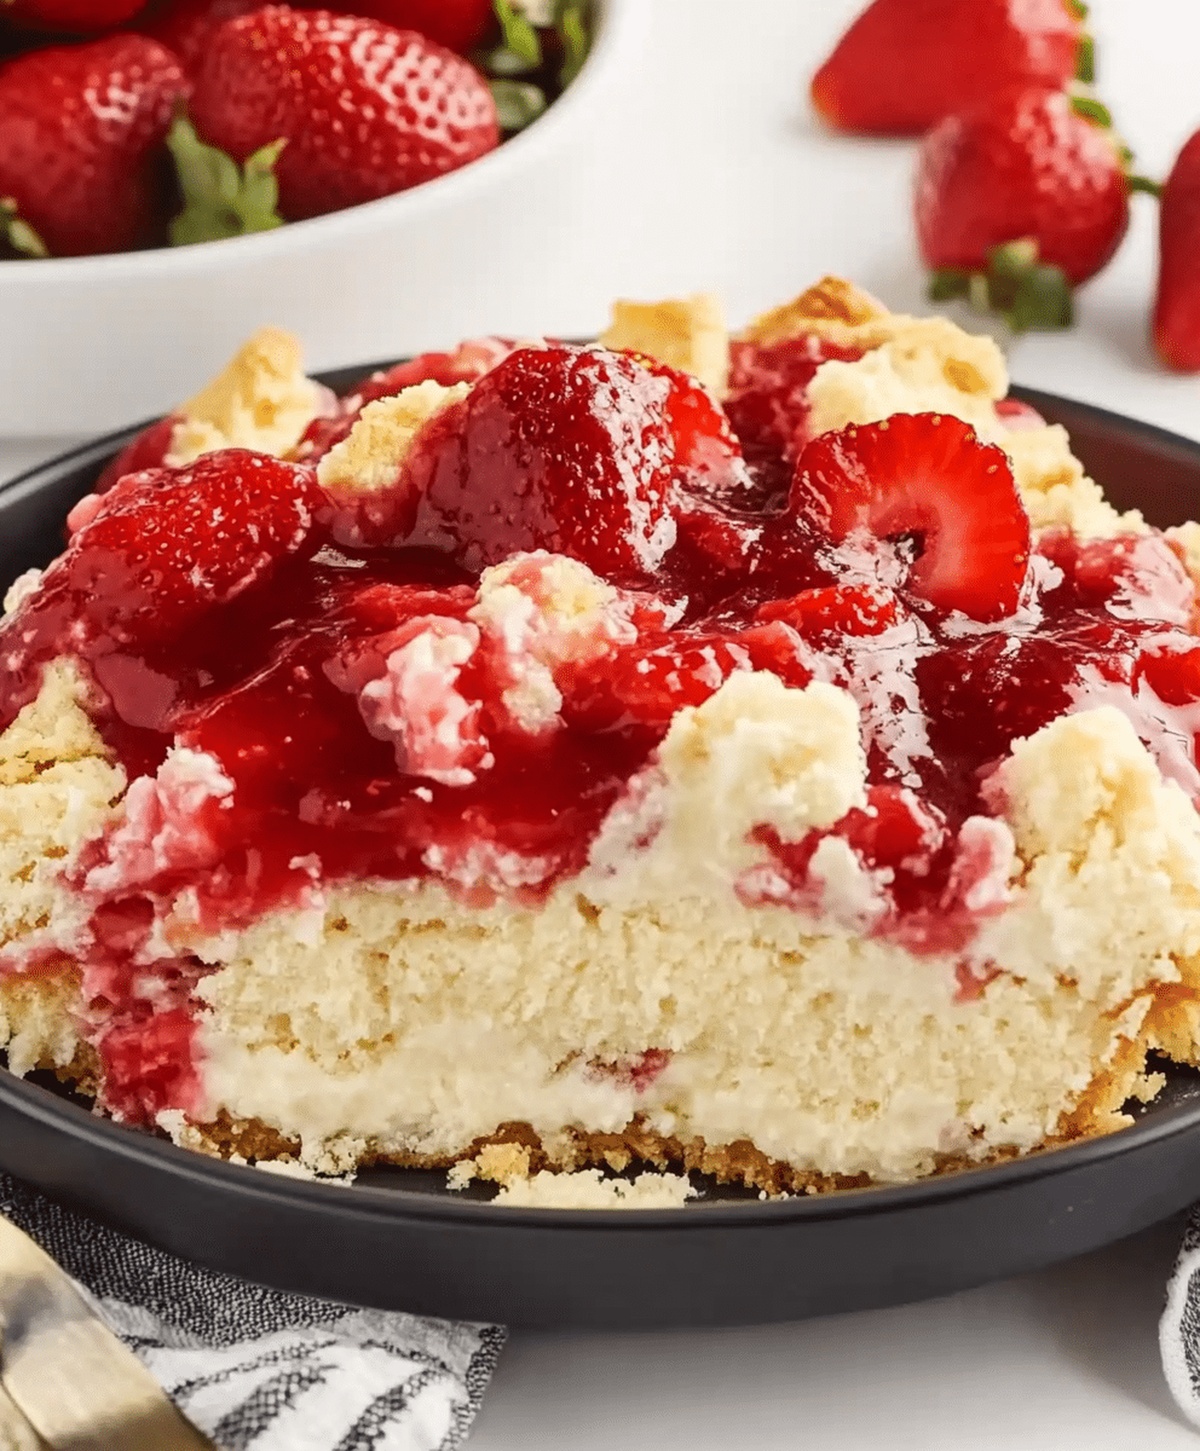
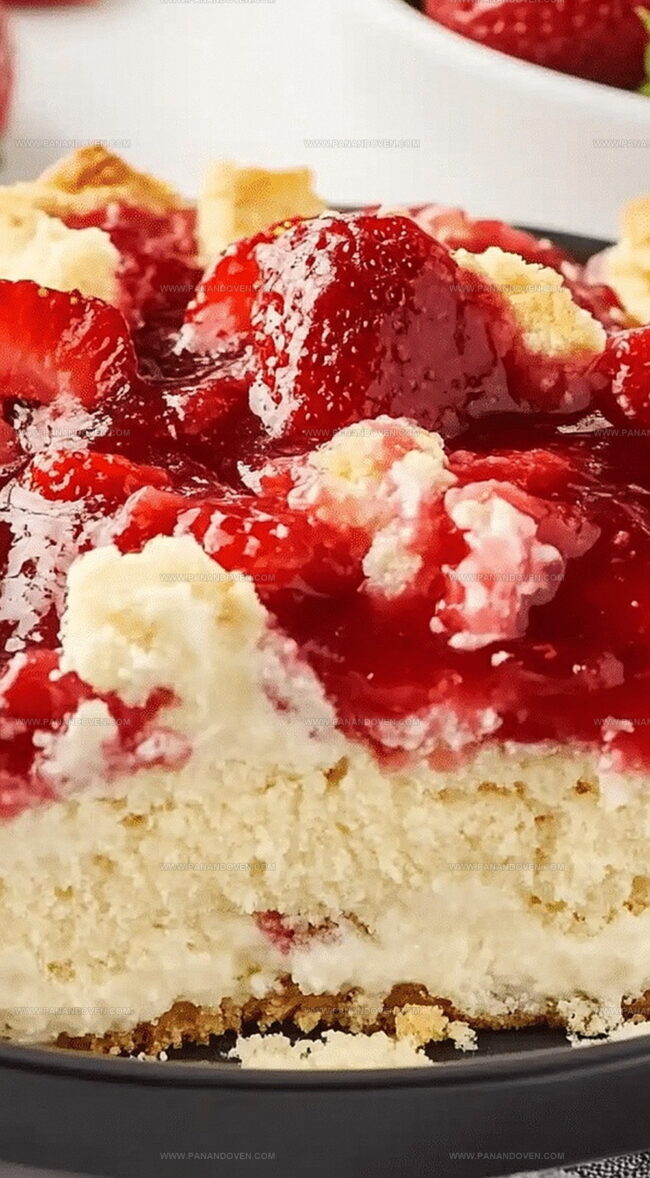
Creamy cheesecake layers mingle with bright, fresh strawberries in a dessert that comes together faster than traditional baking methods.
The magic happens when simple ingredients cascade into a delectable treat that looks professionally crafted.
Forget complicated steps and endless mixing bowls – this recipe delivers maximum flavor with minimal effort.
Crumbles of buttery cake top a luscious strawberry and cream cheese base, creating a dessert that feels both indulgent and effortless.
Each forkful offers a perfect balance of tangy cheesecake and sweet strawberry goodness.
You’ll want to savor every delightful spoonful of this irresistible dessert that’s sure to become a family favorite.
Why Dump Cakes Like This One Are Always a Hit
Strawberry Cheesecake Dump Cake Ingredient List
Fruit Base:Cheesecake Layer:Cake and Topping:How to Assemble a No-Fuss Cheesecake Dump Cake
Step 1: Prepare the Oven
Crank up the oven to a toasty 350°F.
This warm environment will soon transform your ingredients into a mouthwatering dessert.
Step 2: Create the Strawberry Base
Grab your 9×13″ baking dish and spread out the strawberry pie filling across the bottom.
The fruity layer will create a vibrant foundation for your cake.
Step 3: Whip Up the Creamy Cheesecake Layer
In a mixing bowl, blend together:Whisk until the mixture becomes silky smooth with no lumps.
Your goal is a dreamy, velvety texture that will melt in your mouth.
Step 4: Distribute the Cheesecake Mixture
Carefully drop spoonfuls of the cheesecake mixture across the strawberry filling.
Don’t stress about perfection – a rustic approach works beautifully here.
Step 5: Sprinkle the Cake Mix
Evenly shower the dry cake mix over the entire surface.
Let it sit as a powdery blanket – no stirring required.
Step 6: Add the Butter Finishing Touch
Slice the cold butter into thin pieces and scatter them generously across the cake mix.
These buttery fragments will create a golden, crispy topping that will make everyone’s mouth water.
Step 7: Bake to Perfection
Slide the dish into the oven and bake for 40-45 minutes.
Watch for a beautiful golden-brown top and bubbling strawberry edges – these are your signs of a successful dessert.
Step 8: Let It Rest
Remove from the oven and allow the cake to cool slightly.
This brief resting period helps the cheesecake layer set, ensuring each slice is absolutely divine.
Tips to Get a Perfectly Gooey Bake
How to Store and Serve Leftover Dump Cake
Great Pairings for This Dessert Mash-Up

Ways to Switch Up the Cheesecake Flavor
FAQs
Fresh strawberries aren’t recommended. Pie filling provides the right moisture and consistency for this dump cake recipe, ensuring the best texture and flavor.
No, add the dry cake mix directly from the box. The butter will help it form a crumbly, golden topping during baking.
Use full-fat, room temperature cream cheese for the smoothest cheesecake layer. Philadelphia cream cheese is a reliable brand that works perfectly in this recipe.
Yes! You can prepare the cake up to a day in advance and refrigerate. Bake just before serving for the best taste and texture.
Print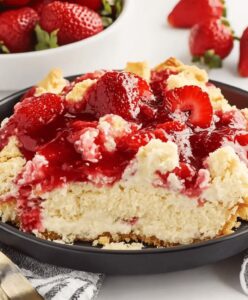
Strawberry Cheesecake Dump Cake Recipe
- Total Time: 1 hour
- Yield: 8 1x
Description
Indulgent strawberry cheesecake dump cake brings creamy, sweet comfort to dessert lovers. Effortless preparation meets rich flavors, promising a delightful treat you’ll savor with every delectable bite.
Ingredients
Main Ingredients:
- 2 (15 ounces/425 grams) cans strawberry pie filling
- 1 package vanilla or white cake mix
- 8 ounces (226 grams) cream cheese, softened
- 1 large egg
Dairy and Sugar:
- 1/2 cup (113 grams) salted butter, cold
- 1/4 cup (50 grams) granulated sugar
Garnish:
- Fresh strawberries, whole or halved (optional)
Instructions
- Preheat the oven to 350°F, creating the ideal temperature for a perfectly baked dessert.
- Pour both cans of strawberry pie filling into an ungreased 9×13″ baking dish, spreading evenly to create a vibrant fruity base.
- In a mixing bowl, whip the cream cheese, egg, and sugar until achieving a silky-smooth consistency with no lumps.
- Carefully distribute dollops of the cheesecake mixture across the strawberry filling, ensuring an even spread without perfect precision.
- Generously cascade the dry cake mix over the entire surface, allowing it to sit untouched and powdery.
- Strategically arrange thin butter slices across the cake mix, covering the entire top layer to guarantee a golden and crisp exterior.
- Transfer to the preheated oven and bake for 40-45 minutes, watching for a golden-brown top and bubbling strawberry edges that signal perfect doneness.
- Allow the dessert to rest briefly after removing from the oven, permitting the cheesecake layer to stabilize and create a harmonious texture before serving.
Notes
- Ensure cream cheese is truly softened at room temperature for the smoothest, lump-free cheesecake layer.
- For a gluten-free version, swap regular cake mix with a gluten-free alternative without compromising texture.
- Consider adding a sprinkle of chopped fresh strawberries on top after baking for extra freshness and visual appeal.
- Prep Time: 15 minutes
- Cook Time: 45 minutes
- Category: Desserts
- Method: Baking
- Cuisine: American
Nutrition
- Serving Size: 8
- Calories: 280
- Sugar: 20 g
- Sodium: 220 mg
- Fat: 10 g
- Saturated Fat: 6 g
- Unsaturated Fat: 3 g
- Trans Fat: 0 g
- Carbohydrates: 43 g
- Fiber: 0 g
- Protein: 3 g
- Cholesterol: 35 mg
Clara Thompson
Recipe Developer & Food Educator
Expertise
Plant-based and vegetarian recipe development, Nutritional analysis and meal planning, Culinary education and workshop facilitation, Content writing with a focus on healthy living
Education
Diploma in Culinary Arts, Mt. San Jacinto College, CA
Focus: Comprehensive culinary training with an emphasis on sustainable cooking practices.
Certificate in Nutrition and Healthy Living, Cornell University (Online Program)
Focus: Understanding the principles of nutrition to create balanced and health-conscious recipes.
Clara lives where fresh ideas and fresh ingredients meet. She pairs her culinary know-how with her passion for healthy, planet-friendly cooking.
For Clara, good food should taste great, nourish your body, and feel easy to make. Her recipes highlight whole foods, colorful produce, and a deep respect for seasonal eating.