Sizzling Steak Fajita Crunch Bombs Recipe: Zesty Homemade Bites
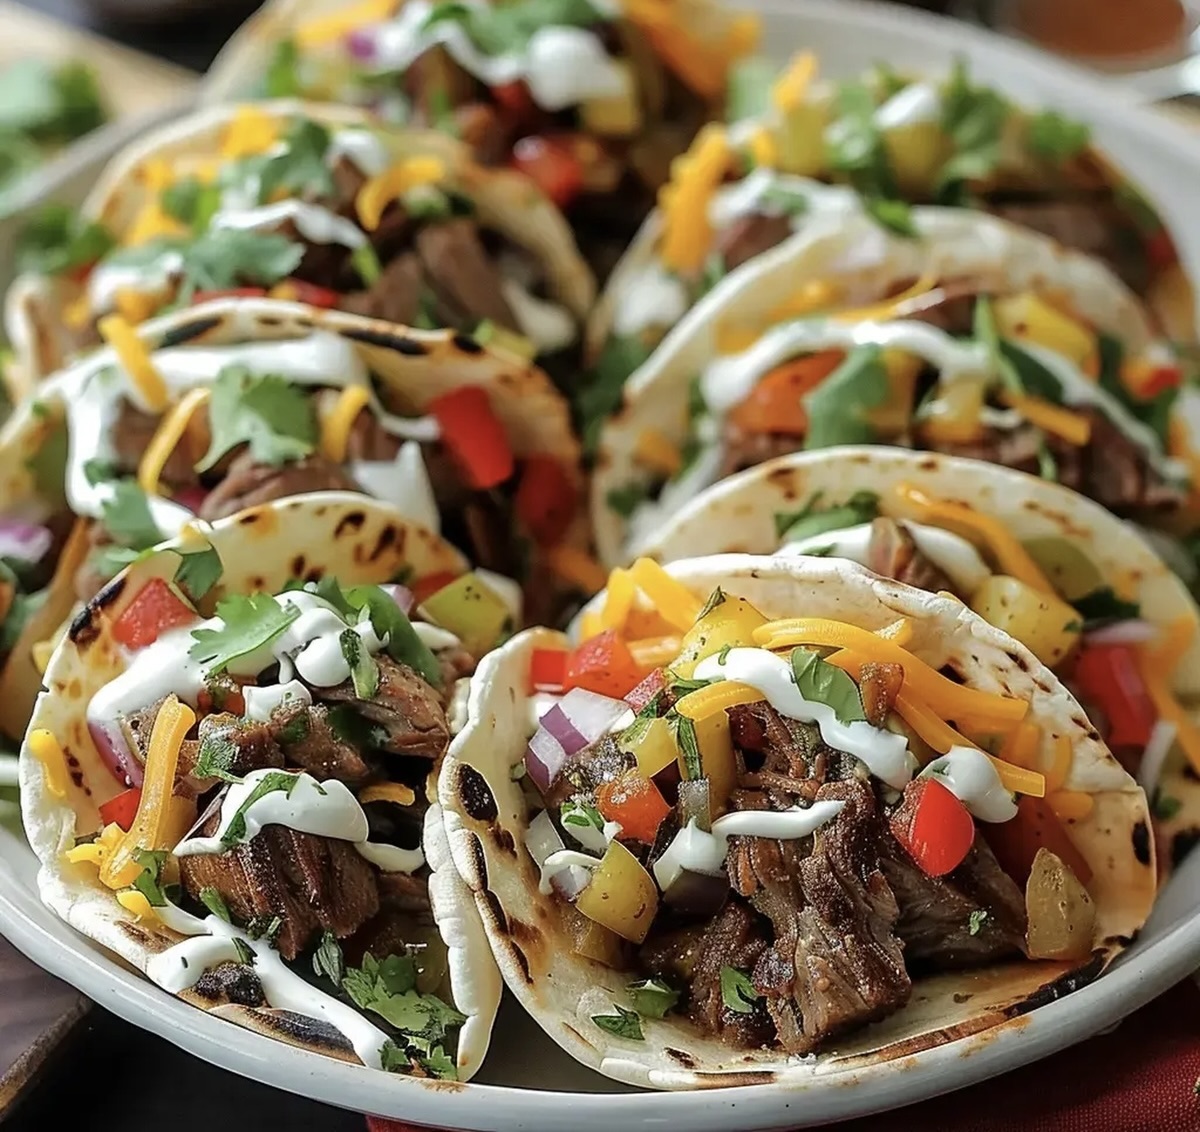
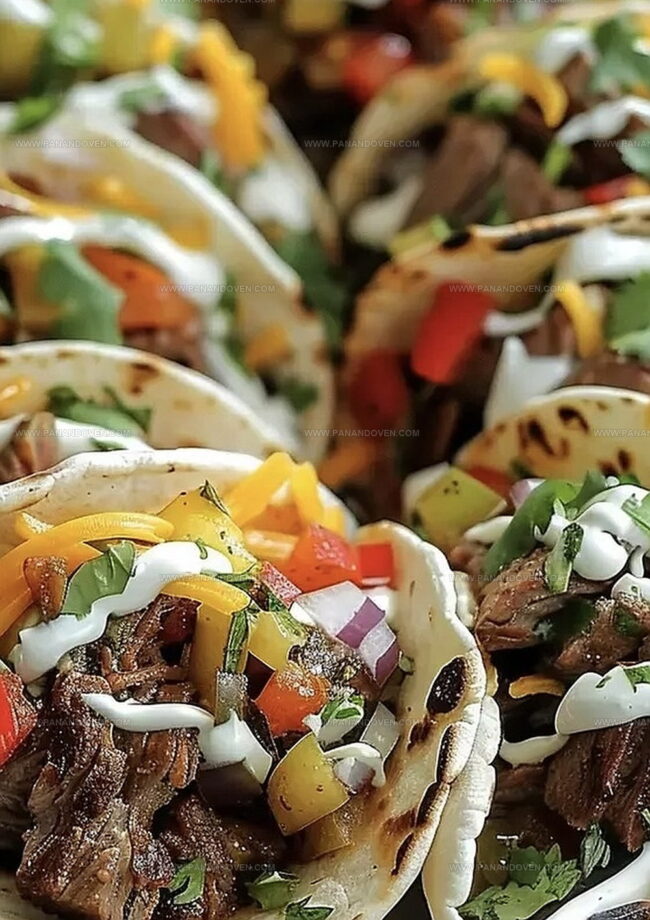
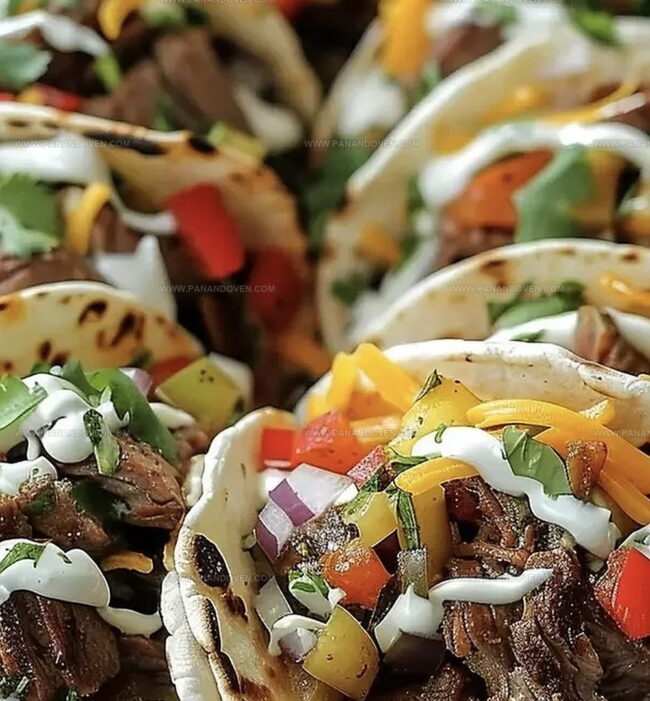
Crispy tortilla shells packed with tender, juicy steak fajita crunch bombs burst with zesty southwestern flavors that dance across your palate.
These handheld delights combine the best of Mexican-inspired cuisine with irresistible crunch and spice.
Melted cheese hugs seasoned strips of steak nestled inside golden, crispy shells.
Each bite delivers a perfect balance of textures and robust flavors that will electrify your taste buds.
Loaded with bell peppers, onions, and a secret blend of spices, these crunch bombs are sure to become a crowd-pleasing favorite.
The simple preparation means you can whip up these mouthwatering morsels in no time.
Prepare to devour a seriously addictive appetizer that brings restaurant-style excitement straight to your kitchen.
Why Steak Fajita Crunch Bombs Are Such a Hit
Everything Needed for Steak Fajita Crunch Bombs
Main Protein:Vegetables:Cheese Group:Seasoning Group:Wrap and Crunch Group:Garnish:Equipment List for Crunchy Steak Fajita Bombs
How to Assemble Steak Fajita Crunch Bombs at Home
Step 1: Season The Steak
Grab your flank steak and give it a flavor explosion.
Drizzle olive oil all over, then sprinkle with:Fire up a pan on high heat and sear the steak for 3 minutes on each side.
Pull the steak off and let it chill for 10 minutes to lock in those juicy flavors.
Step 2: Sauté The Veggies
Crank your oven to 350°F.
Lower the pan heat to medium and add oil, then toss in:Cook until onions turn translucent.
Slide in bell peppers with a dash of salt and pepper.
Cook for 5 minutes until peppers soften and start to caramelize.
Step 3: Prepare The Filling
Slice the rested steak into tiny 1/4-inch cubes.
Dump the steak cubes into the veggie pan and mix everything together.
Turn off the heat.
Step 4: Create The Bombs
Lay out a tortilla and create your flavor base:Wrap the tortilla tightly around the filling like a delicious present.
Step 5: Bake To Golden Perfection
Arrange the bombs on a baking sheet.
Slide into the oven and bake 10-15 minutes until tortillas turn golden and cheese melts into gooey goodness.
Step 6: Finish And Serve
Pull the bombs out and let them cool slightly.
Shower with fresh chopped cilantro.
Serve immediately and watch everyone’s eyes light up!
Key Tips for Crispy, Flavorful Fajita Crunch Bombs
Twist Up Your Crunch Bombs with Fresh Ingredients
Serving Up Steak Fajita Crunch Bombs in Style
Storing Steak Fajita Crunch Bombs for Easy Snacking
FAQs
The tortilla chips provide a crunchy texture and act as a base layer inside the fajita bomb, adding extra crunch and structural support to the wrapped filling.
Cutting the steak into small cubes helps distribute the meat evenly throughout the fajita bombs, ensuring each bite has a balanced mix of steak, vegetables, and cheese.
Yes, you can easily customize the spice by increasing or decreasing the amount of chili powder and cumin during the initial steak seasoning. You can also add red pepper flakes for extra heat.
Print
Steak Fajita Crunch Bombs Recipe
- Total Time: 45 minutes
- Yield: 6 1x
Description
Savory chicken and beef steak fajita crunch bombs blend Mexican-inspired flavors with crispy textures. Spicy fillings and crunchy shells create an irresistible appetizer that you’ll devour in moments.
Ingredients
Proteins:
- 1 lb (454 g) flank steak
- 8 oz (227 g) Monterey Jack cheese, sliced into 1-inch pieces
- 3 cups shredded Mexican cheese blend
Vegetables and Seasonings:
- 4 cloves garlic, chopped
- 1 yellow onion, chopped
- 3 bell peppers, seeded, diced
- 1 teaspoon salt
- 1 teaspoon pepper
- 1 teaspoon cumin
- 1 teaspoon chili powder
- 2 tablespoons fresh cilantro, chopped
Breads and Additional Ingredients:
- 9 medium flour tortillas
- 18 tortilla chips
- 1 tablespoon olive oil
Instructions
- Marinate the flank steak with olive oil, salt, pepper, cumin, and chili powder, ensuring even coating.
- Sear the seasoned steak in a high-heat pan for 3 minutes per side until nicely browned. Transfer to a cutting board and rest for 10 minutes.
- Reduce pan heat to medium and sauté minced garlic and sliced onions until translucent, approximately 2-3 minutes.
- Add bell peppers to the pan, season with salt and pepper, and cook until softened, about 5 minutes.
- Slice the rested steak into small, uniform cubes. Incorporate the meat into the vegetable mixture, stirring to combine flavors.
- Preheat oven to 350°F. Lay out tortillas and create a base layer of shredded Mexican cheese in the center.
- Position two tortilla chips side by side over the cheese. Place a chunk of Monterey Jack cheese on top.
- Spoon the fajita mixture over the cheese and chips, ensuring balanced distribution.
- Carefully fold and wrap the tortilla around the fillings, creating a sealed package.
- Arrange the wrapped fajita bombs on a baking sheet, seam-side down.
- Bake for 12-15 minutes until tortillas turn golden and cheese melts completely.
- Remove from oven, let cool briefly, and garnish with freshly chopped cilantro before serving.
Notes
- Maximize Meat Tenderness Let the steak rest after cooking to allow juices to redistribute, ensuring each bite remains incredibly tender and flavorful.
- Customize Spice Levels Adjust the cumin and chili powder according to personal heat preferences, creating a personalized flavor profile that suits individual tastes.
- Vegetarian Adaptation Swap flank steak with plant-based protein like seasoned tofu or jackfruit for a delicious meat-free alternative that maintains the recipe’s bold southwestern flavors.
- Cheese Flexibility Experiment with different cheese combinations like pepper jack, sharp cheddar, or queso fresco to create unique flavor variations and explore different texture profiles.
- Prep Time: 20 minutes
- Cook Time: 25 minutes
- Category: Dinner, Appetizer, Snacks
- Method: Baking
- Cuisine: Mexican
Nutrition
- Serving Size: 6
- Calories: 550
- Sugar: 2 g
- Sodium: 700 mg
- Fat: 30 g
- Saturated Fat: 15 g
- Unsaturated Fat: 10 g
- Trans Fat: 0 g
- Carbohydrates: 45 g
- Fiber: 3 g
- Protein: 30 g
- Cholesterol: 80 mg
Marcus Reed
Founder & Food Content Creator
Expertise
Single-recipe development, Seasonal and local ingredient utilization, Food photography and styling, Culinary writing and content creation
Education
Culinary Arts Certificate, Blue Ridge Community and Technical College, WV
Focus: Fundamentals of culinary techniques, emphasizing hands-on experience in small-scale kitchen settings.
Marcus’s story begins in Asheville, where good food and family kitchens shaped his earliest memories. After hands-on culinary training and a lot of trial (and a little error), he realized that real cooking isn’t about perfection, it’s about connection.
At Pan and Oven, Marcus crafts recipes that are easy to follow, packed with flavor, and built for real kitchens.