The Enchanting Spiderweb Cheesecake Recipe: Spooky Dessert Magic
Hauntingly beautiful desserts can captivate the senses, especially when a spiderweb cheesecake takes center stage at Halloween gatherings.
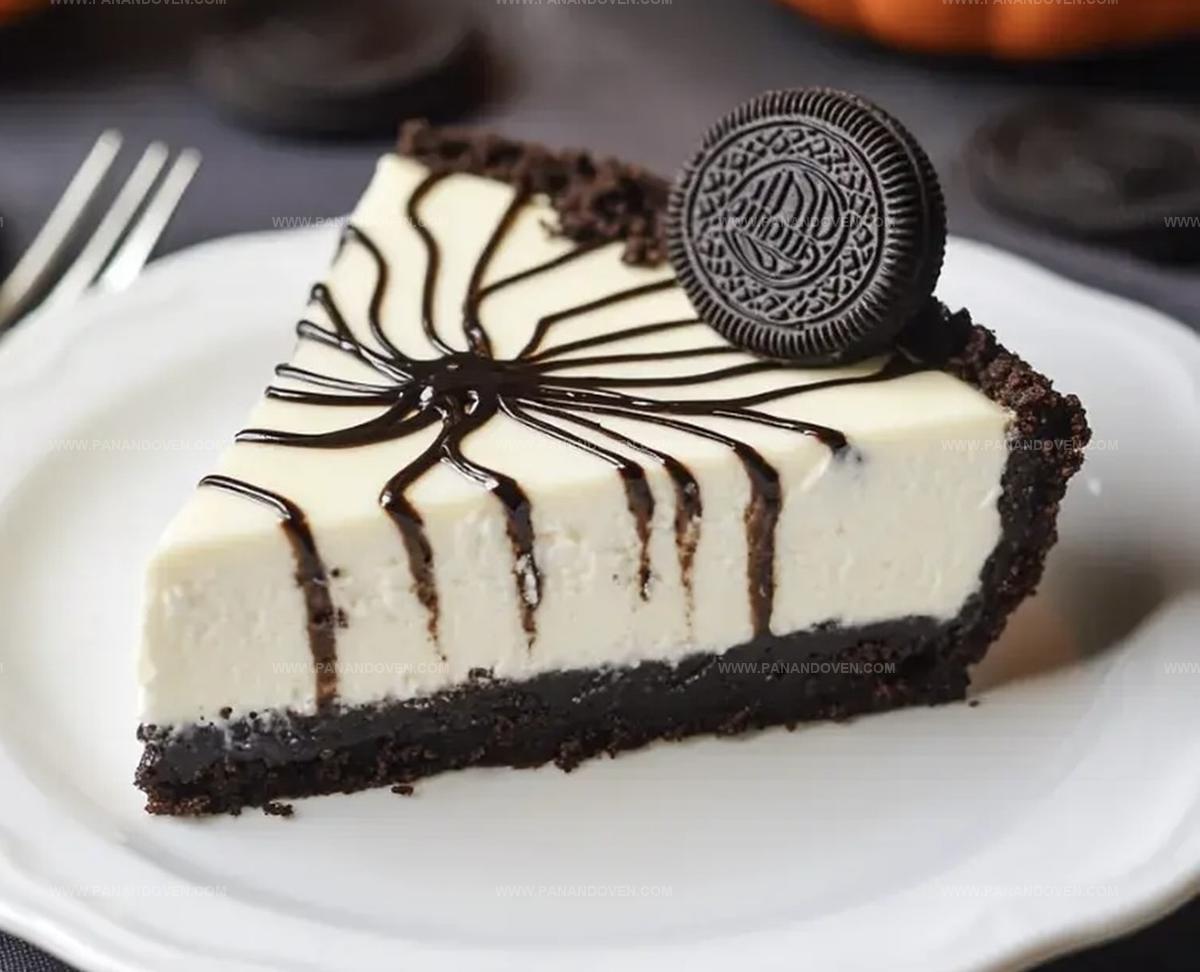
This eerie yet elegant treat weaves chocolate magic into a classic creamy base, creating a stunning visual masterpiece.
Dark swirls dance across the white canvas, mimicking delicate spider silk with precision and artistry.
Chocolate drizzles form intricate patterns that will mesmerize every guest at your festive table.
The contrast between the smooth cheesecake and dramatic web design makes this dessert both delicious and dramatically eye-catching.
Each slice promises a perfect balance of rich flavor and spooky sophistication.
Your Halloween celebration deserves a showstopping finale that will leave everyone spellbound.
Spooky Spiderweb Cheesecake Everyone Remembers
Must-Have Ingredients for Spiderweb Cheesecake

Tools for Crafting the Perfect Spiderweb Cheesecake

Steps to Spooky No-Bake Spiderweb Cheesecake
Step 1: Prepare Baking Dish
Grab a 9-inch springform pan and coat it thoroughly with non-stick cooking spray.
This will help your cheesecake slide out smoothly later.
Step 2: Crumble Cookie Base
Transform Oreo cookies into fine crumbs using either a food processor or a classic crush method with a rolling pin inside a sealed zip-top bag.
Work those cookies until they become a powdery texture.
Step 3: Combine Crumb Mixture
Melt butter and pour it over the Oreo crumbs.
Mix everything together until the crumbs look like damp, dark sand that will hold its shape when pressed.
Step 4: Form Crust Foundation
Press the cookie mixture firmly into the bottom of the prepared pan.
Use the back of a spoon or your fingers to create an even, compact layer.
Pop the pan into the refrigerator to let the crust set and chill.
Step 5: Whip Cream Cheese Base
In a spacious mixing bowl, blend softened cream cheese with sugar and a splash of lemon juice.
Beat these ingredients until they transform into a smooth, creamy consistency with no lumps.
Step 6: Incorporate Whipped Cream
In a separate bowl, whip cold heavy cream until it forms stiff, cloud-like peaks.
Gently fold this airy cream into the cream cheese mixture, creating a light and fluffy filling.
Step 7: Fill Cheesecake Layer
Pour the creamy mixture over the chilled crust.
Use a spatula to spread it evenly, creating a perfectly smooth surface.
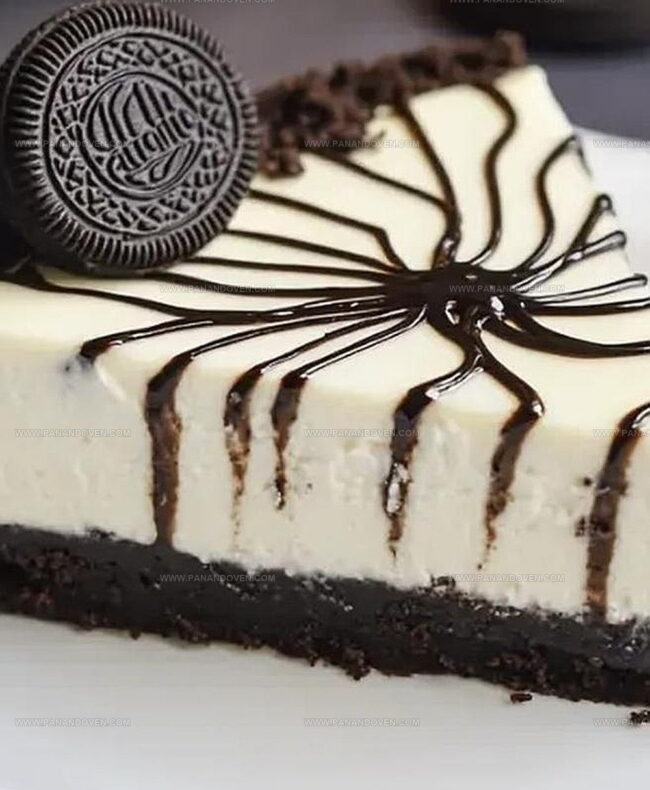
Step 8: Design Spooky Spiderweb
Melt dark chocolate chips and transfer the melted chocolate to a piping bag.
Starting from the center of the cheesecake, pipe a delicate spiral pattern across the top.
Step 9: Create Haunting Web Design
Take a toothpick and draw gentle lines from the center of the spiral outward.
These lines will transform your spiral into a classic spiderweb pattern that looks eerily perfect.
Step 10: Chill And Set
Place the cheesecake in the refrigerator for a minimum of 4 hours, though overnight is ideal.
This allows the dessert to set completely and develop rich, creamy flavors.
Serve cold and watch your Halloween guests be amazed!
Tips for a Smooth and Stunning Spiderweb Finish
Ways to Switch Up Your Halloween Cheesecake
Fun Serving Ideas for Spiderweb Cheesecake Parties
Storing Spiderweb Cheesecake for Halloween Leftovers
FAQs

Yes, you can substitute Oreos with graham crackers or chocolate cookies. Just make sure to use the same amount of crushed cookies and melted butter to maintain the right consistency.
A springform pan is recommended, but you can use a regular cake pan with parchment paper. A hand mixer or stand mixer helps, but you can also mix by hand with a bit more effort.
Absolutely! Kids love the spooky spiderweb design and the sweet, creamy taste. It’s a fun Halloween treat that’s easy to make and enjoyable for all ages.
The chocolate piping and spiderweb creation takes about 3-5 minutes.
Print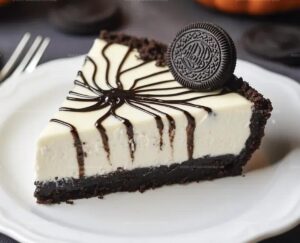
Spiderweb Cheesecake Recipe
- Total Time: 4 hours 30 minutes
- Yield: 8 1x
Description
Silky spiderweb cheesecake delivers Halloween horror on a dessert plate. Chocolate drizzle and web design create spine-chilling deliciousness you’ll crave during spooky season.
Ingredients
Main Ingredients:
- 16 ounces (454 grams) cream cheese, softened
- 1 cup (240 milliliters) heavy whipping cream, cold
- 35 Oreos
- 1/2 cup (100 grams) granulated sugar
Binding and Flavor Ingredients:
- 5 tablespoons (75 milliliters) unsalted butter, melted
- 2 teaspoons pure vanilla extract
- 2 teaspoons fresh lemon juice
Decoration Ingredient:
- 1/4 cup (45 grams) dark chocolate chips or chunks
Instructions
- Prepare the springform pan by coating with non-stick spray, ensuring complete coverage for easy removal later.
- Transform Oreo cookies into fine, uniform crumbs using a food processor or by crushing within a sealed bag with a rolling pin.
- Combine cookie crumbs with melted butter, mixing until the texture resembles damp, compacted sand.
- Firmly press the crumb mixture into the pan’s bottom, creating a compact, even layer. Chill in refrigerator for 15 minutes to solidify.
- In a large mixing bowl, blend cream cheese, sugar, and lemon juice until the mixture becomes silky smooth and free of lumps.
- Whip cold heavy cream in a separate bowl until it forms distinct, sturdy peaks. Delicately fold the whipped cream into the cream cheese mixture, maintaining its airy texture.
- Carefully spread the cheesecake filling across the chilled crust, using a spatula to create a perfectly level surface.
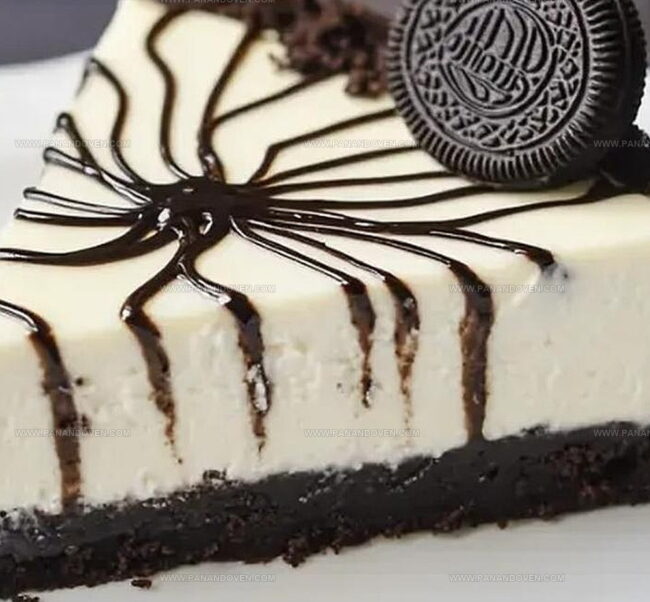
- Gently melt dark chocolate chips, then transfer the liquid chocolate to a piping bag. Create a precise spiral pattern starting from the cheesecake’s center.
- Use a thin toothpick to draw elegant, radiating lines from the spiral’s center, crafting an intricate spiderweb design.
- Refrigerate the cheesecake for a minimum of 4 hours or ideally overnight, allowing it to set completely. Remove from pan and serve chilled for optimal flavor and texture.
Notes
- Opt for high-quality cream cheese at room temperature to ensure a smooth, lump-free mixture that blends perfectly.
- Crush Oreos thoroughly to create a uniform, compact crust that holds together well when sliced.
- Use cold heavy cream and whip it just until stiff peaks form to maintain the cheesecake’s light and airy texture.
- For a gluten-free version, substitute Oreo cookies with gluten-free chocolate sandwich cookies or graham crackers.
- Prep Time: 30 minutes
- Cook Time: 4 hours
- Category: Desserts
- Method: Chilling
- Cuisine: American
Nutrition
- Serving Size: 8
- Calories: 320
- Sugar: 14 g
- Sodium: 240 mg
- Fat: 24 g
- Saturated Fat: 14 g
- Unsaturated Fat: 8 g
- Trans Fat: 0 g
- Carbohydrates: 28 g
- Fiber: 1 g
- Protein: 4 g
- Cholesterol: 60 mg
Marcus Reed
Founder & Food Content Creator
Expertise
Single-recipe development, Seasonal and local ingredient utilization, Food photography and styling, Culinary writing and content creation
Education
Culinary Arts Certificate, Blue Ridge Community and Technical College, WV
Focus: Fundamentals of culinary techniques, emphasizing hands-on experience in small-scale kitchen settings.
Marcus’s story begins in Asheville, where good food and family kitchens shaped his earliest memories. After hands-on culinary training and a lot of trial (and a little error), he realized that real cooking isn’t about perfection, it’s about connection.
At Pan and Oven, Marcus crafts recipes that are easy to follow, packed with flavor, and built for real kitchens.