Sizzling Spicy Garlic & Dill Pickled Beans Recipe for Summer
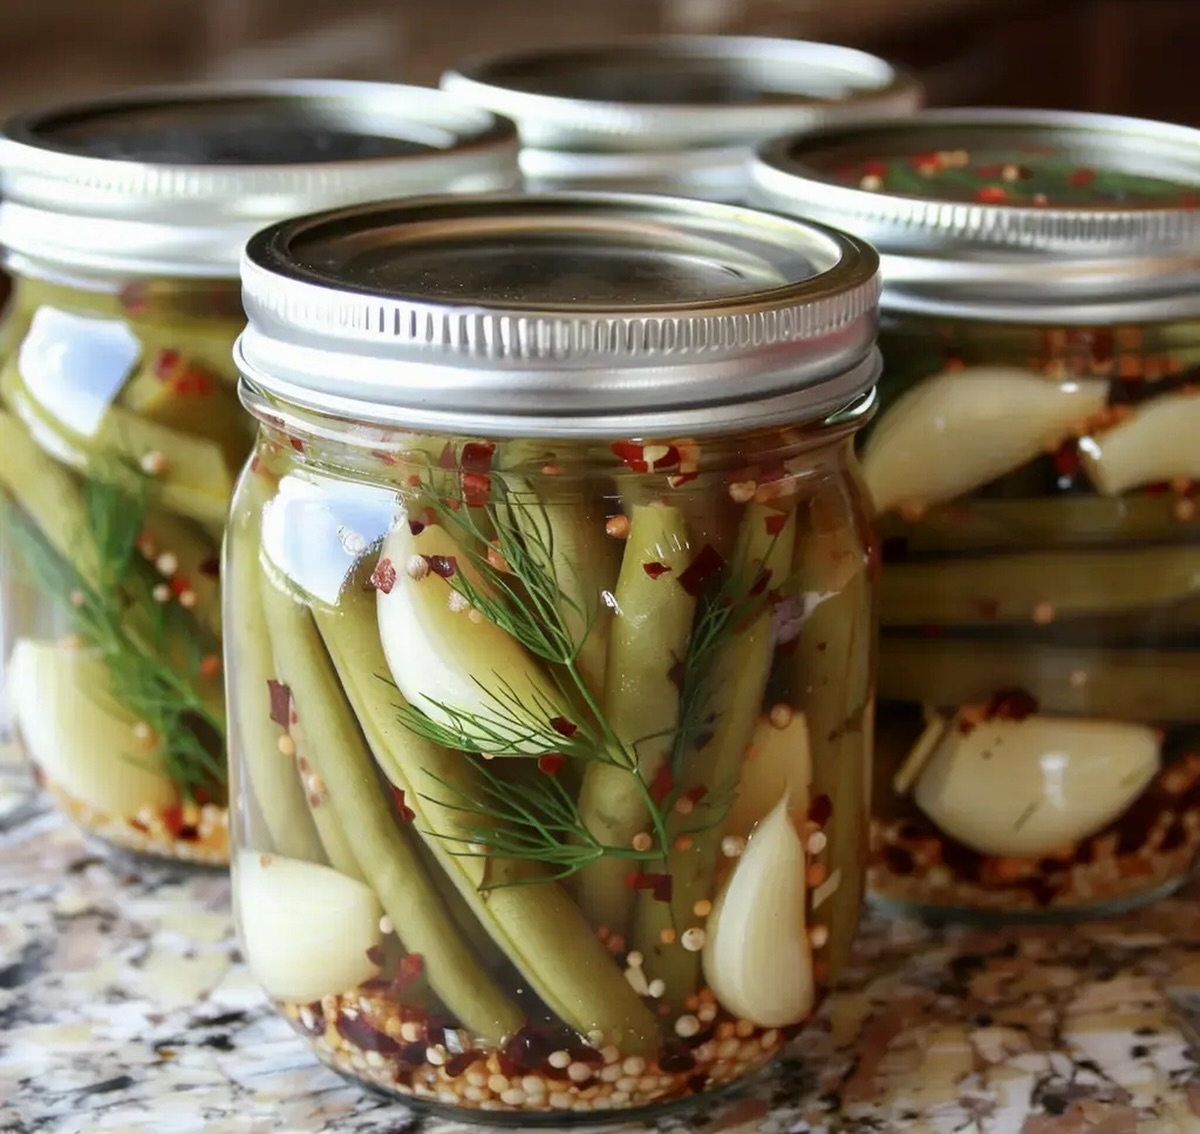
Tangy and crisp, these spicy garlic & dill pickled beans bring a zesty punch to any meal.
Vibrant green beans swimming in a bold pickling liquid create an irresistible side dish or snack.
Summer gardens overflow with fresh beans, perfect for transforming into this easy preservation method.
Homemade pickled beans burst with flavors that commercial versions can never match.
garlic and dill weave their aromatic magic through each crunchy bite, adding depth and complexity.
The simple pickling process ensures you can enjoy these spicy beans for weeks after preparation.
Serve them alongside sandwiches, charcuterie boards, or enjoy them straight from the jar for a bold, tangy treat.
Spicy Garlic & Dill Pickled Beans: Tangy Snack Delight
Ingredients For Pickled Bean Goodness
Vegetables:Pickling Liquid:Spices and Aromatics:Tools For Pickling Perfection
Pickling Beans Step-By-Step
Step 1: Sanitize Jars and Lids
Clean your mason jars and lids thoroughly by submerging them in boiling water for 10 minutes.
This process eliminates any harmful bacteria and prepares your containers for pickling.
Step 2: Create Flavor Base
Distribute these ingredients into each jar:The combination will infuse your beans with a bold, zesty flavor profile.
Step 3: Craft Pickling Liquid
In a large saucepan, combine:Heat the mixture until it reaches a rolling boil, stirring consistently to ensure all ingredients dissolve completely.
Step 4: Arrange Green Beans
Carefully insert the trimmed green beans into the jars, positioning them vertically to maximize space and create an attractive presentation.
Step 5: Fill Jars with Liquid
Carefully pour the hot vinegar mixture over the beans, leaving approximately half an inch of space at the top of each jar.
Step 6: Eliminate Air Pockets
Use a slim knife or spatula to gently remove any trapped air bubbles.
Wipe the jar rims clean to ensure a proper seal, then secure the lids tightly.
Step 7: Water Bath Processing
Submerge the sealed jars in a boiling water bath for 10 minutes.
This step guarantees preservation and safety.
Step 8: Patience and Storage
Transfer the processed jars to a cool, dark location.
Allow the beans to marinate for a minimum of two weeks, giving the flavors time to meld and develop a rich, tangy taste.
Pickled Bean Tips For Crunch
Fun Bean Flavor Twists
Serving Pickled Beans As A Snack
Pickled Bean Storage For Lasting Zest
FAQs
Yes, the red pepper flakes add a nice kick of heat to the beans. The spice level can be adjusted by increasing or decreasing the amount of red pepper flakes.
Fresh dill is recommended for the best flavor, but you can substitute dried dill if fresh is unavailable. Use about 1 teaspoon of dried dill per jar.
When properly processed and stored in a cool, dark place, these pickled beans can last up to 1 year. Once opened, refrigerate and consume within 2-3 weeks.
Print
Spicy Garlic & Dill Pickled Beans Recipe
- Total Time: 50 minutes
- Yield: 4 1x
Description
Homemade spicy garlic & dill pickled beans deliver tangy, zesty flavors perfect for summer preserving. Crisp green beans combined with garlic, dill, and vinegar create a delightful condiment you can enjoy all year long.
Ingredients
Main Ingredients:
- 1 pound (454 grams) fresh green beans, trimmed
- 4 cloves garlic, peeled and sliced
- 4 sprigs fresh dill
Pickling Liquid:
- 2 cups (473 milliliters) white vinegar
- 2 cups (473 milliliters) water
- 2 tablespoons (30 grams) pickling salt
- 1 tablespoon (15 grams) sugar
Spices and Seasonings:
- 2 teaspoons dill seeds
- 2 teaspoons red pepper flakes
- 4 teaspoons mustard seeds
Instructions
- Sanitize four pint-sized mason jars and lids by submerging them in boiling water for 10 minutes to ensure complete sterilization.
- Create a flavor base in each jar by evenly distributing garlic slices, fresh dill sprigs, dill seeds, red pepper flakes, and mustard seeds across the bottom.
- Craft a pickling liquid by combining white vinegar, water, pickling salt, and sugar in a large saucepan. Heat the mixture to a rolling boil, stirring until all granules completely dissolve.
- Carefully arrange trimmed green beans vertically inside the jars, ensuring they are tightly packed and standing upright.
- Slowly pour the simmering vinegar mixture over the beans, maintaining approximately 1/2 inch of headspace at the top of each jar.
- Eliminate potential air pockets by gently sliding a knife or thin spatula along the jar’s interior, then meticulously wipe the rims clean before sealing with sterilized lids.
- Submerge sealed jars in a rapidly boiling water bath for exactly 10 minutes to ensure proper preservation and prevent bacterial growth.
- Transfer processed jars to a cool, dark pantry and allow the pickled beans to mature for a minimum of two weeks, enabling the flavors to fully develop and intensify.
Notes
- Jar Sterilization Matters Always thoroughly clean and sterilize jars to prevent bacterial growth and ensure pickle safety.
- Spice Customization Experiment with different spice ratios like adding whole peppercorns or replacing red pepper flakes with cayenne for personalized heat levels.
- Bean Selection Choose fresh, crisp green beans with uniform size to guarantee even pickling and consistent texture throughout the batch.
- Storage Longevity Properly processed and sealed pickled beans can remain delicious and safe for up to one year when stored in a cool, dark pantry away from direct sunlight.
- Prep Time: 30 minutes
- Cook Time: 20 minutes
- Category: Snacks, Appetizer
- Method: Pickling
- Cuisine: American
Nutrition
- Serving Size: 4
- Calories: 15
- Sugar: 0.5 g
- Sodium: 580 mg
- Fat: 0 g
- Saturated Fat: 0 g
- Unsaturated Fat: 0 g
- Trans Fat: 0 g
- Carbohydrates: 3 g
- Fiber: 1 g
- Protein: 1 g
- Cholesterol: 0 mg
Marcus Reed
Founder & Food Content Creator
Expertise
Single-recipe development, Seasonal and local ingredient utilization, Food photography and styling, Culinary writing and content creation
Education
Culinary Arts Certificate, Blue Ridge Community and Technical College, WV
Focus: Fundamentals of culinary techniques, emphasizing hands-on experience in small-scale kitchen settings.
Marcus’s story begins in Asheville, where good food and family kitchens shaped his earliest memories. After hands-on culinary training and a lot of trial (and a little error), he realized that real cooking isn’t about perfection, it’s about connection.
At Pan and Oven, Marcus crafts recipes that are easy to follow, packed with flavor, and built for real kitchens.