Cozy Spiced Apple Leather Recipe: Sweet Homemade Goodness
Crafting homemade spiced apple leather delivers a nostalgic burst of autumn comfort.
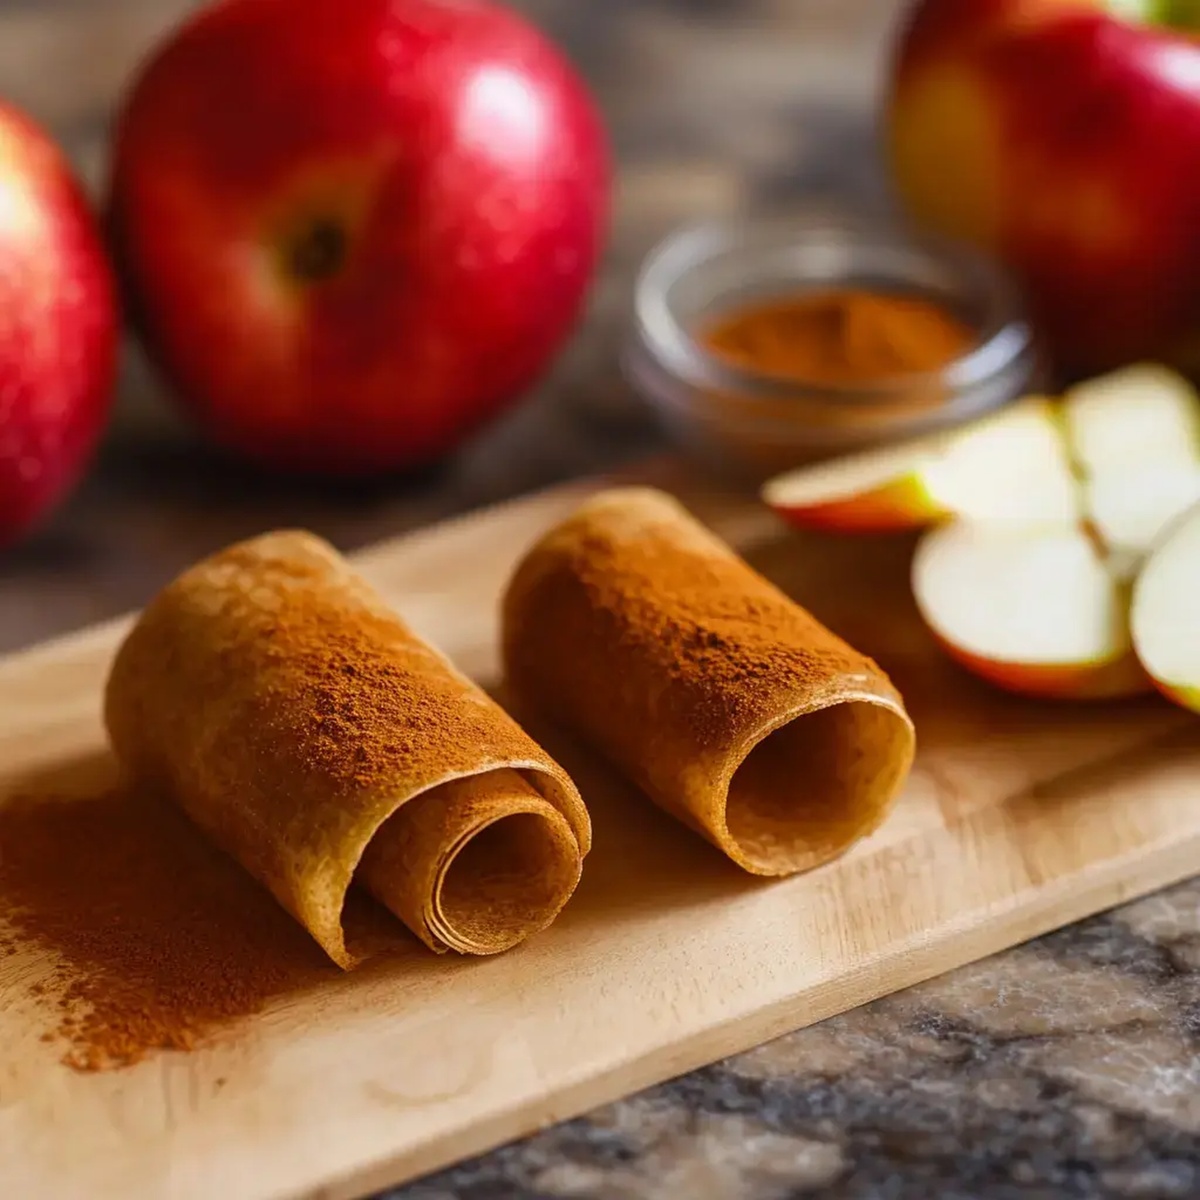
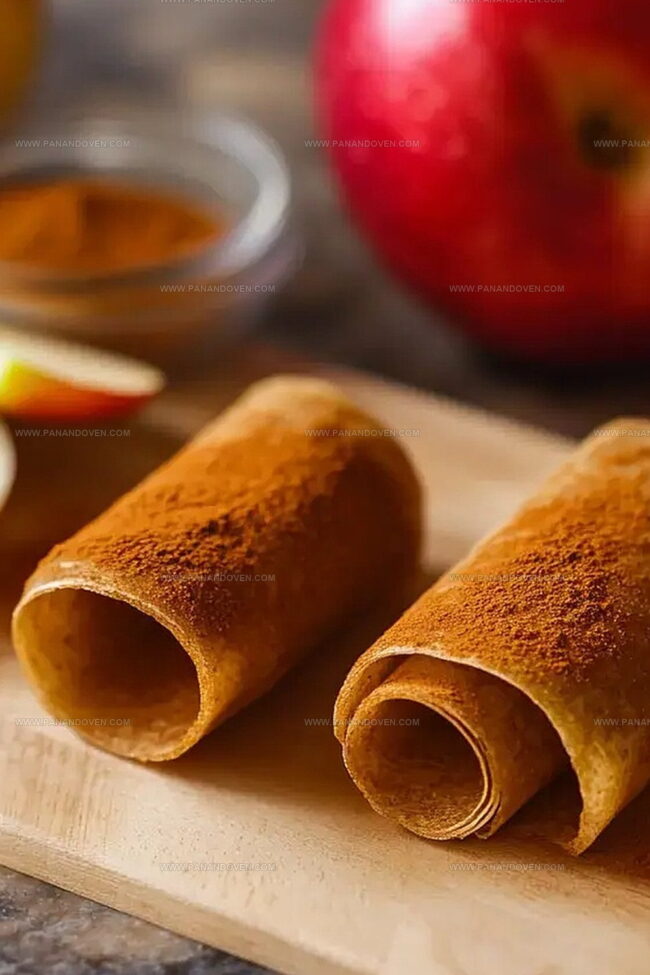
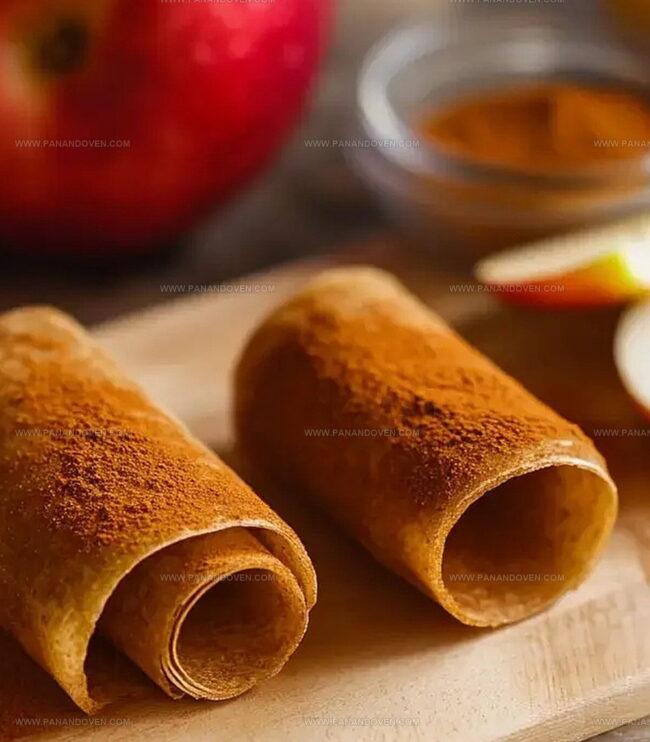
Sweet, locally harvested apples transform into delectable dried fruit sheets with warm cinnamon notes.
This simple recipe captures summer’s bounty in a portable, healthy snack.
Dehydrating concentrates the natural apple sweetness while spices dance across your palate.
Each thin, pliable strip promises intense flavor without added sugars or preservatives.
Storing these chewy treats becomes a delightful way to preserve seasonal produce.
You’ll love how effortlessly this recipe turns humble apples into a gourmet, portable delight.
Spiced Apple Leather What Makes It a Snack Standout
Ingredients for Homemade Apple Leather
Fresh Fruits:Spices and Sweeteners:Kitchen Essentials:Tools for Drying and Slicing Apple Leather
Stepwise Guide to Spiced Apple Leather
Step 1: Warm Up the Oven
Crank your oven to a low 170°F.
Grab a baking sheet and cover it completely with a silicone mat or parchment paper for easy release.
Step 2: Simmer the Fruity Goodness
Toss your apples into a pot with these flavor-boosting friends:Let everything bubble and dance over medium-low heat.
Cook for about 18-20 minutes until the apples turn super soft and dreamy.
Step 3: Transform into Silky Puree
Grab your blender or hand blender and transform the cooked apple mixture into a super smooth, creamy consistency.
Blend until no chunks remain.
Step 4: Create the Perfect Leather Base
Pour the apple puree onto your prepared baking sheet.
Use a spatula to spread it out super thin and even – aim for about 1/8 inch thickness.
Make sure the edges are as smooth as possible.
Step 5: Slow Dry and Crisp
Slide the baking sheet into the oven.
Let it dry out slowly for 2-3 hours.
You want the leather to be dry but still flexible – not crispy.
Once done, pull it out and let it cool for 10 minutes.
Then slice into fun strips or fun shapes for snacking.
Tips for Chewy, Flavorful Apple Leather
Apple Leather Flavor Ideas
Serving Spiced Apple Leather for On the Go Snacks
Storing Apple Leather Properly
FAQs
Yes, you can use various apple varieties like Gala, Fuji, or Honeycrisp. Sweet apples work best for creating a flavorful apple leather.
Absolutely! Apple leather is packed with natural fruit nutrients, contains no added preservatives, and provides a concentrated source of vitamins and fiber without extra processed sugars.
When stored in an airtight container in a cool, dry place, your apple leather can last up to 2-3 weeks. For longer preservation, you can refrigerate it for up to a month.
Print
Spiced Apple Leather Recipe
- Total Time: 3 hours 15 minutes
- Yield: 4 1x
Description
Homemade spiced apple leather delivers classic autumn flavors with minimal ingredients. Simple dehydration techniques create a portable snack perfect for lunch boxes and hiking adventures.
Ingredients
Fruits:
- 4 cups fresh apples, quartered
Spices and Sweeteners:
- 1/2 teaspoon ground cinnamon
- 2 tablespoons brown sugar
Liquids:
- 1/2 cup (118 milliliters) water
Instructions
- Wash and core apples, cutting them into uniform chunks for consistent cooking.
- Transfer apple pieces to a saucepan, combining with water, cinnamon, and brown sugar over medium-low heat for 18-20 minutes until fruits soften and release natural juices.
- Remove from heat and transform mixture into silky smooth puree using immersion blender or standard food processor.
- Arrange oven rack in center position and set temperature to 170°F, ensuring even heating environment.
- Line rimmed baking sheet with silicone mat or parchment paper, creating non-stick surface for fruit leather.
- Pour pureed apple mixture onto prepared sheet, using spatula to spread in thin, uniform layer approximately 1/8 inch thick, ensuring consistent texture.
- Place baking sheet in preheated oven, allowing leather to dehydrate slowly for 2-3 hours until surface appears dry yet remains slightly flexible.
- Remove from oven and let cool completely at room temperature for approximately 10 minutes to stabilize texture.
- Once cooled, carefully slice leather into neat rectangular strips using sharp kitchen scissors or pizza cutter.
- Store leather between parchment sheets in airtight container to maintain freshness and prevent sticking.
Notes
- Use firm, tart apples like Granny Smith or Honeycrisp for best flavor and natural pectin content.
- Add ground ginger or nutmeg for extra warming spice and depth of flavor profile.
- Experiment with alternative sweeteners like honey or maple syrup for different taste variations.
- Store apple leather in airtight container with parchment paper between layers to prevent sticking and maintain crisp texture.
- Prep Time: 15 minutes
- Cook Time: 3 hours
- Category: Snacks, Desserts
- Method: Baking
- Cuisine: American
Nutrition
- Serving Size: 4
- Calories: 80
- Sugar: 8g
- Sodium: 1mg
- Fat: 0g
- Saturated Fat: 0g
- Unsaturated Fat: 0g
- Trans Fat: 0g
- Carbohydrates: 21g
- Fiber: 2g
- Protein: 0g
- Cholesterol: 0mg
Marcus Reed
Founder & Food Content Creator
Expertise
Single-recipe development, Seasonal and local ingredient utilization, Food photography and styling, Culinary writing and content creation
Education
Culinary Arts Certificate, Blue Ridge Community and Technical College, WV
Focus: Fundamentals of culinary techniques, emphasizing hands-on experience in small-scale kitchen settings.
Marcus’s story begins in Asheville, where good food and family kitchens shaped his earliest memories. After hands-on culinary training and a lot of trial (and a little error), he realized that real cooking isn’t about perfection, it’s about connection.
At Pan and Oven, Marcus crafts recipes that are easy to follow, packed with flavor, and built for real kitchens.