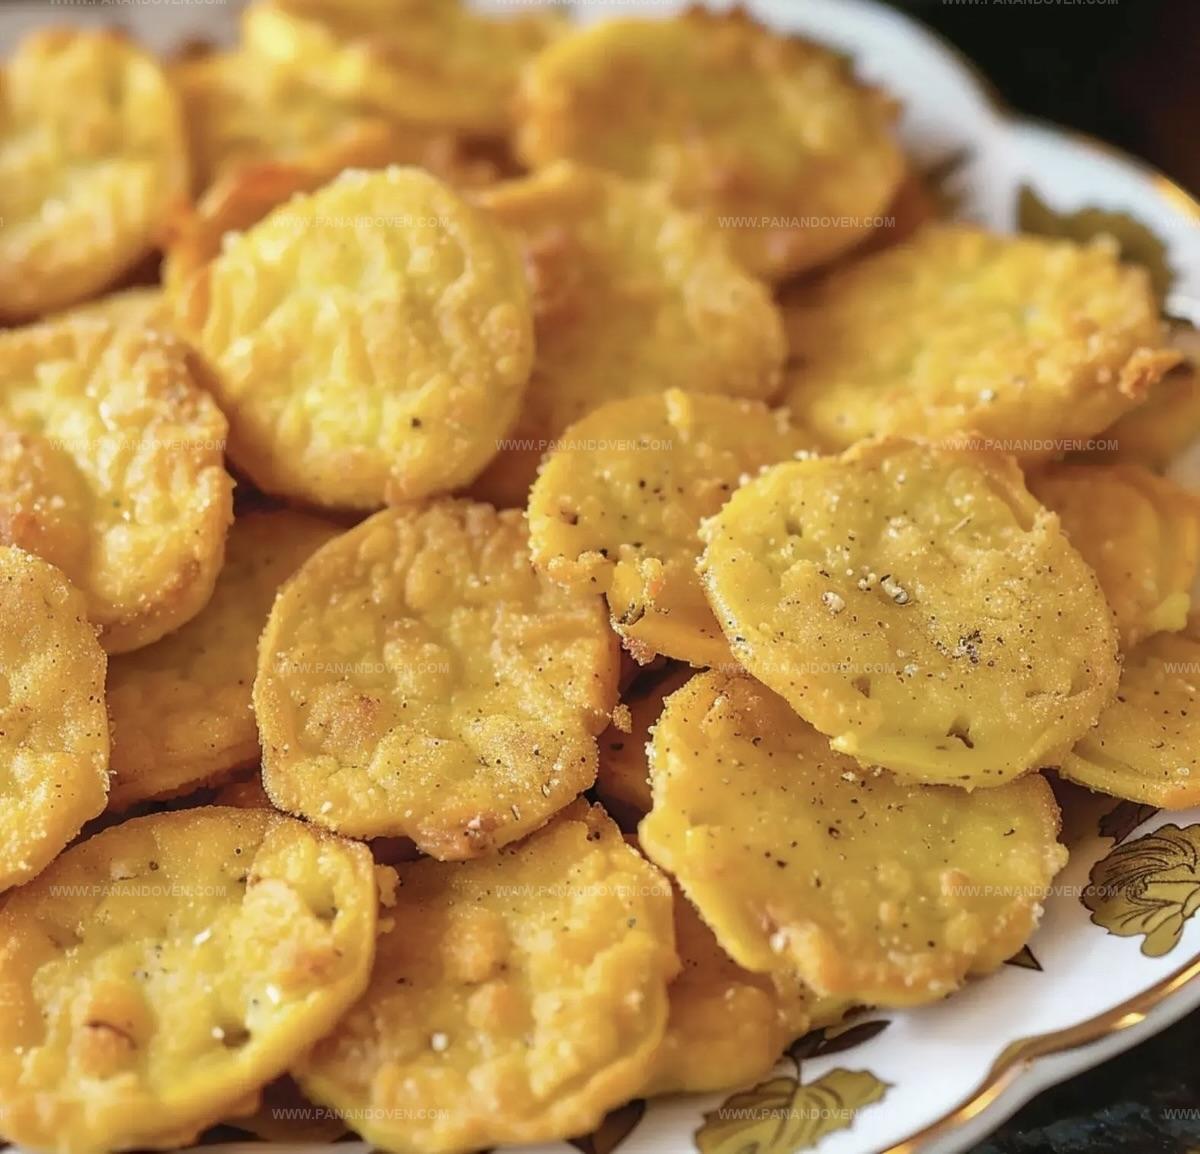
Southern Fried Squash Recipe: Crispy, Golden Comfort Food Magic
Southern comfort finds its crispy soul in this beloved southern fried squash recipe that transforms humble summer vegetables into golden, irresistible bites.
Fresh yellow squash meets a perfectly seasoned coating that crackles with each delightful crunch.
Sliced thin and bathed in a simple mixture of cornmeal and flour, these tender morsels promise a classic southern side dish bursting with flavor.
Generations of home cooks have perfected this technique, passing down a culinary tradition that speaks to warm kitchen memories.
The secret lies in the delicate balance of seasoning and the precise frying technique that ensures a perfectly crisp exterior.
Served hot and straight from the skillet, this southern fried squash invites you to savor a taste of genuine southern hospitality.
Prepare to fall in love with a recipe that celebrates simplicity and pure, down-home deliciousness.
Southern Fried Squash: Crispy Southern Goodness
Down-Home Ingredients For Fried Squash Magic
Main Ingredients:Wet Ingredients:Seasoning Ingredients:Must-Have Tools For Golden Squash Perfection
How To Achieve The Crunchiest Fried Squash
Step 1: Slice Squash
Cut yellow squash into uniform round slices about 1/4 inch thick.
A mandolin works great for creating consistent cuts.
Keep sliced squash ready for coating.
Step 2: Create Crispy Coating Mixture
Grab a shallow bowl and blend these dry ingredients:Mix thoroughly to ensure even distribution of spices.
Step 3: Prepare Buttermilk Dip
In another shallow bowl, whisk together:Combine ingredients until smooth and well incorporated.
Step 4: Dredge Squash Slices
Dunk each squash slice into buttermilk mixture, letting excess drip off.
Roll coated slice in seasoned flour mixture, ensuring complete coverage.
Shake off extra coating and set aside on clean plate.
Step 5: Heat Cooking Oil
Pour vegetable oil into heavy cast iron skillet, filling about 1/2 inch deep.
Heat oil to 350°F, maintaining steady temperature for perfect frying.
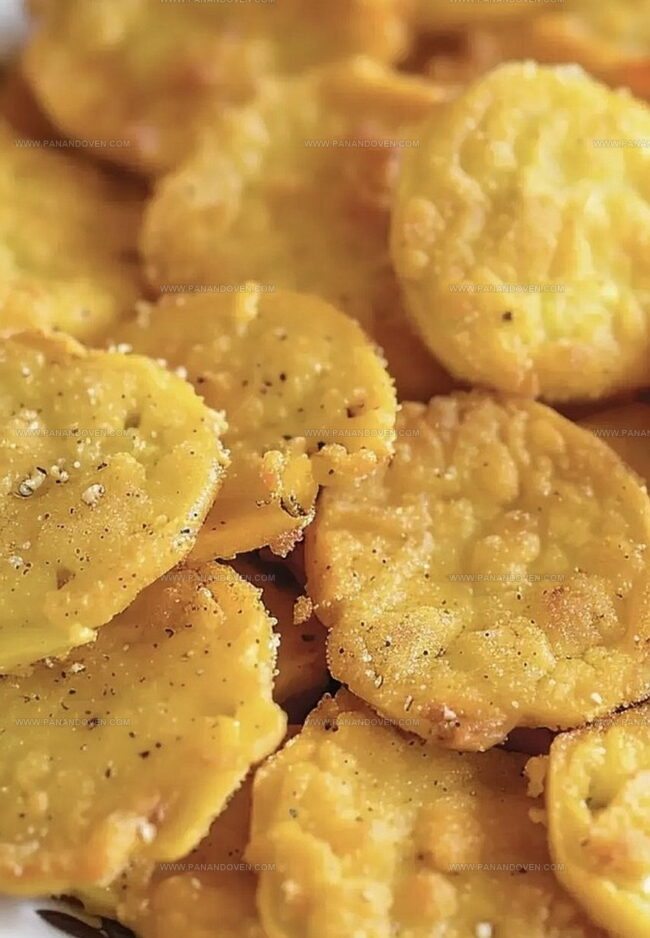
Step 6: Fry Golden Squash
Gently place coated squash slices into hot oil.
Fry until edges turn golden brown, flipping occasionally.
Cook approximately 4 minutes total, avoiding overcrowding the pan.
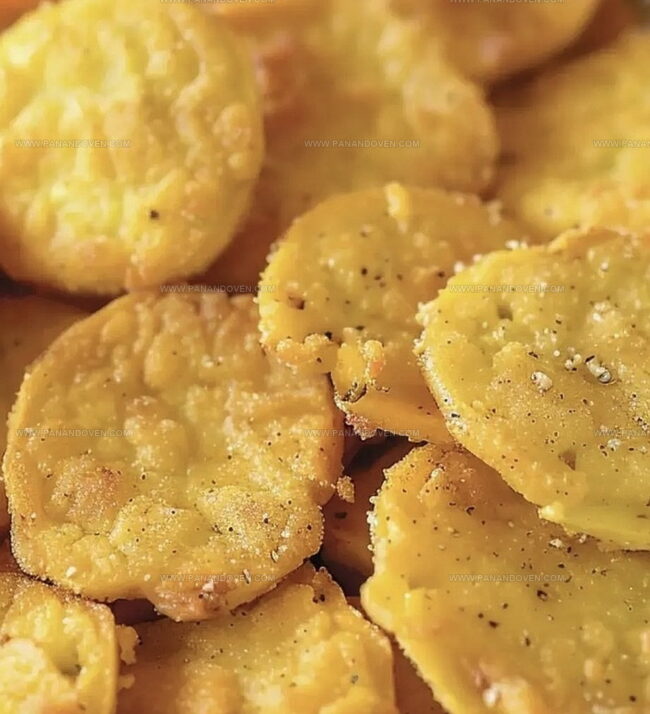
Step 7: Drain Crispy Slices
Transfer fried squash to paper towel-lined plate to absorb excess oil.
Move pieces to wire rack to maintain crispiness and prevent sogginess.
Step 8: Complete Cooking Batch
Continue coating and frying remaining squash slices in batches.
Serve immediately while hot and enjoy Southern-style crispy goodness!
Southern Chef’s Tips For Crispy, Flavorful Bites
Creative Variations For Fried Squash Fans
Ways To Serve Fried Squash With A Twist
Preserving Fried Squash For Future Cravings
FAQs
Buttermilk helps tenderize the squash, adds tanginess, and creates a better coating that sticks perfectly to the vegetable, ensuring a crispy, flavorful exterior.
Yellow squash works best, but zucchini can be a great alternative with similar texture and frying characteristics. Just ensure the squash is fresh and firm.
Use a kitchen thermometer to check it’s at 350F, or drop a small piece of bread into the oil – if it sizzles and turns golden within 60 seconds, the oil is ready for frying.
Print
Southern Fried Squash Recipe
- Total Time: 35 minutes
- Yield: 4 1x
Description
Southern-style squash emerges as a crispy, golden delight that celebrates Southern culinary traditions. Garden-fresh vegetables meet a perfectly seasoned cornmeal coating, creating a simple yet irresistible side dish you’ll crave at summer gatherings.
Ingredients
Main Ingredients:
- 1 pound (454 grams) yellow squash
- 1/2 cup (120 milliliters) buttermilk
- 1 large egg
Dry Ingredients:
- 1 cup (125 grams) all-purpose flour
- 1 tablespoon (15 grams) flour
- 2 tablespoons (16 grams) yellow cornmeal
- 2 teaspoons seasoned salt
- 1/2 teaspoon black pepper
- 1/4 teaspoon garlic powder
- 1/4 teaspoon onion powder
Cooking Ingredient:
- Oil, for frying
Instructions
- Prepare yellow squash by slicing into uniform rounds approximately 1/4 inch thick, using a mandolin for consistent results.
- Create seasoned coating by combining flour, cornmeal, seasoned salt, black pepper, garlic powder, and onion powder in a shallow bowl.
- Whisk buttermilk with egg and a tablespoon of flour in a separate shallow bowl to create a wet mixture for dredging.
- Dip each squash slice into buttermilk mixture, allowing excess to drip off, then thoroughly coat with seasoned flour mixture, ensuring complete coverage.
- Heat vegetable oil in a cast-iron skillet to 350°F, maintaining a depth of about 1/2 inch for optimal frying.
- Gently place coated squash slices into hot oil, avoiding overcrowding, and fry until golden brown, approximately 2 minutes per side.
- Transfer fried squash to a paper towel-lined plate to absorb excess oil, then move to a wire rack to maintain crispiness.
- Continue frying remaining squash slices in batches, adjusting heat as needed to maintain consistent oil temperature.
- Serve immediately while hot and crispy, enjoying the golden, crunchy exterior and tender squash interior.
Notes
- Use a mandolin for precise, uniform squash slices to ensure even cooking and consistent texture.
- Pat squash dry before coating to help the breading adhere better and create a crispier crust.
- Maintain oil temperature around 350F for perfect golden-brown exterior without greasy results.
- For gluten-free version, swap all-purpose flour with almond flour or gluten-free cornmeal blend.
- Add a pinch of cayenne pepper to dry mixture for subtle heat and extra flavor dimension.
- Let coated squash rest briefly before frying to help breading set and prevent falling off during cooking.
- Use fresh, firm yellow squash for best taste and crunchiest texture in the final dish.
- Prep Time: 15 minutes
- Cook Time: 20 minutes
- Category: Snacks, Appetizer, Lunch, Dinner
- Method: Frying
- Cuisine: Southern American
Nutrition
- Serving Size: 4
- Calories: 265
- Sugar: 2g
- Sodium: 550mg
- Fat: 15g
- Saturated Fat: 3g
- Unsaturated Fat: 12g
- Trans Fat: 0g
- Carbohydrates: 30g
- Fiber: 2g
- Protein: 6g
- Cholesterol: 37mg
Marcus Reed
Founder & Food Content Creator
Expertise
Single-recipe development, Seasonal and local ingredient utilization, Food photography and styling, Culinary writing and content creation
Education
Culinary Arts Certificate, Blue Ridge Community and Technical College, WV
Focus: Fundamentals of culinary techniques, emphasizing hands-on experience in small-scale kitchen settings.
Marcus’s story begins in Asheville, where good food and family kitchens shaped his earliest memories. After hands-on culinary training and a lot of trial (and a little error), he realized that real cooking isn’t about perfection, it’s about connection.
At Pan and Oven, Marcus crafts recipes that are easy to follow, packed with flavor, and built for real kitchens.