Fluffy Soft Christmas Peppermints Recipe: A Sweet Holiday Joy
Festive holiday gatherings sparkle with this soft Christmas peppermints recipe that melts hearts faster than snow under warm sunlight.
Candy making becomes an art form when you blend simple ingredients with precise techniques.
The kitchen fills with minty aromas that whisper sweet memories of winter celebrations.
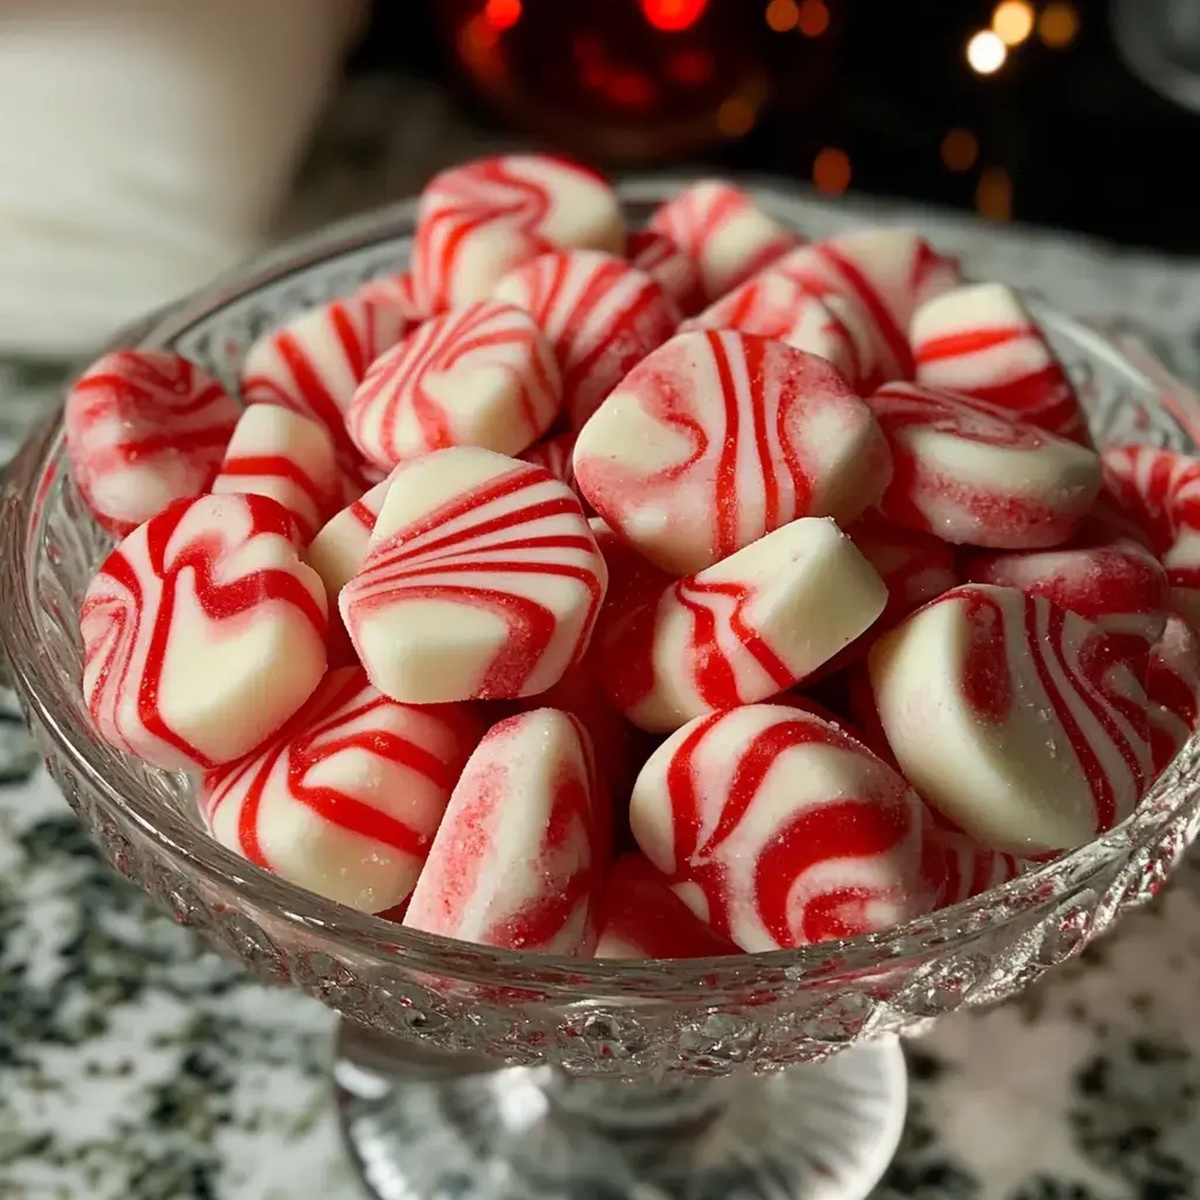
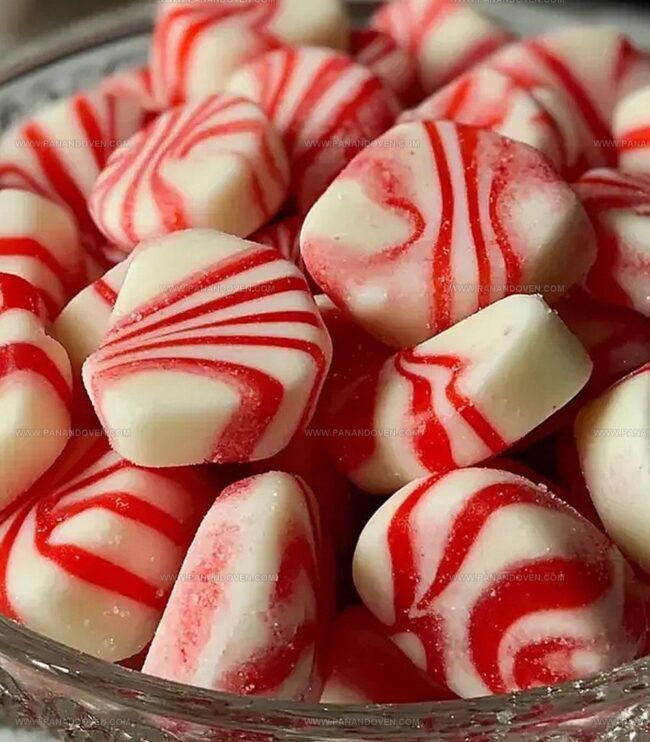
Delicate peppermint candies emerge as tiny jewels of seasonal joy, promising delightful textures and refreshing flavors.
Sugar transforms into delicate, pillowy treats that dance between creamy and crisp.
Each piece carries the magic of homemade confections, inviting everyone to savor a moment of pure sugary bliss.
These peppermints will become your new favorite holiday tradition.
Soft Christmas Peppermints Why They Melt in Your Mouth

Peppermint Ingredients for Homemade Candies
Base Ingredients:Flavoring Ingredients:Coloring and Decoration Ingredients:Tools for Shaping Soft Peppermints
Simple Steps for Christmas Peppermints
Step 1: Prep Your Workspace
Cover your work surface with parchment paper for easy cleanup.
Have a small bowl of powdered sugar nearby to help with rolling and preventing stickiness.
Step 2: Whip Up the Candy Base
In a large mixing bowl, cream the butter until it becomes light and airy.
Gradually blend in the cream, powdered sugar, and peppermint extract.
Keep mixing until the mixture becomes smooth and firm, forming a consistent dough that holds together well.
Step 3: Create Colorful Dough
Separate the dough into two portions:Add red food coloring to the smaller portion and knead until the color is evenly distributed.
Leave the larger portion in its natural white state.
Step 4: Craft Candy Twists
Roll out the red dough into a thin, long rope.
Create a thicker white rope beside it.
Carefully intertwine the red and white ropes, gently twisting them together.
Roll the twisted rope between your palms to smooth and blend the colors seamlessly.
Step 5: Shape and Dry Peppermint Treats
Let the twisted candy ropes rest at room temperature for 1-2 hours to slightly firm up.
Use a pizza cutter to slice the ropes into bite-sized pieces.
Spread the cut candies on parchment paper and allow them to dry completely for 24 hours, which will help them set and develop a perfect texture.
Tips for Creamy and Cool Peppermints
Festive Peppermint Flavor Variations
Serving Christmas Peppermints for Gifts
Storing Peppermints to Stay Soft
FAQs
Yes, but reduce or omit any additional salt in the recipe to prevent an overly salty taste.
Use pure peppermint extract and start with 1/2 teaspoon, then adjust to taste. Some people prefer a milder mint flavor.
Chill the dough in the refrigerator for 15-20 minutes to firm it up, making it easier to handle and shape the peppermint twists.
Yes, the 24-hour drying time helps the candies develop a firm texture and prevents them from sticking together during storage.
Print
Soft Christmas Peppermints Recipe
- Total Time: 25 hours 30 minutes
- Yield: 24 1x
Description
Homemade Christmas peppermint candy brings festive cheer with classic minty flavors. Crisp peppermint rounds melt smoothly, offering sweet holiday memories you’ll cherish.
Ingredients
Main Ingredients:
- 4 cups powdered sugar
- 1/2 cup butter
- 2 tablespoons (30 milliliters) heavy whipping cream
Flavoring and Coloring:
- 1/4 teaspoon (1.25 milliliters) peppermint extract
- Red coloring gel or food coloring
Instructions
- Prepare a clean workspace by lining the surface with parchment paper and setting aside extra powdered sugar for rolling and handling the dough.
- Using a mixer, cream butter until light and airy. Gradually incorporate cream, powdered sugar, and peppermint extract, mixing until the dough becomes firm and cohesive.
- Separate the dough into two portions: allocate one-quarter for red coloring and leave three-quarters in its original white state. Shape each colored portion into smooth, compact balls.
- Create candy cane-like twists by rolling the red dough into a thin, elongated rope and the white dough into a slightly thicker rope. Carefully intertwine the two colors, gently rolling between palms to blend and smooth the surface.
- Allow the twisted ropes to air-dry for 1-2 hours at room temperature, which helps stabilize their shape and texture.
- Using a pizza cutter or sharp knife, slice the dried ropes into uniform bite-sized pieces, ensuring clean, precise cuts.
- Transfer the cut mints to a cool, dry area and let them continue drying for an additional 24 hours, which will enhance their texture and help them set completely.
Notes
- Workspace Prep Lay out parchment paper to prevent sticky messes and make cleanup super easy.
- Temperature Matters Keep butter and ingredients at room temperature for smoother, more consistent mixing.
- Color Blending Use gel food coloring for vibrant red without changing dough consistency.
- Humidity Control Work in a dry environment to help peppermints set and prevent stickiness.
- Prep Time: 30 minutes
- Cook Time: 25 hours
- Category: Snacks, Desserts
- Method: Rolling
- Cuisine: American
Nutrition
- Serving Size: 24
- Calories: 114
- Sugar: 15 g
- Sodium: 1 mg
- Fat: 4.5 g
- Saturated Fat: 2.5 g
- Unsaturated Fat: 0 g
- Trans Fat: 0 g
- Carbohydrates: 18 g
- Fiber: 0 g
- Protein: 0.2 g
- Cholesterol: 15 mg
Marcus Reed
Founder & Food Content Creator
Expertise
Single-recipe development, Seasonal and local ingredient utilization, Food photography and styling, Culinary writing and content creation
Education
Culinary Arts Certificate, Blue Ridge Community and Technical College, WV
Focus: Fundamentals of culinary techniques, emphasizing hands-on experience in small-scale kitchen settings.
Marcus’s story begins in Asheville, where good food and family kitchens shaped his earliest memories. After hands-on culinary training and a lot of trial (and a little error), he realized that real cooking isn’t about perfection, it’s about connection.
At Pan and Oven, Marcus crafts recipes that are easy to follow, packed with flavor, and built for real kitchens.