Fluffy Homemade Snow Ice Cream Recipe: Winter Magic in a Bowl
Winter’s chill brings a delightful opportunity to whip up this magical snow ice cream recipe that turns fresh powder into a sweet treat.
Soft, pristine snowflakes become the star ingredient in this simple dessert.
Children and adults alike marvel at the ease of creating this frosty delight.
Gathering clean, untouched snow from your backyard transforms an ordinary day into a culinary adventure.
The process requires just a few pantry staples and a spirit of playful creativity.
Creamy, sweet, and pure, this snow ice cream promises to be a memorable winter indulgence that will spark joy and create lasting memories.
Grab a spoon and let the winter magic begin!
Snow Ice Cream – Reasons It Delights
Ingredients List for Snow Ice Cream Fun
Base Ingredients:Snow Ingredient:Optional Topping:Supplies for Homemade Snow Ice Cream
How to Make Classic Snow Ice Cream
Step 1: Craft Sweet Milk Base
Grab a spacious mixing bowl and blend together milk, sugar, vanilla extract, and a tiny pinch of salt.
Whisk everything until the ingredients dance into a smooth, creamy mixture with no sugar crystals lurking around.
The combination should look silky and uniform.
Step 2: Gather Winter’s Treasure
Head outdoors and collect pristine, untouched snow from a clean area away from roads, trees, or potential contamination.
Use a large bowl or clean container to scoop up fluffy, fresh snow.
Make sure the snow looks pure white and powdery.
Step 3: Transform Snow Into Delightful Treat
Quickly fold the collected snow into your prepared milk base.
Stir gently but thoroughly, watching the mixture transform into a light, fluffy dessert.
The consistency should be thick and creamy, not watery or runny.
Work swiftly to prevent melting.
Step 4: Decorate And Devour
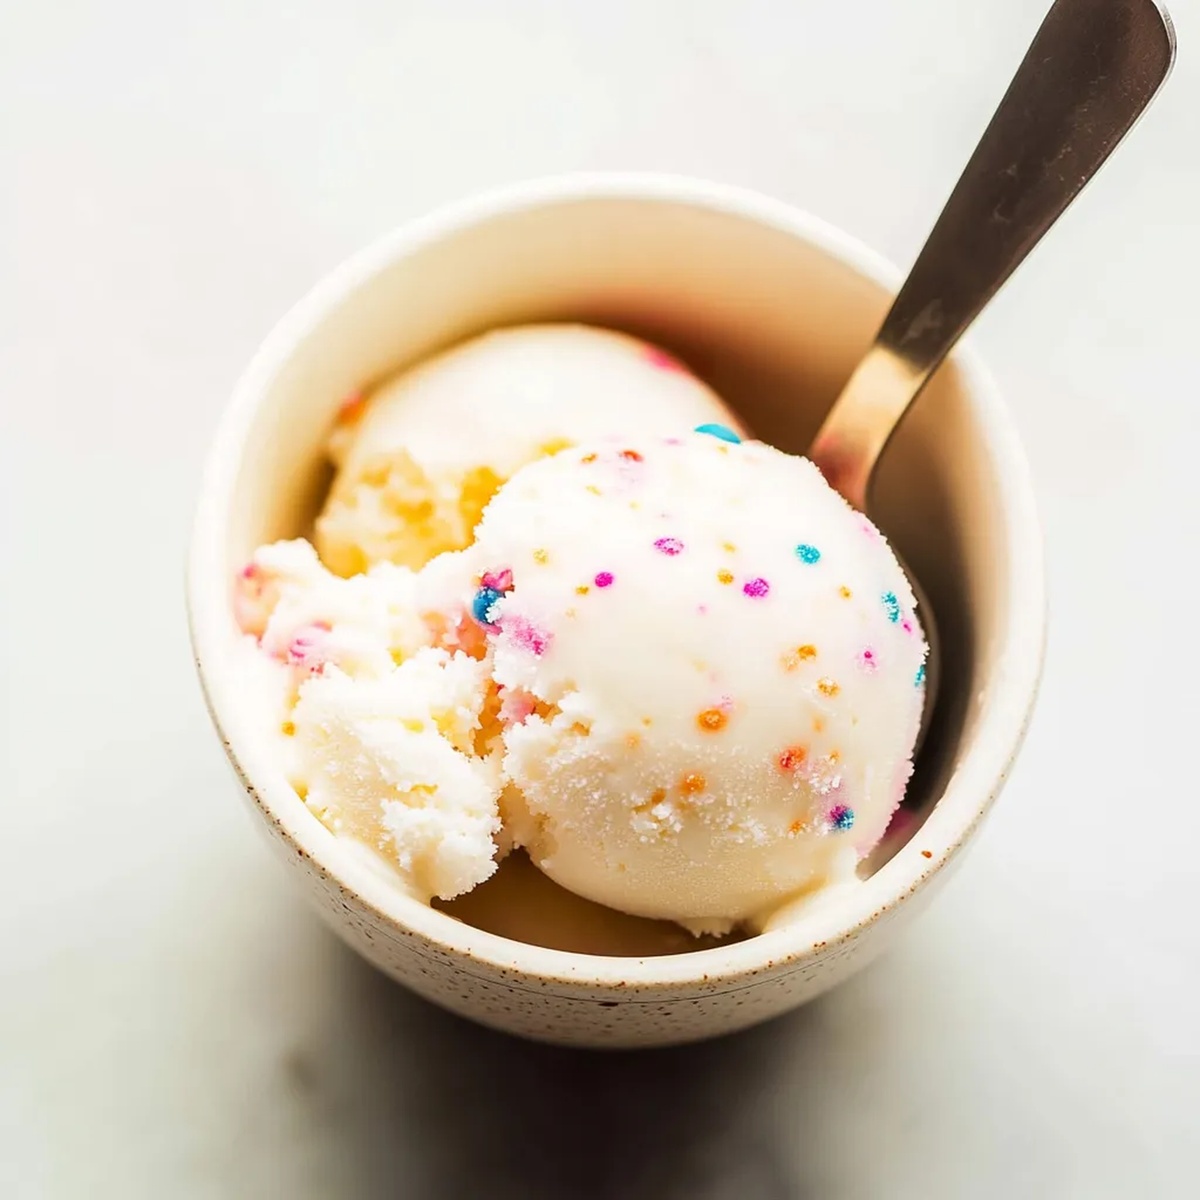
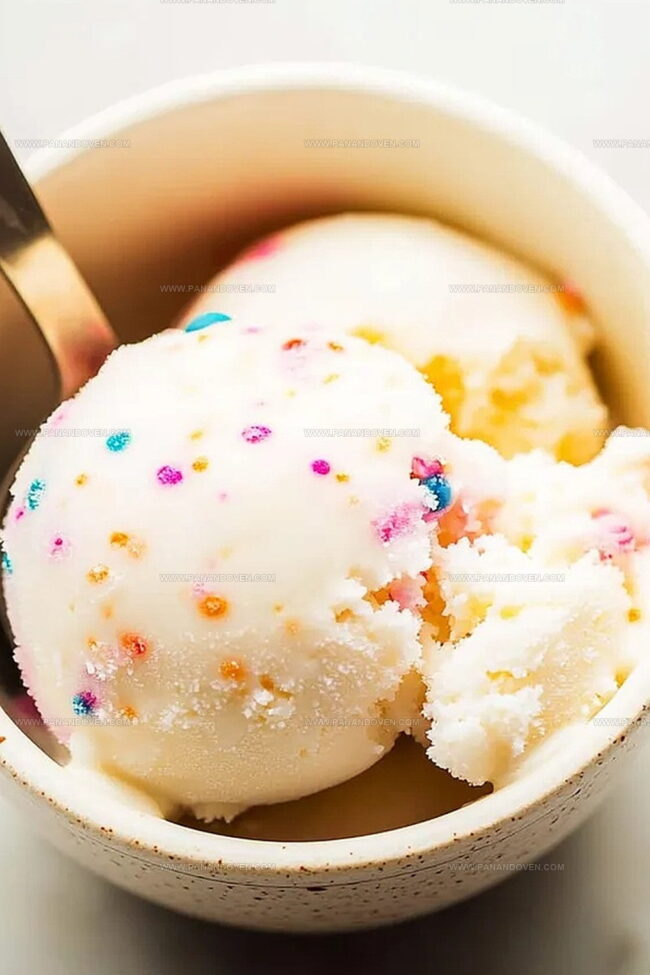
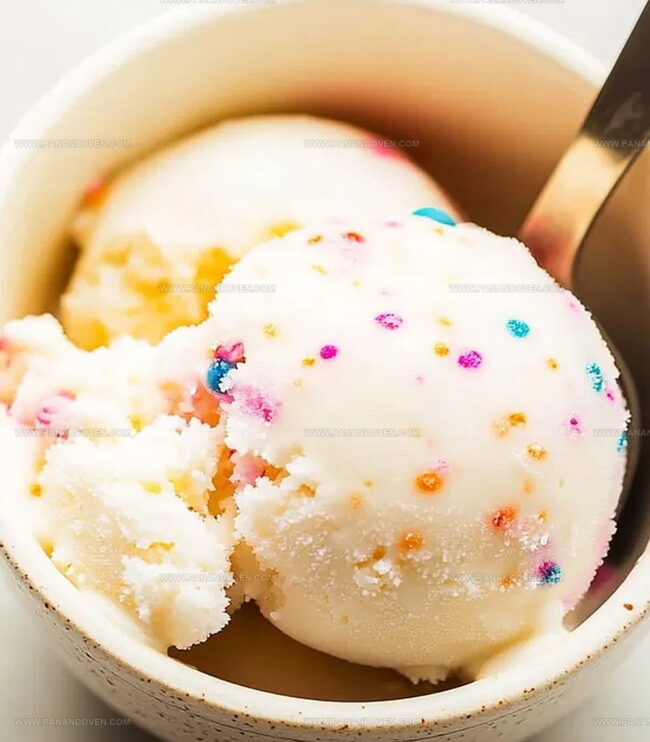
Sprinkle fun toppings like colorful candy bits, chocolate chips, or rainbow sprinkles over your snow ice cream.
Serve immediately and enjoy the magical winter treat before it melts away.
This dessert is best consumed right after preparation for maximum deliciousness.
Snow Ice Cream Pro-Level Tips
Flavors to Mix into Snow Ice Cream
Ways to Serve Up Snow Ice Cream
Storing Leftover Snow Ice Cream the Right Way
FAQs
Only use freshly fallen, clean snow from an unpolluted area away from roads, trees, or contaminated surfaces. Avoid yellow or discolored snow, and collect snow from the top layer of a fresh snowfall.
Yes, you can substitute regular milk with almond milk, oat milk, or coconut milk. Just ensure the milk is cold and has a similar consistency to whole milk for the best texture.
If snow isn’t an option, you can use shaved ice or crushed ice as an alternative. Blend ice in a food processor until it reaches a snow-like consistency and follow the same mixing method.
Print
Snow Ice Cream Recipe
- Total Time: 10 minutes
- Yield: 4 1x
Description
Delightful snow ice cream brings winter’s magic to your dessert table with minimal ingredients. Canadians and children adore this simple, frosty treat that turns fresh snowfall into a sweet, creamy delight you can enjoy right after playing outside.
Ingredients
Base Ingredients:
- 8 cups clean snow or shaved ice
Dairy and Sweeteners:
- 1 cup milk (any type)
- 1/3 cup granulated white sugar
Flavor Enhancers:
- 1 teaspoon vanilla extract
- 1 pinch fine sea salt
Optional Topping:
- Sprinkles (as desired)
Instructions
- In a spacious mixing vessel, thoroughly blend milk, sugar, vanilla extract, and a pinch of salt until the ingredients harmonize into a smooth, uniform liquid.
- Venture outdoors and gather pristine, untouched snow, ensuring it’s free from debris or contamination.
- Swiftly incorporate the collected snow into the prepared mixture, gently folding until the texture transforms into a light, airy consistency that holds its shape without becoming watery.
- Transfer the snow ice cream to serving bowls, garnishing with colorful sprinkles for an extra touch of whimsy if desired.
- Consume immediately, as the delicate frozen treat will rapidly melt at room temperature, losing its characteristic fluffy texture.
Notes
- Always use freshly fallen, clean snow away from roads, pollution, or animal tracks to ensure food safety.
- Collect snow in a large, chilled bowl to keep it from melting too quickly during preparation.
- Mix snow gently and quickly to maintain its fluffy texture and prevent turning into a watery slush.
- Serve and enjoy instantly, as this delicate dessert will melt rapidly at room temperature.
- Prep Time: 10 minutes
- Cook Time: 0 minutes
- Category: Desserts, Snacks
- Method: Blending
- Cuisine: American
Nutrition
- Serving Size: 4
- Calories: 150
- Sugar: 12 g
- Sodium: 15 mg
- Fat: 3 g
- Saturated Fat: 2 g
- Unsaturated Fat: 1 g
- Trans Fat: 0 g
- Carbohydrates: 27 g
- Fiber: 0 g
- Protein: 4 g
- Cholesterol: 10 mg
Clara Thompson
Recipe Developer & Food Educator
Expertise
Plant-based and vegetarian recipe development, Nutritional analysis and meal planning, Culinary education and workshop facilitation, Content writing with a focus on healthy living
Education
Diploma in Culinary Arts, Mt. San Jacinto College, CA
Focus: Comprehensive culinary training with an emphasis on sustainable cooking practices.
Certificate in Nutrition and Healthy Living, Cornell University (Online Program)
Focus: Understanding the principles of nutrition to create balanced and health-conscious recipes.
Clara lives where fresh ideas and fresh ingredients meet. She pairs her culinary know-how with her passion for healthy, planet-friendly cooking.
For Clara, good food should taste great, nourish your body, and feel easy to make. Her recipes highlight whole foods, colorful produce, and a deep respect for seasonal eating.