Homemade Savory Turkey Stuffing Balls Recipe: Cozy Comfort Bites
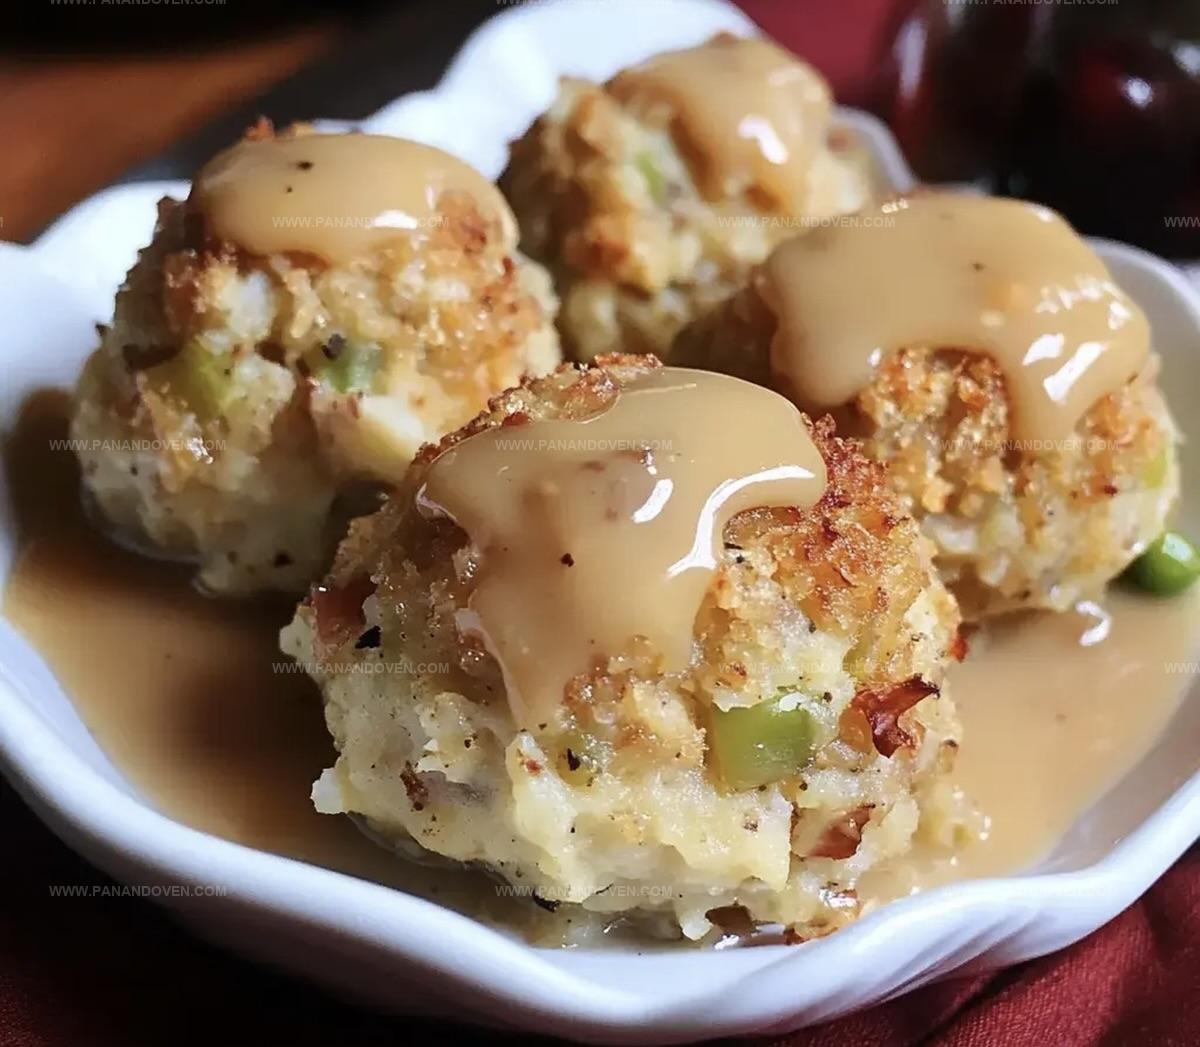
When the holiday season rolls around, these crispy turkey stuffing balls emerge as the ultimate crowd-pleasing appetizer that will steal the show at any gathering.
Packed with robust herbs and classic seasonings, these golden-brown bites deliver irresistible flavor in every single bite.
The recipe combines traditional stuffing ingredients with a clever twist that turns ordinary side dishes into something extraordinary.
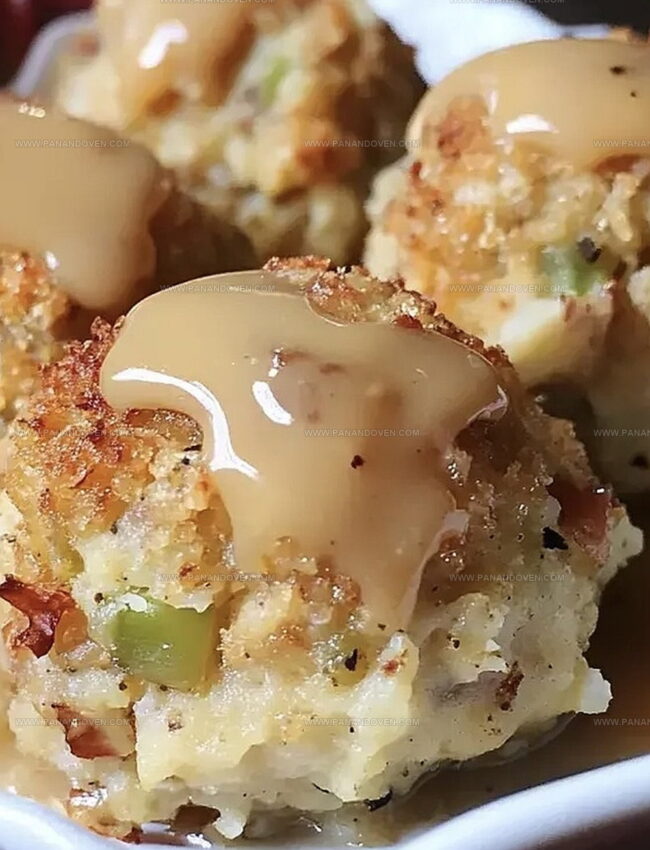
Perfectly seasoned and carefully crafted, these stuffing balls offer a delightful crunch that complements any main course.
Each morsel bursts with sage, thyme, and rich turkey flavor that transports you straight to the comfort of a festive dinner table.
They’re simple to prepare and guaranteed to vanish quickly from any serving platter.
Prepare to become the star of your next potluck or family feast with these mouthwatering stuffing balls that everyone will be asking you to make again and again.
Turkey Stuffing Balls: Why Make Them?
Ingredients for Leftover Turkey Balls
Tools to Shape Stuffing Balls Easily
Steps for Turkey Stuffing Ball Snacks

Step 1: Fire Up The Oven
Crank your oven to a toasty 375 degrees F and get ready for some delicious magic to happen.
Step 2: Mix Magic Ingredients
Gather your tasty components in a big mixing bowl:Dive in with your hands and blend everything until it’s perfectly combined and looks like a flavor explosion waiting to happen.
Step 3: Shape Flavor Bombs
Scoop up handfuls of the mixture and roll them into bite-sized balls, about the size of a golf ball.
Gently place each ball onto a parchment-lined baking sheet, giving them a little breathing room.
Step 4: Bake To Golden Perfection
Slide the baking sheet into the preheated oven and let the transformation begin.
Bake for 15-20 minutes until the exterior turns a gorgeous golden brown and develops a crispy, crunchy exterior.
Step 5: Serve And Devour
Pull out these scrumptious turkey stuffing balls and serve them piping hot.
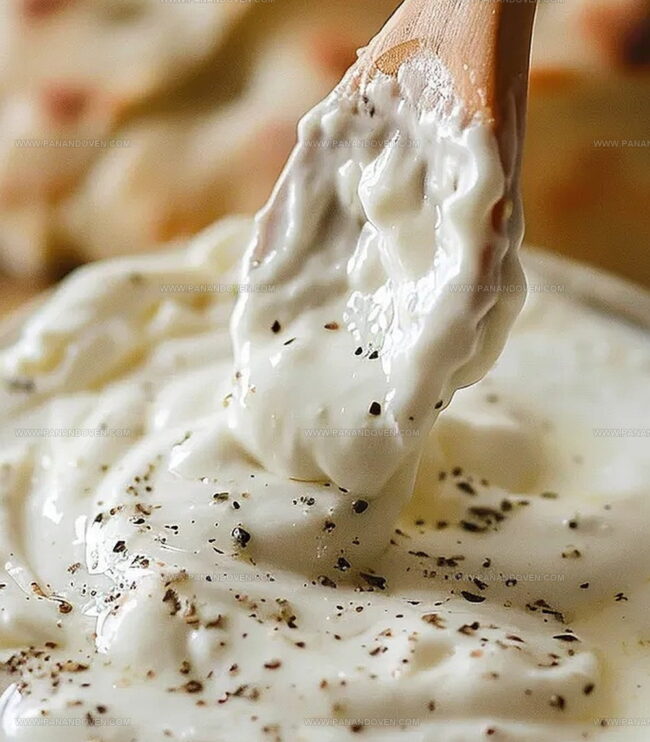
Grab some gravy or cranberry sauce for dipping and get ready to enjoy a mouthwatering snack that breathes new life into your holiday leftovers.
Best Tips for Snack-Size Turkey Balls

Flavor Swaps for Stuffing Balls
Serving Turkey Balls for Snack Time
Storing Turkey Stuffing Balls the Right Way
FAQs
Yes, you can substitute turkey with chicken, ham, or even ground beef for a different flavor profile.
Absolutely! You can freeze the uncooked balls for up to a month. Just thaw in the refrigerator before baking.
No problem. You can use crushed crackers, panko, or even crushed cornflakes as a substitute for bread crumbs.
Yes, simply use gluten-free bread crumbs and ensure all other ingredients are gluten-free to adapt the recipe for those with gluten sensitivities.
Print
Savory Turkey Stuffing Balls Recipe
- Total Time: 35 minutes
- Yield: 4 1x
Description
Homemade turkey stuffing balls bring classic holiday comfort to dinner tables across America. Crispy exterior and herbed interior make these bite-sized delights perfect for festive gatherings where guests can enjoy rich, traditional flavors with each delectable morsel.
Ingredients
Main Ingredients:
- 2 cups stuffing
- 2 cups mashed potatoes
- 1 cup shredded turkey
- 1/2 cup grated Parmesan cheese
Binding Ingredients:
- 1 egg, beaten
- 1/4 cup bread crumbs
Seasoning:
- 1/4 teaspoon salt
- 1/8 teaspoon black pepper
Instructions
- Prepare the oven by heating to 375°F (190°C), ensuring a perfectly warm cooking environment.
- Gather all ingredients in a spacious mixing bowl, blending mashed potatoes, stuffing, shredded turkey, Parmesan cheese, beaten egg, bread crumbs, salt, and black pepper into a cohesive mixture.
- Gently shape the combined ingredients into compact, uniform 1-inch spheres using clean hands, arranging them systematically on a parchment-lined baking sheet.
- Transfer the baking sheet to the preheated oven, allowing the turkey stuffing balls to roast for 15-20 minutes until they develop a crisp, golden-brown exterior.
- Remove from the oven and plate immediately, accompanying the savory morsels with complementary dipping sauces like traditional gravy or tangy cranberry sauce for enhanced flavor enjoyment.
Notes
- Customize Texture by adjusting bread crumbs for crispier or softer balls depending on personal preference.
- Ensure Even Coating by rolling mixture gently and consistently to create uniform-sized stuffing balls for balanced cooking.
- Explore Dietary Alternatives by substituting regular ingredients with gluten-free bread crumbs or using plant-based alternatives for vegetarian version.
- Enhance Flavor Complexity by adding fresh herbs like chopped sage, thyme, or rosemary to elevate the overall taste profile of the stuffing balls.
- Prep Time: 15 minutes
- Cook Time: 20 minutes
- Category: Appetizer, Snacks
- Method: Baking
- Cuisine: American
Nutrition
- Serving Size: 4
- Calories: 250
- Sugar: 1g
- Sodium: 300mg
- Fat: 12g
- Saturated Fat: 5g
- Unsaturated Fat: 7g
- Trans Fat: 0g
- Carbohydrates: 30g
- Fiber: 2g
- Protein: 10g
- Cholesterol: 50mg
Marcus Reed
Founder & Food Content Creator
Expertise
Single-recipe development, Seasonal and local ingredient utilization, Food photography and styling, Culinary writing and content creation
Education
Culinary Arts Certificate, Blue Ridge Community and Technical College, WV
Focus: Fundamentals of culinary techniques, emphasizing hands-on experience in small-scale kitchen settings.
Marcus’s story begins in Asheville, where good food and family kitchens shaped his earliest memories. After hands-on culinary training and a lot of trial (and a little error), he realized that real cooking isn’t about perfection, it’s about connection.
At Pan and Oven, Marcus crafts recipes that are easy to follow, packed with flavor, and built for real kitchens.