Quick & Homemade Saltwater Taffy Recipe for Sweet Success
Sweet, stretchy, and bursting with nostalgia, this saltwater taffy recipe transports you straight to boardwalk memories.
Ocean breezes and carnival sounds drift through every chewy bite.
The traditional coastal treat comes alive with simple ingredients and easy techniques.
Pulling and stretching taffy requires patience and a playful spirit.
Sugar, corn syrup, and water combine to create a magical confection that delights both young and old.
Each piece tells a story of summer afternoons and seaside adventures.
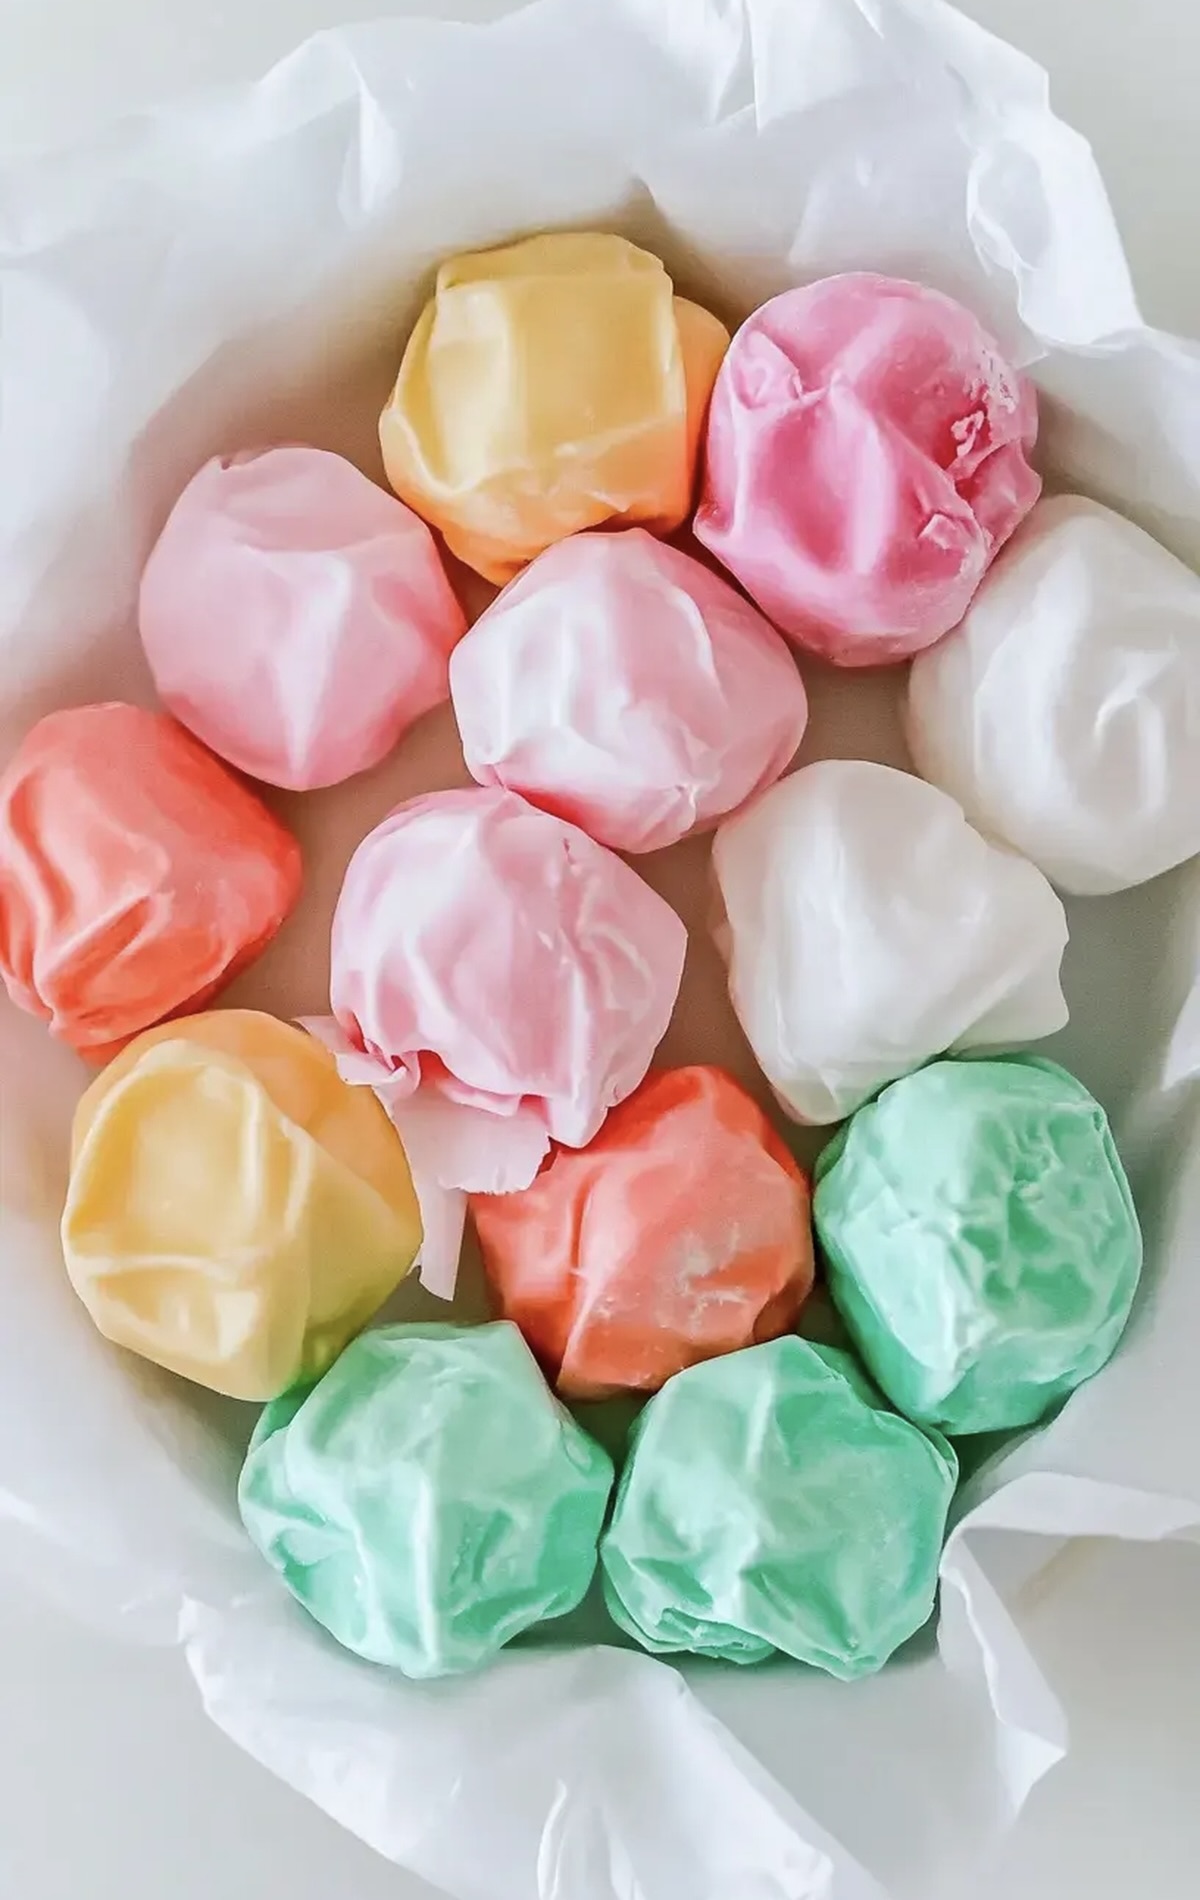
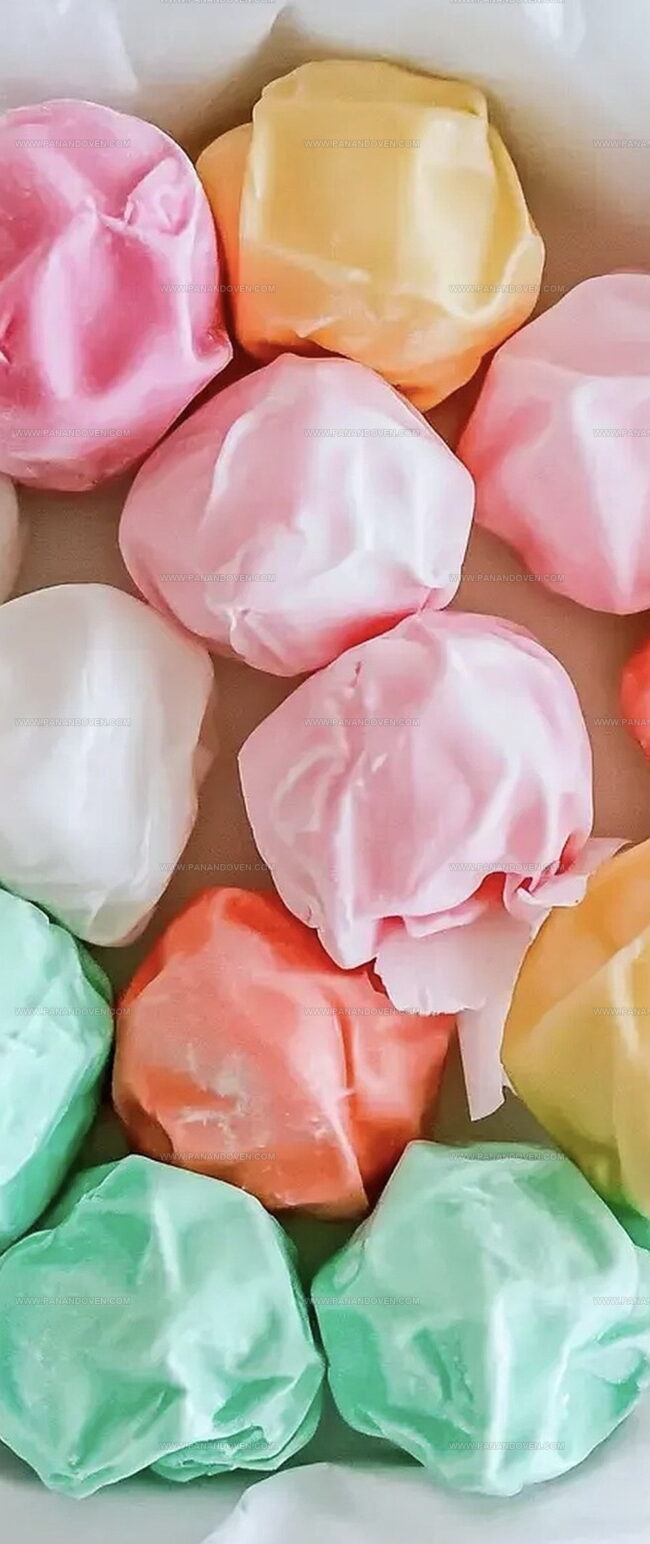
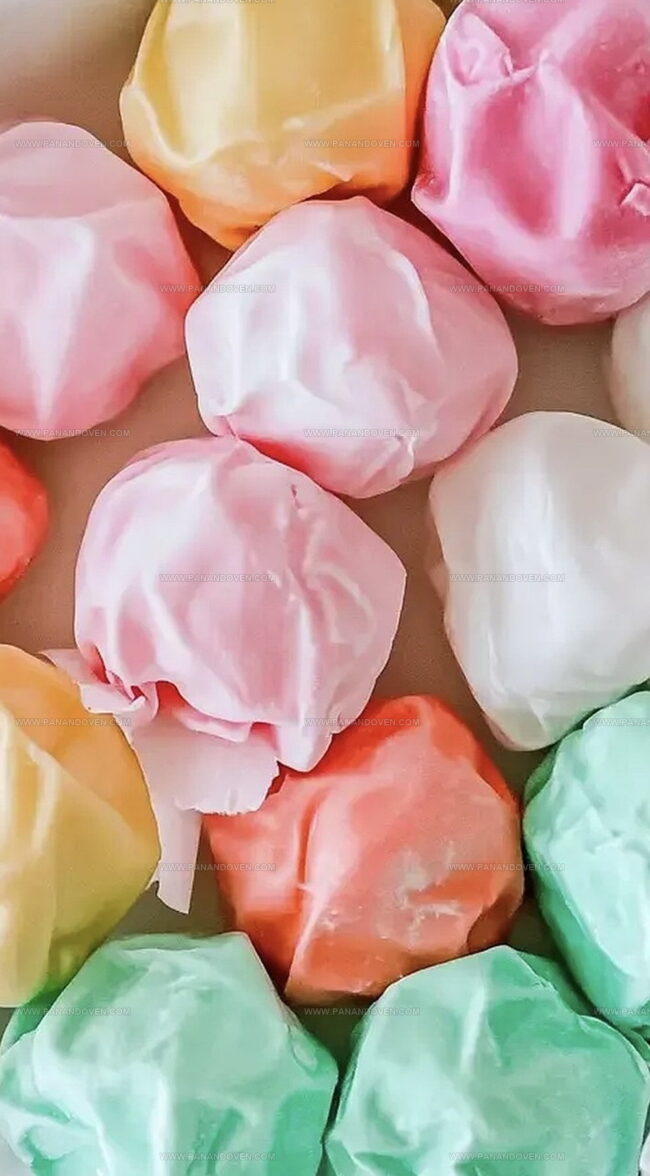
You’ll love crafting these colorful, melt-in-your-mouth candies that capture the essence of carefree beach days.
What Makes Homemade Saltwater Taffy So Fun
Ingredient Essentials for Perfect Saltwater Taffy
Base Ingredients:Flavor Enhancers:Wrapping Materials:Tools for Pulling and Shaping Saltwater Taffy

How to Make Old-Fashioned Saltwater Taffy at Home
Step 1: Mixing Sweet Beginnings
Grab a sturdy saucepan and combine your ingredients:Stir the mixture over medium heat, watching the sugar melt and blend smoothly until completely dissolved.
Step 2: Reaching Candy Temperature
Stop stirring and let the mixture bubble away.
Keep a close eye on your candy thermometer until it hits the perfect golden temperature of 260F (127C).
This critical moment transforms your simple ingredients into the foundation of amazing taffy.
Step 3: Flavor Infusion
Remove the pan from heat and introduce some delicious magic:Stir these additions gently, creating a rich and aromatic mixture that promises delectable treats.
Step 4: Cooling The Candy
Carefully pour the hot mixture onto a greased surface like a marble slab or heatproof baking sheet.
Allow the candy to rest and cool for about 5 minutes, giving it time to become manageable.
Step 5: Pulling And Transforming
Begin the exciting taffy transformation by pulling and folding the mixture repeatedly.
Your hands will work the candy, stretching it until it becomes glossy and less sticky.
This process typically takes 10-15 minutes of patient kneading.
Step 6: Wrapping Your Treasure
Butter your hands to prevent sticking, then cut the taffy into bite-sized pieces.
Wrap each piece individually in wax paper, creating perfect little packages of homemade sweetness ready to enjoy or share.
Pro Saltwater Taffy Tips for Sweet Perfection
Taffy Flavors and Variations Everyone Will Enjoy
Ways to Serve Saltwater Taffy for Celebrations
Storing Homemade Taffy to Keep It Soft and Chewy
FAQs
Pulling taffy incorporates air and helps create its signature smooth, soft texture. The stretching process breaks down sugar crystals and gives taffy its distinctive chewy consistency.
No, a candy thermometer is crucial because precise temperature determines the taffy’s texture. Without it, you might end up with taffy that’s too hard or too soft.
The taffy is ready when it becomes lighter in color, shiny, and less sticky. It should feel smooth and elastic, and stretching it becomes easier as you continue pulling.
A marble surface works best because it conducts heat quickly and provides a smooth, cool surface. If you don’t have marble, a greased baking sheet is a good alternative.
Print
Saltwater Taffy Recipe
- Total Time: 30 minutes
- Yield: 12 1x
Description
Homemade saltwater taffy from coastal New England delivers sweet nostalgia with classic pulled candy techniques. Sugary strands stretch and pull into delightful treats you can enjoy right from your kitchen.
Ingredients
Main Ingredients:
- 1 cup (240 ml) granulated sugar
- 1/2 cup (120 ml) light corn syrup
- 1/4 cup (60 ml) unsalted butter
Liquid Components:
- 1/4 cup (60 ml) water
Flavor and Seasoning:
- 1/4 teaspoon salt
- 1/2 teaspoon vanilla extract
- Food coloring (optional)
Instructions
- Prepare a medium saucepan and combine sugar, corn syrup, water, and salt over medium heat, gently stirring until sugar completely dissolves.
- Allow the mixture to boil without stirring until the candy thermometer precisely reaches 260°F, monitoring carefully to prevent burning.
- Immediately remove from heat and gently incorporate butter and vanilla extract, adding food coloring drops if desired for visual appeal.
- Carefully transfer the molten mixture onto a generously greased marble surface or heatproof baking sheet, letting it cool for approximately 4-5 minutes.
- Once temperature reduces, begin the taffy pulling process by repeatedly stretching and folding the mixture with buttered hands, continuing until the texture transforms into a glossy, smooth consistency.
- Continue pulling for 10-15 minutes, ensuring the taffy becomes less sticky and more pliable.
- Using butter-coated hands, gently separate the taffy into small, uniform bite-sized pieces.
- Individually wrap each piece securely in wax paper, twisting ends to create classic taffy presentation.
Notes
- Candy Thermometer Precision: Always use a reliable candy thermometer to accurately reach 260F, as slight temperature variations can drastically change taffy texture.
- Temperature Control: Remove the mixture from heat immediately at 260F to prevent burning or creating a tough, brittle candy.
- Pulling Technique: Stretch and fold the taffy consistently to incorporate air, creating a light, smooth texture that gives traditional saltwater taffy its signature soft chewiness.
- Surface Protection: Use a silicone mat or heavily greased surface to prevent sticking and make pulling easier, especially for beginner candy makers.
- Prep Time: 10 minutes
- Cook Time: 20 minutes
- Category: Desserts, Snacks
- Method: Boiling
- Cuisine: American
Nutrition
- Serving Size: 12
- Calories: 105
- Sugar: 16 g
- Sodium: 25 mg
- Fat: 3.5 g
- Saturated Fat: 2 g
- Unsaturated Fat: 1.5 g
- Trans Fat: 0 g
- Carbohydrates: 19 g
- Fiber: 0 g
- Protein: 0 g
- Cholesterol: 10 mg
Marcus Reed
Founder & Food Content Creator
Expertise
Single-recipe development, Seasonal and local ingredient utilization, Food photography and styling, Culinary writing and content creation
Education
Culinary Arts Certificate, Blue Ridge Community and Technical College, WV
Focus: Fundamentals of culinary techniques, emphasizing hands-on experience in small-scale kitchen settings.
Marcus’s story begins in Asheville, where good food and family kitchens shaped his earliest memories. After hands-on culinary training and a lot of trial (and a little error), he realized that real cooking isn’t about perfection, it’s about connection.
At Pan and Oven, Marcus crafts recipes that are easy to follow, packed with flavor, and built for real kitchens.