
The Best Rich and Creamy Maple Fudge Recipe You’ll Ever Make
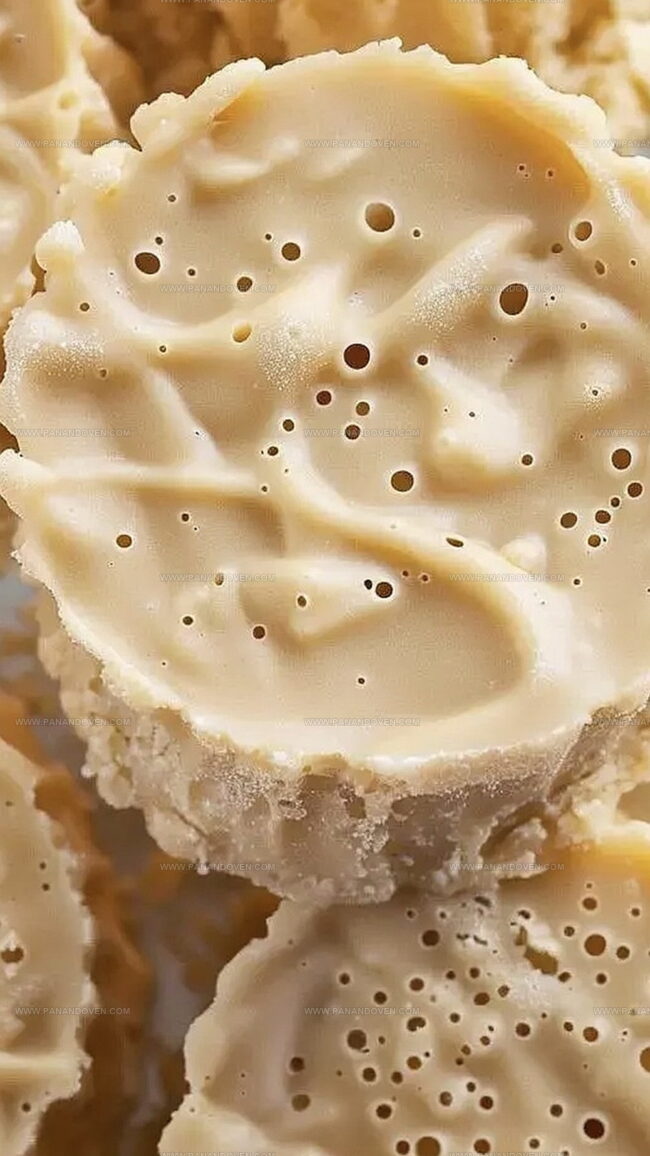
Sweet, indulgent maple fudge that melts in your mouth captures the essence of cozy comfort.
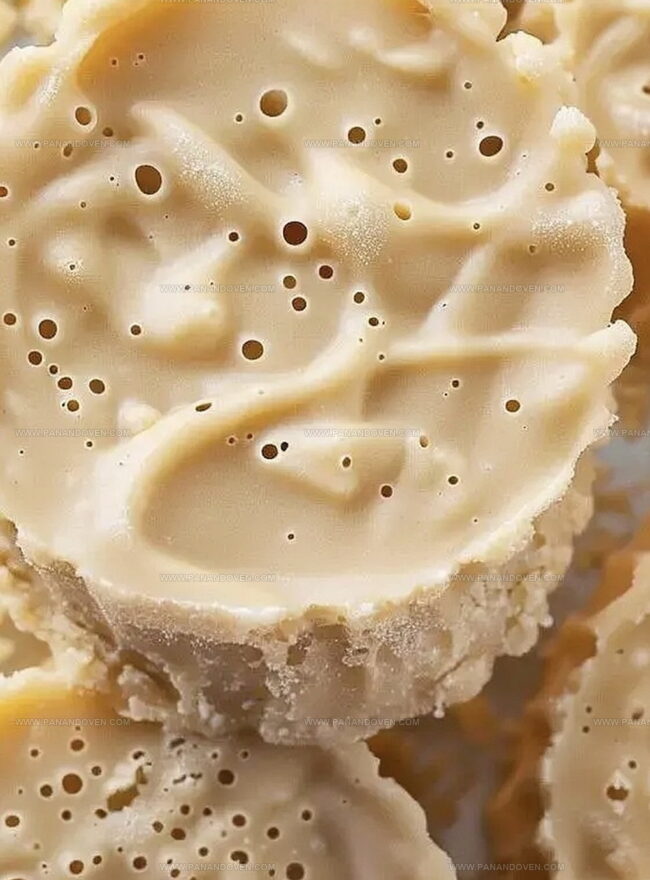
This classic maple fudge recipe brings warmth to any gathering with its silky smooth texture.
rich maple syrup infuses each bite with deep, nostalgic flavor that dances across your palate.
The combination of simple ingredients creates a decadent treat that feels both luxurious and familiar.
Velvety smooth and perfectly sweet, this fudge requires minimal effort but delivers maximum satisfaction.
Friends and family will be impressed by the delightful confection that comes together in just a few simple steps.
Prepare to savor every single mouthwatering morsel of this irresistible maple delight.
Maple Fudge Pure Sweetness in Every Bite
Ingredients to Make Maple Fudge at Home
Main Ingredients:Flavor Enhancers:Texture Add-Ins:Preparation Ingredients:Fudge-Making Tools to Get Started
Maple Fudge Directions from Start to Finish
Step 1: Prep the Baking Canvas
Get your 8×8-inch baking pan ready by lining it with waxed paper.
Gently butter the paper’s surface to ensure your fudge will slide out smoothly later.
Step 2: Create the Syrupy Base
Combine these ingredients in a saucepan over medium heat:Bring the mixture to a rolling boil.
Let it bubble without stirring until your candy thermometer hits 240°F.
Step 3: Transform the Mixture
Remove the pan from heat.
Carefully add:Allow the mixture to cool naturally without touching it until it reaches 105°F.
Step 4: Enhance with Flavor
Fold in these delightful ingredients:Beat the mixture vigorously until it loses its shiny appearance and starts to look matte.
Step 5: Shape Your Sweet Creation
Pour the fudge into your prepared pan.
Let it settle and cool completely at room temperature.
Step 6: Slice and Store
Once fully cooled, cut the fudge into delectable squares.
Wrap each piece individually and store in the refrigerator for a cool, sweet treat anytime.
Tips for Ultra Creamy Maple Fudge Squares
Ways to Flavor Maple Fudge for Any Occasion
Serving Maple Fudge at Parties or Gifts
Storage Solutions for Maple Fudge
FAQs
The mixture needs to reach 240F (116C) on a candy thermometer, which is known as the soft ball stage for candy making.
Stirring can cause sugar crystals to form, which makes the fudge grainy instead of smooth and creamy. Let the mixture boil undisturbed to ensure a silky texture.
Beat the fudge until it loses its glossy appearance and starts to look matte, which indicates it’s ready to be poured into the pan. This typically takes about 5-10 minutes of beating.
Print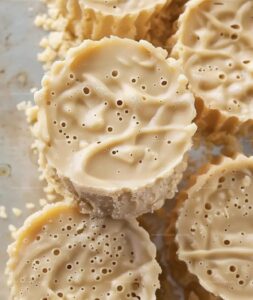
Rich and Creamy Maple Fudge Recipe
- Total Time: 1 hour 20 minutes
- Yield: 12 1x
Description
Maple fudge celebrates Canadian culinary heritage with its sweet, indulgent charm. Pure maple syrup and classic ingredients create a melt-in-your-mouth confection you can’t resist savoring.
Ingredients
Maple and Dairy Base:
- 2 cups (480 ml) maple syrup
- 1 cup (240 ml) heavy cream
- 3/4 cup (150 g) dark brown sugar
- 2 tablespoons (30 g) butter
Flavoring:
- 1 tablespoon (15 ml) vanilla extract
- 1 pinch salt
Nuts:
- 2/3 cup (80 g) chopped walnuts (optional)
Instructions
- Prepare a non-stick surface by lining an 8×8-inch baking pan with waxed paper, thoroughly coating the paper with butter to ensure easy removal of the fudge.
- Combine maple syrup, heavy cream, and dark brown sugar in a saucepan, heating over medium flame until the mixture reaches a rolling boil, carefully monitoring the temperature without stirring until it hits exactly 240F (116C).
- Immediately remove the bubbling mixture from heat, gently incorporating butter and salt, then allow the liquid to cool undisturbed until it precisely reaches 105F (41C).
- Introduce chopped walnuts and vanilla extract into the cooling syrup, vigorously beating the mixture until it transforms from glossy to matte and begins to thicken.
- Smoothly transfer the fudge mixture into the prepared pan, spreading evenly and allowing it to settle at room temperature for complete solidification.
- Once the fudge has fully cooled and set, slice into uniform squares, individually wrap each piece, and store in the refrigerator to maintain optimal texture and freshness.
Notes
- Ensure precise temperature control by using a reliable candy thermometer to achieve the perfect fudge consistency.
- Toast walnuts lightly before adding to enhance their nutty flavor and add a delightful crunch to the fudge.
- For a gluten-free version, double-check that all ingredients are certified gluten-free, especially the vanilla extract.
- Create flavor variations by substituting walnuts with pecans or adding a pinch of sea salt on top for a gourmet touch.
- Prep Time: 20 minutes
- Cook Time: 1 hour
- Category: Desserts, Snacks
- Method: Boiling
- Cuisine: American
Nutrition
- Serving Size: 12
- Calories: 177
- Sugar: 27 g
- Sodium: 11 mg
- Fat: 6 g
- Saturated Fat: 3.5 g
- Unsaturated Fat: 2 g
- Trans Fat: 0 g
- Carbohydrates: 28 g
- Fiber: 0.5 g
- Protein: 1 g
- Cholesterol: 15 mg
Marcus Reed
Founder & Food Content Creator
Expertise
Single-recipe development, Seasonal and local ingredient utilization, Food photography and styling, Culinary writing and content creation
Education
Culinary Arts Certificate, Blue Ridge Community and Technical College, WV
Focus: Fundamentals of culinary techniques, emphasizing hands-on experience in small-scale kitchen settings.
Marcus’s story begins in Asheville, where good food and family kitchens shaped his earliest memories. After hands-on culinary training and a lot of trial (and a little error), he realized that real cooking isn’t about perfection, it’s about connection.
At Pan and Oven, Marcus crafts recipes that are easy to follow, packed with flavor, and built for real kitchens.