
Dreamy Red Velvet Cookies with Frosting Recipe: A Sweet Treat
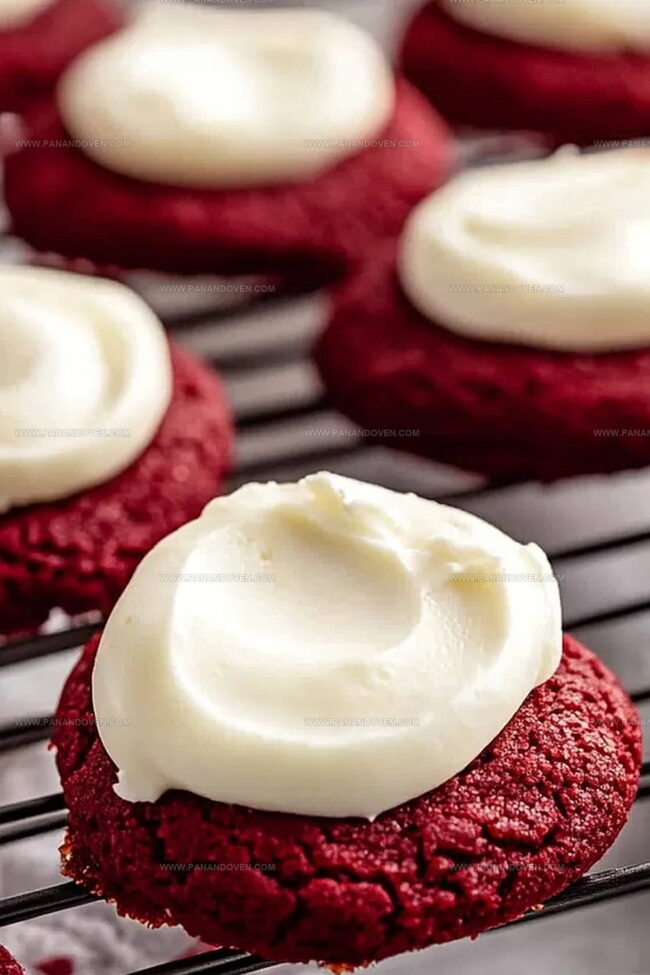
Decadent red velvet cookies with frosting dance between classic comfort and modern indulgence.
These vibrant crimson treats blend rich cocoa and smooth cream cheese into a delightful dessert.
Soft, chewy edges give way to a luxurious center that melts in you mouth.
Each cookie promises a burst of flavor that transforms an ordinary moment into something extraordinary.
The delicate balance of sweetness and tang makes these cookies irresistible.
You won’t be able to stop at just one of these gorgeous, velvety delights.
Brace yourself for a recipe that will become your new favorite sweet sensation.
Red Velvet Cookies with Frosting – Crave-Worthy Elements
Ingredients for Red Velvet Cookies with Frosting
Main Ingredients:Flavor Enhancers:Frosting Ingredients:Leavening and Binding Agents:Optional Decorative Ingredient:Cookie Baking Tools You’ll Want Nearby
Mixing Up Red Velvet Cookies with Frosting
Step 1: Warm Up the Oven
Set your oven to a toasty 350°F.
Grab a baking sheet and line it with parchment paper or a silicone mat to prevent any sticky situations.
Step 2: Blend Dry Ingredients
In a mixing bowl, whisk together these powdery friends:Make sure they’re well mixed and buddy-buddy.
Step 3: Create a Creamy Base
Grab an electric mixer and whip the butter and sugar until they transform into a light, fluffy cloud.
Crack in an egg and beat until everything looks smooth and happy.
Scrape down the sides of the bowl to catch any shy ingredients.
Step 4: Add Vibrant Color and Flavor
Pour in vanilla extract and red food coloring.
Mix on medium speed until the dough looks like a beautiful crimson dream.
Use a spatula to ensure the color spreads evenly.
Step 5: Bring the Dough Together
Slowly incorporate the dry ingredients on low speed.
The mixture will look crumbly at first – don’t panic!
Use your hands to gently press the dough into a cohesive ball.
Step 6: Shape and Bake the Cookies
Use a cookie scoop to create uniform balls.
Roll them smooth and slightly flatten each one.
Place on the prepared baking sheet and slide into the oven.
Bake for 10-11 minutes until the edges look set and puffy.
Let them rest on the baking sheet for 5 minutes, then move to a wire rack to cool completely.
Step 7: Whip Up the Creamy Frosting
Beat cream cheese and butter until they’re silky smooth.
Add:Whip for 2 minutes until the frosting looks like fluffy clouds.
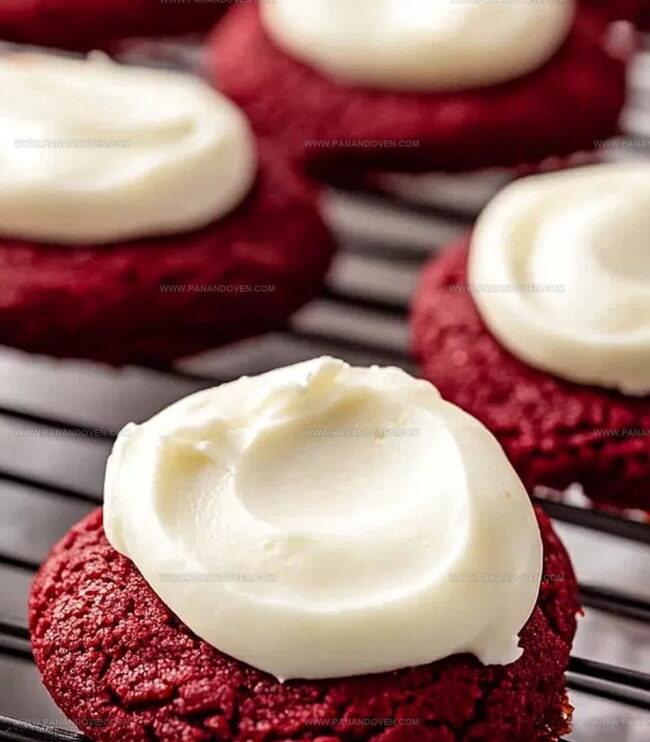
Step 8: Decorate with Deliciousness
Once the cookies are totally cool, spread frosting generously using an offset spatula.
Sprinkle with your favorite decorations before the frosting sets.
Tips for Fluffy Red Velvet Cookies
Cookie Customizations for Red Velvet Lovers
Fun Ways to Serve Red Velvet Cookies
Red Velvet Cookie Storage Strategies
FAQs
The red food coloring creates the signature bright red hue. A small amount of cocoa powder also contributes to the classic red velvet flavor and color depth.
Yes, you can skip the food coloring for a more natural look. The cookies will have a lighter brown color but will still taste delicious with the same rich flavor profile.
Chill the dough for 30 minutes before baking. This helps the cookies maintain their shape and prevents excessive spreading. Also, ensure your butter isn’t too soft when mixing.
Print
Red Velvet Cookies with Frosting Recipe
- Total Time: 36 minutes
- Yield: 24 1x
Description
Red velvet cookies with classic cream cheese frosting emerge as a delightful Southern-inspired treat. Rich chocolate undertones and velvety texture create an irresistible dessert you’ll want to share with friends and family.
Ingredients
Main Ingredients:
- 2 cups (240g) all-purpose flour
- 1/4 cup (24g) unsweetened cocoa powder
- 1/2 cup (113g) unsalted butter
- 1 cup (200g) granulated sugar
- 1 large egg
- 4 ounces (113g) full fat block cream cheese
Flavoring and Coloring Ingredients:
- 2 teaspoons vanilla extract
- 1 tablespoon (15mL) red food coloring
- 1 teaspoon vanilla extract (for frosting)
Leavening and Seasoning Ingredients:
- 1 teaspoon baking soda
- 1/2 teaspoon salt
- 1/4 cup (57g) unsalted butter (for frosting)
- 1 and 3/4 cup (210g) powdered sugar
- 1 pinch of salt (for frosting)
Instructions
- Prepare the oven at 350°F (177°C) and line a baking sheet with parchment paper or silicone mat for optimal cookie performance.
- Combine flour, cocoa powder, baking soda, and salt in a medium bowl, whisking thoroughly to ensure even distribution of dry ingredients.
- Utilize an electric mixer to cream butter and sugar until achieving a light, fluffy texture, approximately 2-3 minutes. Incorporate egg and mix until fully blended.
- Introduce vanilla extract and red food coloring, mixing on medium speed. Use a spatula to guarantee uniform color distribution throughout the mixture.
- Gradually integrate dry ingredients on low speed, creating a crumbly dough consistency. Gently compress the dough with hands to form a cohesive mixture.
- Employ a cookie scoop to portion dough, rolling into smooth spheres. Gently flatten each ball and arrange on prepared baking sheet.
- Bake for 10-11 minutes until edges are set and cookies appear slightly puffed. Allow cookies to rest on baking sheet for 5 minutes before transferring to a wire rack for complete cooling.
- Create frosting by blending cream cheese and butter until smooth. Incorporate powdered sugar, vanilla, and salt, beating for 2 minutes until achieving a creamy consistency.
- Once cookies have cooled completely, apply frosting using an offset spatula. Embellish with sprinkles before frosting sets for a decorative finish.
Notes
- Adjust food coloring carefully to achieve the perfect vibrant red color without altering the cookie’s texture or taste.
- Chill the dough for 30 minutes before baking to prevent spreading and create more uniform, thicker cookies.
- Use room temperature ingredients to ensure smooth mixing and better cookie consistency.
- Swap cream cheese frosting with dairy-free alternatives like coconut cream frosting for vegan options.
- Prep Time: 25 minutes
- Cook Time: 11 minutes
- Category: Desserts, Snacks
- Method: Baking
- Cuisine: American
Nutrition
- Serving Size: 24
- Calories: 210
- Sugar: 12g
- Sodium: 150mg
- Fat: 10g
- Saturated Fat: 6g
- Unsaturated Fat: 3g
- Trans Fat: 0g
- Carbohydrates: 28g
- Fiber: 1g
- Protein: 2g
- Cholesterol: 30mg
Clara Thompson
Recipe Developer & Food Educator
Expertise
Plant-based and vegetarian recipe development, Nutritional analysis and meal planning, Culinary education and workshop facilitation, Content writing with a focus on healthy living
Education
Diploma in Culinary Arts, Mt. San Jacinto College, CA
Focus: Comprehensive culinary training with an emphasis on sustainable cooking practices.
Certificate in Nutrition and Healthy Living, Cornell University (Online Program)
Focus: Understanding the principles of nutrition to create balanced and health-conscious recipes.
Clara lives where fresh ideas and fresh ingredients meet. She pairs her culinary know-how with her passion for healthy, planet-friendly cooking.
For Clara, good food should taste great, nourish your body, and feel easy to make. Her recipes highlight whole foods, colorful produce, and a deep respect for seasonal eating.