Quick & Cozy Pumpkin Chip Bars Recipe for Fall Sweetness
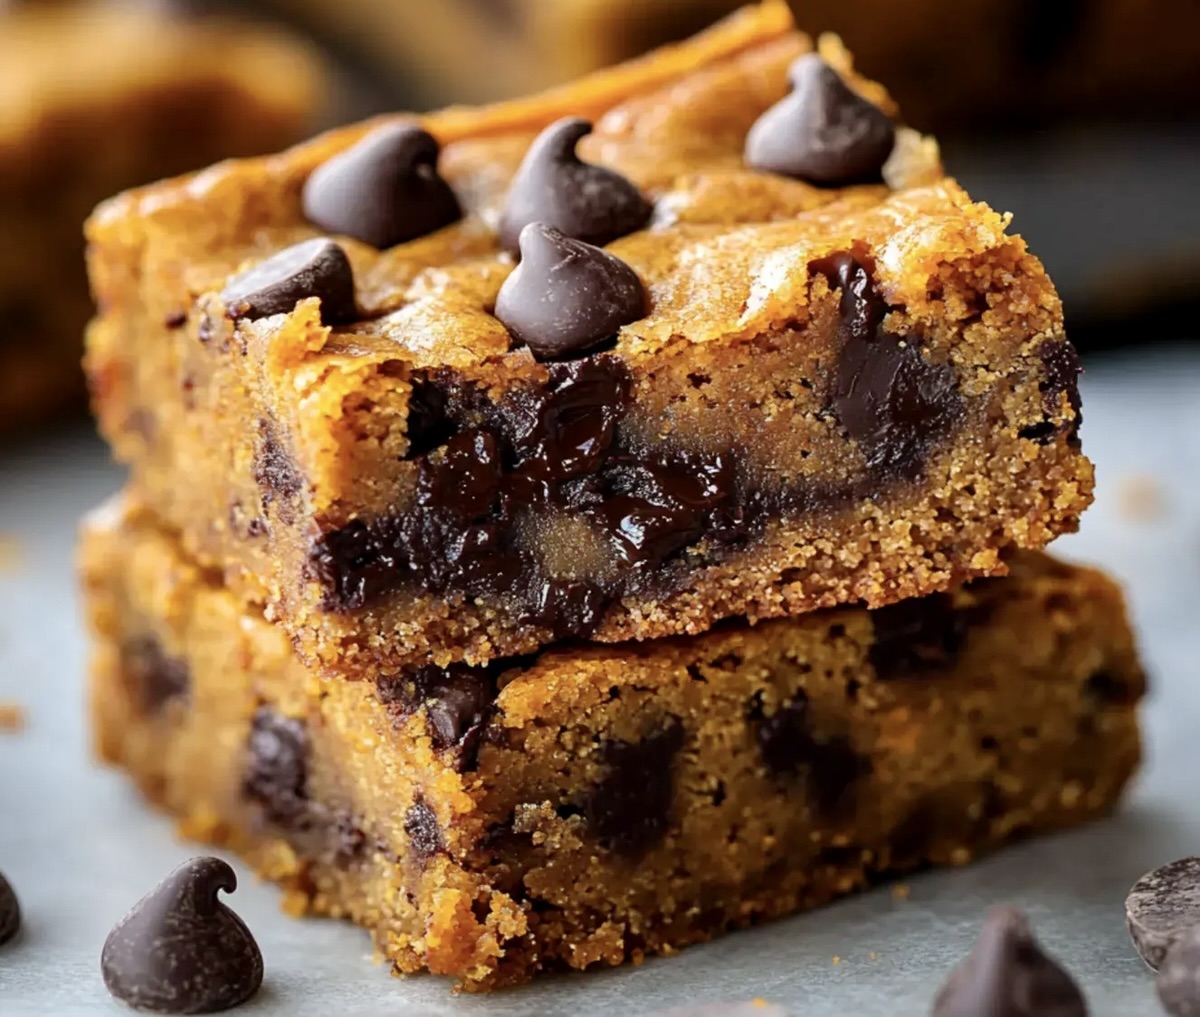
These delectable pumpkin chip bars blend autumn’s warmth with sweet, comforting flavors that dance across your taste buds.
Soft, moist textures invite you to savor each delightful bite of this seasonal treat.
Packed with rich pumpkin goodness and studded with chocolate chips, these bars offer a perfect balance of spice and sweetness.
Homemade desserts like these connect us to cherished memories and cozy moments.
The aroma of cinnamon and nutmeg will fill your kitchen with nostalgic warmth.
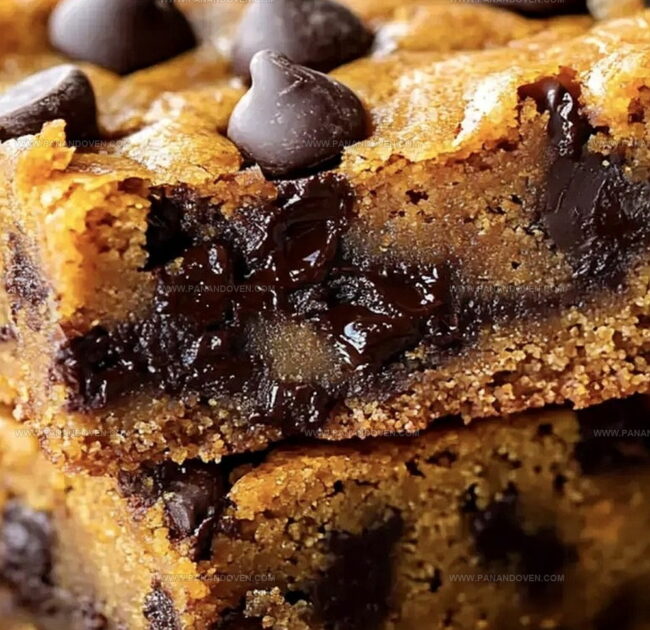
Every crumb promises a delightful experience that celebrates the best of fall baking.
Unleash your inner baker and create a dessert that will have everyone asking for seconds.
Chocolate Chip Pumpkin Bars You’ll Make Again
Must-Have Ingredients for Pumpkin Chocolate Bars
Wet Ingredients:Dry Ingredients:Sweeteners:Spices and Seasonings:Chocolate:Tools for Easy Pumpkin Bar Preparation
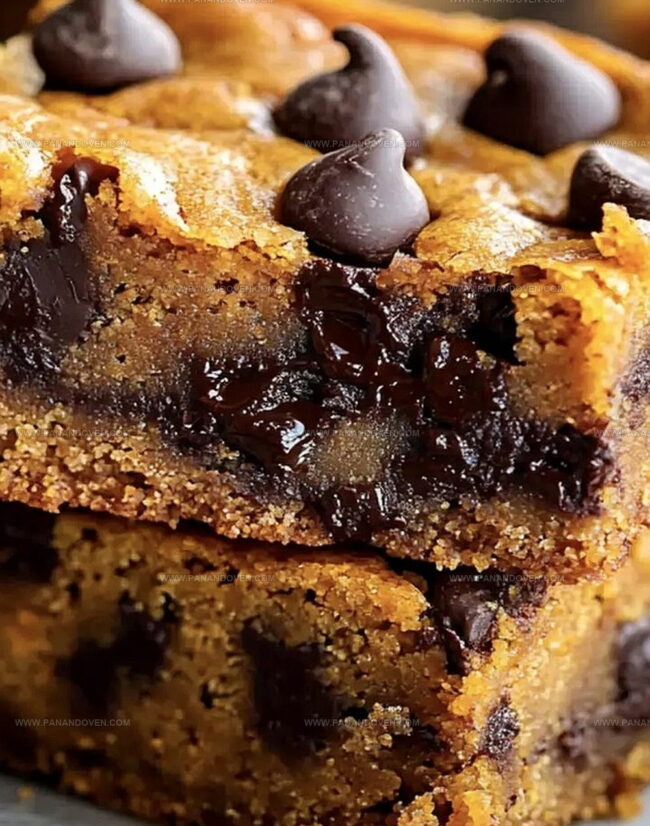
Baking Pumpkin Bars with a Fudgy Chocolate Chip Twist
Step 1: Prepare Baking Space
Get your oven ready by heating it to 350F (175C).
Grab a 9×13-inch pan and coat it with nonstick spray or line with parchment paper for super easy cleanup.
Step 2: Create Spiced Butter Base
Melt butter in a medium saucepan over medium heat.
Toss in pumpkin pie spice and let it sizzle for a quick moment, releasing those warm, cozy aromas.
Step 3: Build Sweet Foundation
Whisk in both granulated and brown sugars until they blend smoothly into the melted butter.
Step 4: Introduce Pumpkin Magic
Stir in these ingredients:Mix until everything looks perfectly combined.
Step 5: Incorporate Egg
Add the egg and mix vigorously.
If the mixture feels scorching hot, let it cool down briefly to prevent the egg from scrambling.
Step 6: Craft Dry Ingredient Blend
Sprinkle flour over the wet mixture.
Quickly distribute baking powder throughout the flour before gently folding everything together.
Stop mixing the moment ingredients are just combined.
Step 7: Spread the Love
Pour batter into the prepared pan, spreading it evenly to every corner.
Step 8: Chocolate Chip Finale
Scatter these chocolatey friends across the surface:Gently fold them into the batter using a spatula.
Step 9: Bake to Perfection
Slide the pan into the oven and bake for 25-30 minutes.
You’ll know they’re done when a toothpick comes out clean and edges start pulling away from the pan.
Step 10: Cool and Slice
Let the bars cool completely before cutting.
Pro tip: Warm bars are irresistibly tempting, so grab one while it’s still slightly warm!
Step 11: Store for Later
Keep leftover bars in an airtight container at room temperature for 2-3 days.
For longer storage, these beauties freeze wonderfully for up to 3 months.
Pumpkin Bar Tips for Rich, Moist Results
Flavor Variations for Classic Pumpkin Chocolate Bars
Fun Serving Ideas for Pumpkin Chocolate Bars
Pumpkin Chocolate Bar Storage Tips for Freshness
FAQs

Brown butter adds a rich, nutty flavor to the bars. By toasting the butter with pumpkin pie spice, you create a deeper, more complex taste that enhances the overall dessert.
Yes, simply substitute the all-purpose flour with a gluten-free flour blend. Make sure to choose a blend that has xanthan gum for better texture and binding.
Avoid overmixing the batter and be careful not to add too much flour. The key is to mix just until the ingredients are combined, which helps maintain the fudgy, dense texture of the bars.
Print
Pumpkin Chip Bars Recipe
- Total Time: 45 minutes
- Yield: 12 1x
Description
Homemade pumpkin chip bars blend autumn spices with rich chocolate in a classic fall dessert. Creamy pumpkin and sweet chocolate chips create a perfect seasonal treat for family gatherings and cozy afternoons.
Ingredients
Main Ingredients:
- 2 cups all-purpose flour
- 1 cup butter (2 sticks, 226 grams)
- 1 (8-ounces, 227 grams) can pumpkin puree
- 1 large egg
Sweeteners and Flavor Enhancers:
- 1 cup granulated sugar
- 1 cup packed brown sugar
- 1 tablespoon pumpkin pie spice
- 2 teaspoons vanilla extract
- 1/2 teaspoon kosher salt
- 1 teaspoon baking powder
Chocolate Components:
- 1 cup semisweet chocolate chips
- 1 cup dark chocolate chips
Instructions
- Prepare the oven by heating to 350F (175C) and coat a 9×13-inch pan with nonstick spray or parchment paper for effortless removal.
- Create a flavor base by melting butter in a medium saucepan over medium heat, then infuse with pumpkin pie spice for a few seconds before removing from heat.
- Incorporate granulated and brown sugars into the melted butter, stirring until thoroughly combined.
- Blend pumpkin puree, vanilla extract, and kosher salt into the sugar mixture, mixing until smooth.
- Carefully introduce the egg, whisking vigorously to prevent curdling and ensure even distribution.
- Gently fold flour and baking powder together, then integrate into the wet ingredients, mixing minimally to maintain a tender texture.
- Transfer the batter to the prepared pan, spreading evenly to create a uniform layer.
- Generously distribute semisweet and dark chocolate chips across the surface, gently folding them into the batter.
- Bake for 25-30 minutes until a toothpick inserted in the center emerges clean and the edges slightly pull away from the pan sides.
- Allow bars to cool completely in the pan before cutting, or indulge while still warm for a gooey treat.
- Preserve remaining bars in an airtight container at room temperature for 2-3 days, or freeze up to 3 months for extended enjoyment.
Notes
- Adjust spice intensity by customizing pumpkin pie spice blend, using more cinnamon for warmth or adding nutmeg for depth.
- Swap butter with coconut oil for dairy-free version, maintaining rich texture and complementary flavor profile.
- Use gluten-free flour blend to create celiac-friendly bars without compromising delicious fudgy consistency.
- Toast chocolate chips briefly before adding to enhance their nutty, caramelized undertones and create deeper chocolate flavor.
- Prep Time: 15 minutes
- Cook Time: 30 minutes
- Category: Desserts, Snacks
- Method: Baking
- Cuisine: American
Nutrition
- Serving Size: 12
- Calories: 300
- Sugar: 27 g
- Sodium: 160 mg
- Fat: 14 g
- Saturated Fat: 8 g
- Unsaturated Fat: 6 g
- Trans Fat: 0 g
- Carbohydrates: 41 g
- Fiber: 1 g
- Protein: 3 g
- Cholesterol: 30 mg
Marcus Reed
Founder & Food Content Creator
Expertise
Single-recipe development, Seasonal and local ingredient utilization, Food photography and styling, Culinary writing and content creation
Education
Culinary Arts Certificate, Blue Ridge Community and Technical College, WV
Focus: Fundamentals of culinary techniques, emphasizing hands-on experience in small-scale kitchen settings.
Marcus’s story begins in Asheville, where good food and family kitchens shaped his earliest memories. After hands-on culinary training and a lot of trial (and a little error), he realized that real cooking isn’t about perfection, it’s about connection.
At Pan and Oven, Marcus crafts recipes that are easy to follow, packed with flavor, and built for real kitchens.