Pillsbury Biscuit Garlic Butter Cheese Bombs Recipe: Irresistible Bites
Cheese bombs burst with flavor when Pillsbury biscuit garlic butter magic meets your kitchen.
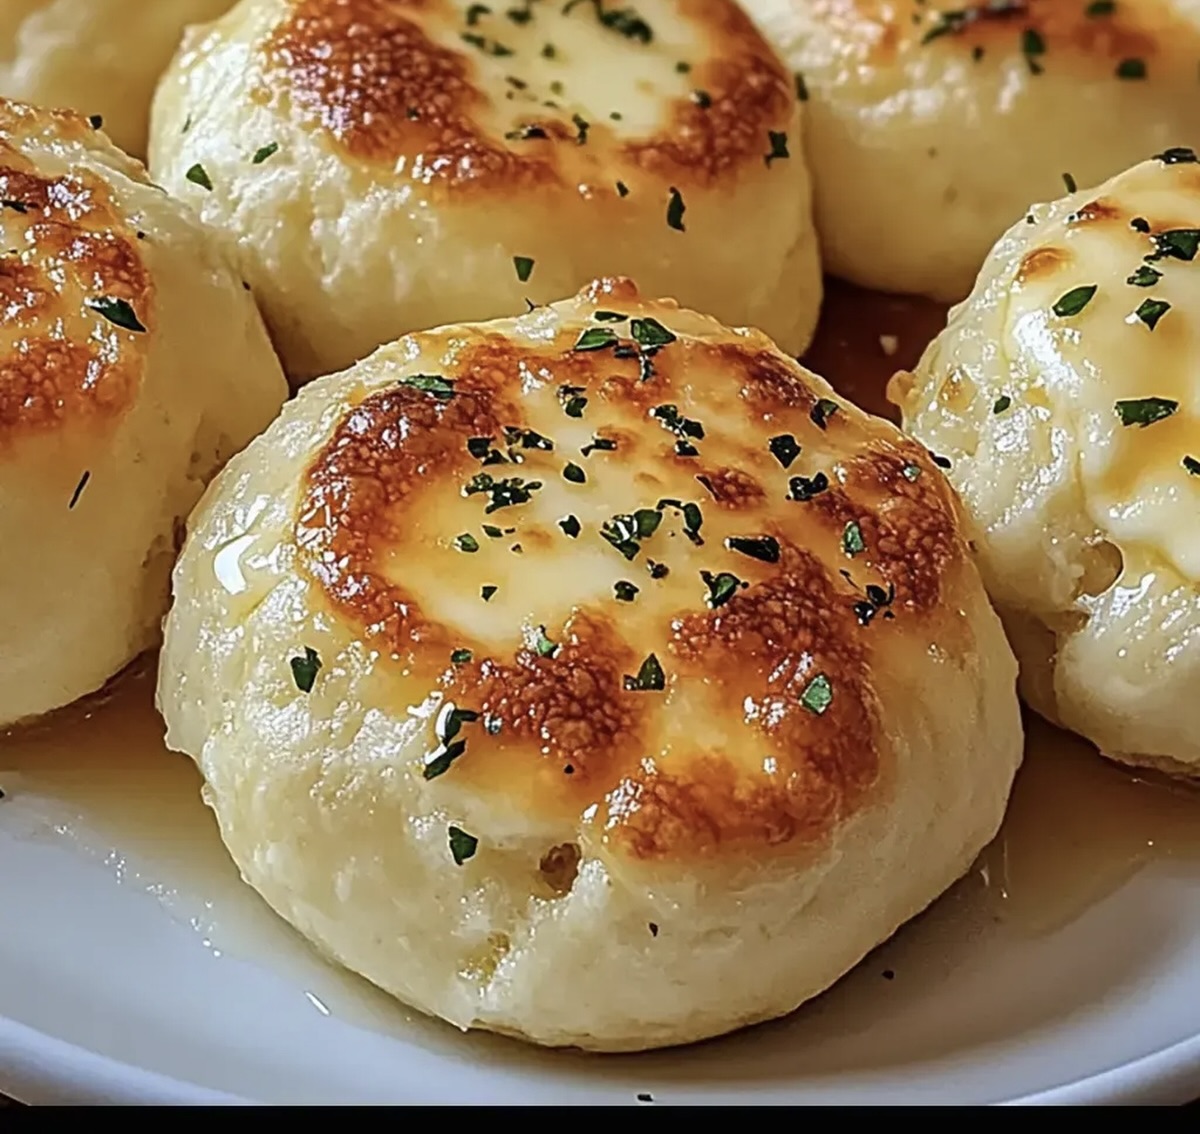
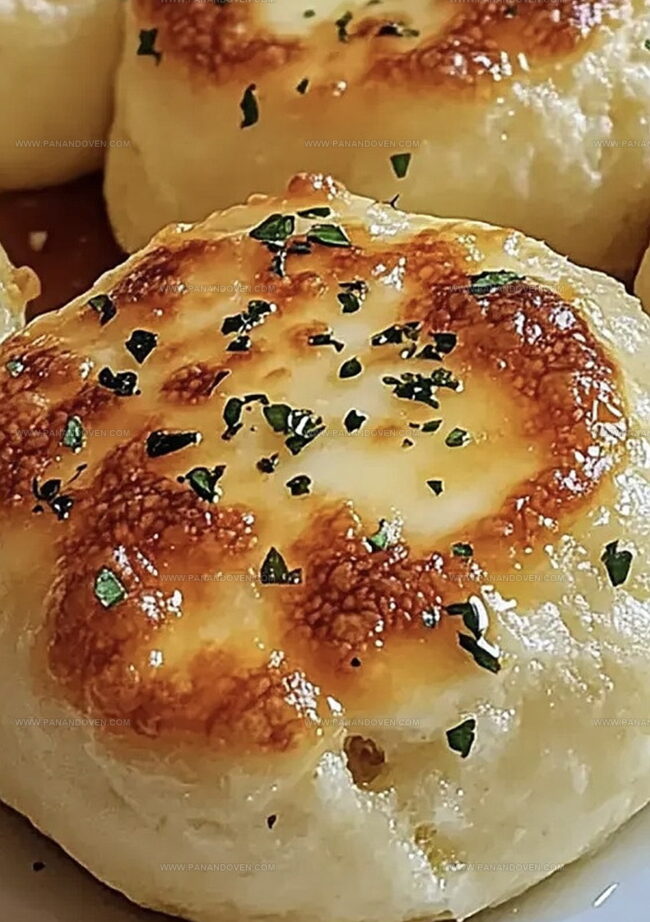
Melted cheese oozes from these golden, crispy delights.
Simple ingredients combine to create an irresistible appetizer that disappears faster than you can bake them.
Soft biscuit dough wraps around gooey cheese centers with a buttery garlic kick.
Each bite delivers a crispy exterior and a molten cheese center that sparks pure joy.
Perfectly seasoned and effortlessly delicious, these bombs will be the star of any gathering.
Prepare to wow everyone with this crowd-pleasing snack that takes minutes to assemble.
Reasons to Try Pillsbury Biscuit Garlic Butter Cheese Bombs
Ingredients for Cheesy Garlic Butter Bombs
Biscuit Base:Cheese Filling:Butter Topping:Dipping Sauce:Tools for Easy Pillsbury Cheese Bombs
How to Make Garlic Butter Cheese Bombs
Step 1: Warm Up The Oven
Crank your oven to a toasty 375F (190C) so it’s ready for some cheesy magic.
Step 2: Transform The Biscuits
Gently press each biscuit into a soft, round disc using your fingertips.
Make them look smooth and even.
Step 3: Stuff With Gooey Goodness
Place a chunk of mozzarella right in the center of each biscuit disc.
The cheese will be your delicious surprise inside.
Step 4: Create Cheese Pockets
Carefully fold the biscuit edges over the cheese, pinching and sealing the dough completely.
No cheese should escape!
Step 5: Position On Baking Sheet
Arrange your cheese bombs seam-side down on a clean baking sheet.
Give them a little breathing room between each other.
Step 6: Whip Up Flavor Explosion
Grab a small bowl and blend:Mix these ingredients until they become a fragrant, golden mixture.
Step 7: Coat With Flavor
Use a pastry brush to generously slather the butter mixture over the tops of your biscuit bombs.
Step 8: Bake To Perfection
Slide the baking sheet into the oven and bake for 10-12 minutes.
Watch for a beautiful golden-brown color.
Step 9: Serve With Pizzazz
Pull out your warm marinara sauce and let everyone dip these cheesy bombs into pure deliciousness.
Tips for Gooey, Cheesy Biscuits
Fun Cheese Bomb Variations to Sample
Ways to Serve Garlic Butter Cheese Bombs
Keeping Cheese Bombs Soft and Fresh
FAQs
Yes, you can substitute mozzarella with cheddar, provolone, or any melting cheese you prefer. Just ensure the cheese melts well and complements the garlic butter flavor.
No, you can use any pre-made refrigerated biscuit dough. Brands like Great Value or store-generic biscuits will work perfectly for this recipe.
You can prepare the biscuit bombs up to the point of brushing with garlic butter and refrigerate them for a few hours before baking. This makes them great for meal prep or entertaining.
Print
Pillsbury Biscuit Garlic Butter Cheese Bombs Recipe
- Total Time: 27 minutes
- Yield: 8 1x
Description
Pillsbury biscuit garlic butter cheese bombs bring irresistible comfort to dinner tables. Melted cheese and garlic-infused butter create a simple, crowd-pleasing side dish you cannot resist.
Ingredients
Main Ingredients:
- 1 can Pillsbury biscuits
- 8 mozzarella cheese sticks
Seasoning Ingredients:
- 1 teaspoon garlic powder
- 1 teaspoon dried Italian seasoning
Finishing Ingredients:
- 4 tablespoons (1/4 cup) butter, melted
- Marinara sauce for dipping
Instructions
- Preheat the oven to 375°F (190°C), ensuring the rack is positioned in the center for even cooking.
- Gently flatten each biscuit with your fingertips into a uniform circular shape, creating a smooth surface for filling.
- Position a cube of mozzarella cheese precisely in the middle of each biscuit round, ensuring it’s centered.
- Carefully fold the biscuit dough edges over the cheese, meticulously pinching and sealing the seams to prevent cheese leakage during baking.
- Arrange the cheese-encased biscuits seam-side down on a clean baking sheet, spacing them slightly apart to allow even heat circulation.
- Create a luxurious garlic butter glaze by whisking together melted butter, aromatic garlic powder, and fragrant Italian seasoning in a small mixing bowl.
- Using a pastry brush, generously coat the top of each biscuit with the prepared garlic butter mixture, ensuring complete and even coverage.
- Transfer the baking sheet to the preheated oven and bake for 10-12 minutes, watching for a golden-brown exterior that signals perfect doneness.
- Remove from the oven and let cool briefly, then serve alongside warm marinara sauce for a delectable dipping experience.
Notes
- Choose pre-chilled mozzarella to prevent cheese from completely melting during baking.
- Replace regular biscuits with gluten-free versions for a celiac-friendly alternative.
- Experiment with different cheese types like cheddar or pepper jack for unique flavor profiles.
- Add fresh herbs like chopped parsley or chives on top after baking for extra brightness and visual appeal.
- Prep Time: 15 minutes
- Cook Time: 12 minutes
- Category: Breakfast, Snacks, Appetizer, Dinner
- Method: Baking
- Cuisine: American
Nutrition
- Serving Size: 8
- Calories: 180
- Sugar: 1 g
- Sodium: 400 mg
- Fat: 12 g
- Saturated Fat: 7 g
- Unsaturated Fat: 4 g
- Trans Fat: 0 g
- Carbohydrates: 16 g
- Fiber: 0 g
- Protein: 5 g
- Cholesterol: 30 mg


Marcus Reed
Founder & Food Content Creator
Expertise
Single-recipe development, Seasonal and local ingredient utilization, Food photography and styling, Culinary writing and content creation
Education
Culinary Arts Certificate, Blue Ridge Community and Technical College, WV
Focus: Fundamentals of culinary techniques, emphasizing hands-on experience in small-scale kitchen settings.
Marcus’s story begins in Asheville, where good food and family kitchens shaped his earliest memories. After hands-on culinary training and a lot of trial (and a little error), he realized that real cooking isn’t about perfection, it’s about connection.
At Pan and Oven, Marcus crafts recipes that are easy to follow, packed with flavor, and built for real kitchens.