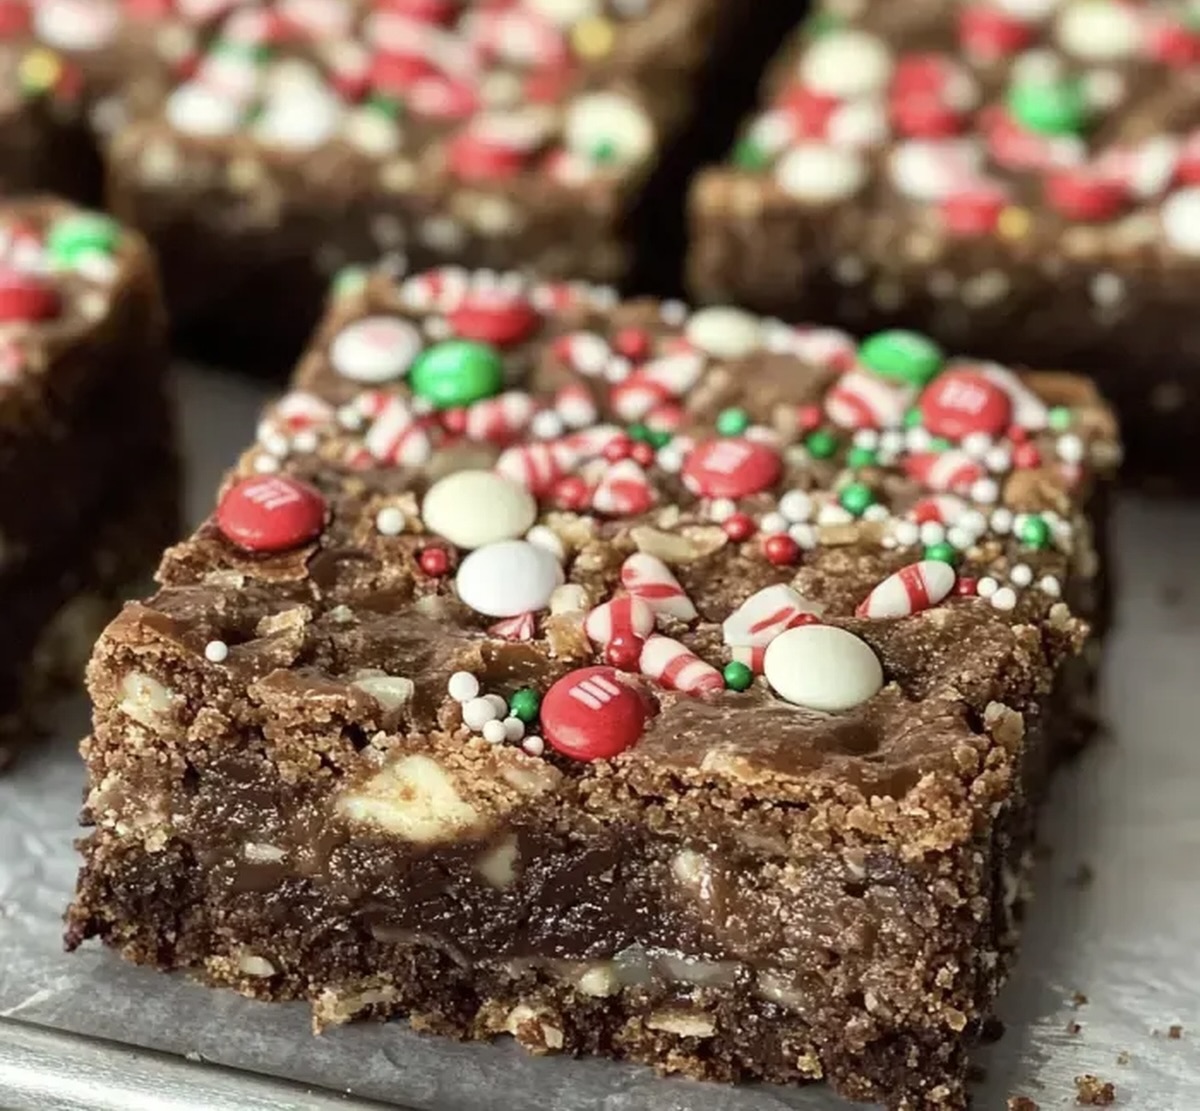
Festive Peppermint Mocha Cookie Bars Recipe for Holiday Joy
Chocolate and peppermint dance together in these irresistible peppermint mocha cookie bars that promise pure winter bliss.
Cold evenings call for warm, rich desserts that comfort the soul.
Decadent layers of soft chocolate meld perfectly with cool mint undertones.
The deep coffee notes add complexity to each delectable bite.
Espresso powder intensifies the chocolate’s deep, luxurious flavor profile.
These bars bring a festive touch to any gathering, transforming simple ingredients into something extraordinary.
Treat yourself to a slice of seasonal magic that will have everyone asking for seconds.
Peppermint Mocha Cookie Bars Why These Bars Are So Festive
Peppermint Mocha Cookie Bar Ingredient List
Dry Ingredients:Chocolate and Flavor Ingredients:Wet and Sweet Ingredients:Decorative Ingredients:Baking Tools for Festive Cookie Bars
Steps for Baking Peppermint Mocha Bars
Step 1: Prepare Baking Pan
Line a 13×9 inch baking pan with parchment paper, letting the edges hang over for easy removal later.
Ensure the parchment is smooth and fits snugly in the pan.
Step 2: Mix Dry Ingredients
Whisk together these dry ingredients in a medium bowl:Ensure the ingredients are well combined and free of lumps.
Step 3: Melt Chocolate Smoothly
Use a double boiler or create a makeshift one by placing a heatproof bowl over a pot of gently simmering water.
Carefully melt the chocolate, stirring occasionally until smooth and glossy.
Step 4: Cream Butter And Sugars
In a stand mixer or with a hand mixer, blend:Beat on medium speed until the mixture becomes light and fluffy, about 3-4 minutes.
Step 5: Incorporate Wet Ingredients
Add to the butter mixture:Mix until the ingredients are fully incorporated and the batter looks smooth and glossy.
Step 6: Combine Dry And Wet Mixtures
Gradually add the flour mixture to the wet ingredients, mixing on low speed until just combined.
Fold in white chocolate chips gently to distribute evenly.
Step 7: Initial Baking
Transfer the dough to the prepared pan, spreading it evenly.
Bake in a preheated oven at 350°F for 15-20 minutes.
The bars should be slightly underbaked.
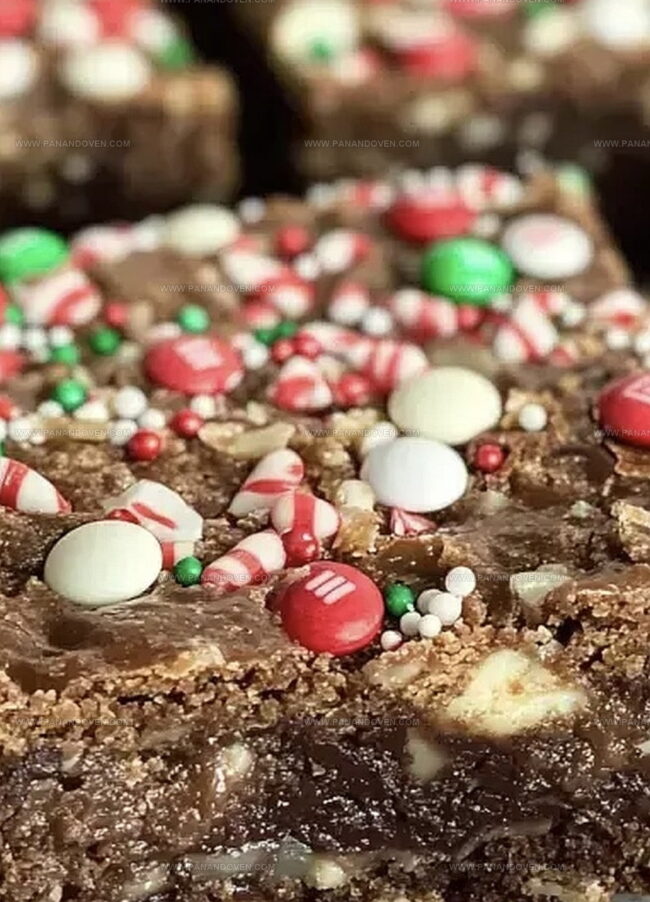
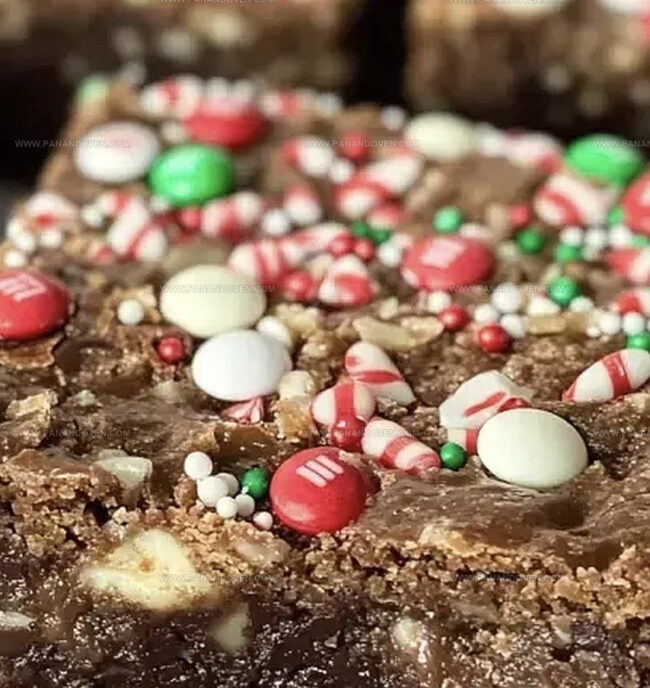
Step 8: Add Festive Toppings
Remove the pan from the oven and sprinkle with:Drizzle sweetened condensed milk over the surface.
Step 9: Final Baking
Return the pan to the oven and bake for an additional 20-25 minutes.
The bars should look bubbly and golden around the edges.
Step 10: Cool And Slice
Allow the bars to cool completely in the pan.
Use the parchment paper edges to lift the entire batch out, then slice into squares using a sharp knife.
Top Tricks for Perfect Holiday Cookie Bars
Peppermint Mocha Cookie Bar Twists & Styles
Serving Suggestions for Cookie Bars
Storage Tips for Keeping Cookie Bars Fresh
FAQs
These bars combine rich chocolate, coffee extract, and peppermint for a festive holiday taste that balances sweet, rich, and minty notes.
You can swap white chocolate chips with dark chocolate chips, use vanilla extract instead of coffee extract, and replace peppermint chips with crushed candy canes if needed.
Look for slightly golden edges and a set center. The bars should be slightly firm but not completely hard when you remove them from the oven. A toothpick inserted should come out with a few moist crumbs.
Print
Peppermint Mocha Cookie Bars Recipe
- Total Time: 1 hour 5 minutes
- Yield: 16 1x
Description
Peppermint mocha cookie bars blend rich chocolate with cool mint in a festive holiday dessert. Chocolate lovers will savor this indulgent treat that combines espresso, peppermint, and sweet cookie base for a delightful seasonal experience.
Ingredients
Main Ingredients:
- 2 cups all-purpose flour
- 1 1/3 cups packed brown sugar
- 1/2 cup granulated sugar
- 2 eggs, at room temperature
- 12 tablespoons (170 grams) butter, at room temperature
Chocolate and Flavoring Ingredients:
- 2 ounces (56 grams) unsweetened chocolate, coarsely chopped
- 2 teaspoons pure coffee extract
- 1 cup white chocolate chips
- 1 cup peppermint baking chips
- 1/2 cup mini M&M baking bits
- About 3/4 of a 14 ounces (400 grams) can of sweetened condensed milk
Dry and Supplementary Ingredients:
- 3 teaspoons baking powder
- 1/2 teaspoon salt
- 4 tablespoons (56 grams) vegetable shortening
- 1 teaspoon Christmas-colored sprinkles
Instructions
- Prepare a 13×9 inch baking pan by lining it with parchment paper, allowing overhang for easy removal.
- Sift together flour, baking powder, and salt in a medium mixing bowl, creating a uniform dry ingredient base.
- Create a double boiler or use a heatproof bowl over simmering water to gently melt the chocolate, stirring until smooth and glossy.
- Using a stand mixer, cream butter, shortening, and sugars at medium speed until light and fluffy, approximately 3-4 minutes.
- Incorporate melted chocolate, eggs, and coffee extract into the butter mixture, mixing until thoroughly combined and emulsified.
- Gradually fold in the flour mixture, mixing until just incorporated, then gently fold in white chocolate chips to distribute evenly.
- Transfer the dough into the prepared pan, spreading it evenly and baking at 350°F for 15-20 minutes, aiming for a slightly underbaked texture.
- Remove from oven and immediately scatter peppermint chips, M&M bits, and sprinkles across the surface, then drizzle sweetened condensed milk evenly.
- Return to oven and bake at 350°F for an additional 20-25 minutes until the edges are golden and the center appears bubbly and set.
- Allow the bars to cool completely in the pan, then use parchment paper overhang to lift and slice into neat, festive squares.
Notes
- Adapt to Dietary Needs: Swap traditional ingredients with gluten-free flour, dairy-free chocolate, and vegan butter for those with dietary restrictions.
- Chocolate Melting Tip: Use low, gentle heat when melting chocolate to prevent burning and maintain smooth texture.
- Prevent Overbaking: Watch bars closely during final bake to ensure they remain soft and chewy, not dry or crumbly.
- Storage Hack: Store in airtight container at room temperature for up to 5 days, or freeze for longer preservation of festive treats.
- Prep Time: 20 minutes
- Cook Time: 45 minutes
- Category: Desserts, Snacks
- Method: Baking
- Cuisine: American
Nutrition
- Serving Size: 16
- Calories: 290
- Sugar: 22 g
- Sodium: 120 mg
- Fat: 14 g
- Saturated Fat: 8 g
- Unsaturated Fat: 6 g
- Trans Fat: 0 g
- Carbohydrates: 38 g
- Fiber: 1 g
- Protein: 3 g
- Cholesterol: 35 mg
Marcus Reed
Founder & Food Content Creator
Expertise
Single-recipe development, Seasonal and local ingredient utilization, Food photography and styling, Culinary writing and content creation
Education
Culinary Arts Certificate, Blue Ridge Community and Technical College, WV
Focus: Fundamentals of culinary techniques, emphasizing hands-on experience in small-scale kitchen settings.
Marcus’s story begins in Asheville, where good food and family kitchens shaped his earliest memories. After hands-on culinary training and a lot of trial (and a little error), he realized that real cooking isn’t about perfection, it’s about connection.
At Pan and Oven, Marcus crafts recipes that are easy to follow, packed with flavor, and built for real kitchens.