The Ultimate Peanut Butter Rocky Road Bars Recipe for Sweet Fans
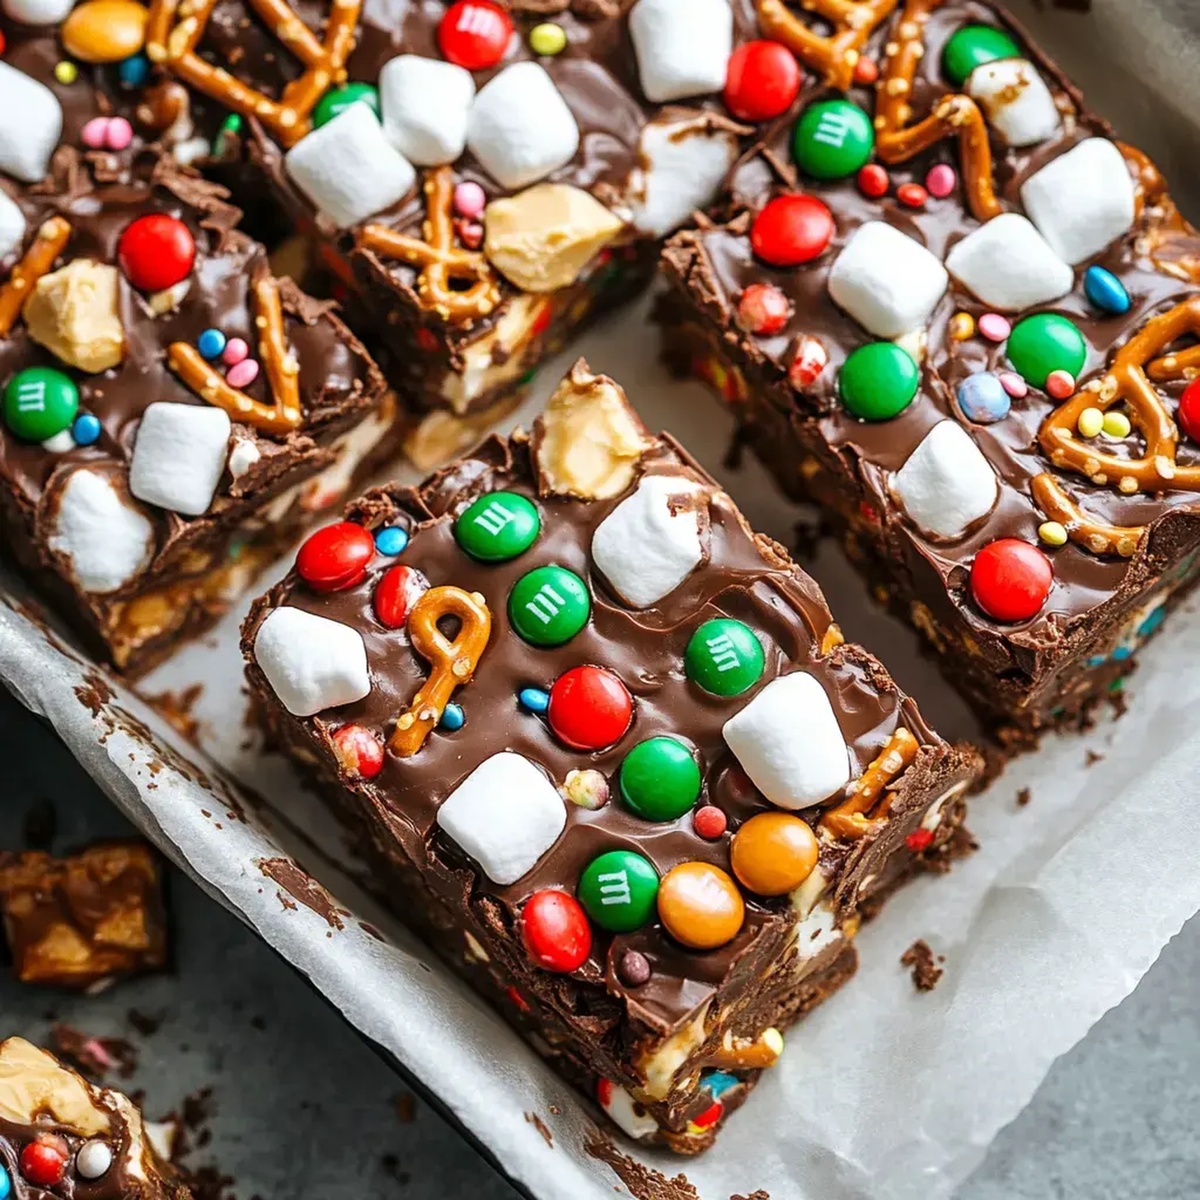
Decadent chocolate meets creamy peanut butter rocky road bars in this irresistible dessert that promises pure indulgence.
Sweet marshmallows and crunchy nuts dance together in a symphony of flavors and textures.
These bars blend rich chocolate with smooth peanut butter for an unbeatable treat.
Every bite delivers a perfect balance of softness and crunch that melts in your mouth.
Chocolate lovers and peanut butter fans will adore this simple yet spectacular dessert.
The recipe comes together quickly with minimal effort and maximum satisfaction.
These bars are guaranteed to become your new favorite no-bake dessert that everyone will request again and again.
Peanut Butter Rocky Road Bars The Sweetest Reasons
Ingredients for Peanut Butter Rocky Road Bliss
Base Ingredients:Crunchy Mix-Ins:Topping and Decoration:Tools for Making Rocky Road Bars at Home
How to Assemble Peanut Butter Rocky Road Bars
Step 1: Create Smooth Chocolate Base
Grab a double boiler and gently melt chocolate, creating a silky smooth foundation.
Stir in creamy peanut butter and a touch of oil, blending until the mixture becomes glossy and perfectly combined.
Step 2: Allow Cooling Time
Let the decadent chocolate mixture rest and cool down for about 10 minutes.
This helps stabilize the texture and prevents ingredients from melting when you add them later.
Step 3: Prepare Baking Pan
Line an 8×8 inch baking pan with parchment paper, ensuring the edges are completely covered.
This will make removing the bars super easy later.
Step 4: Add Crunchy Mix-Ins
Fold in your favorite fun ingredients to create exciting texture:Stir gently to distribute evenly throughout the chocolate mixture.
Step 5: Create First Layer
Pour half of the chocolate mixture into the prepared pan, creating a smooth base layer.
Step 6: Add Reese’s Surprise
Strategically place Reese’s pieces across the first chocolate layer for an extra burst of peanut butter flavor.
Step 7: Complete Final Layer
Carefully pour the remaining chocolate mixture over the Reese’s, ensuring complete coverage.
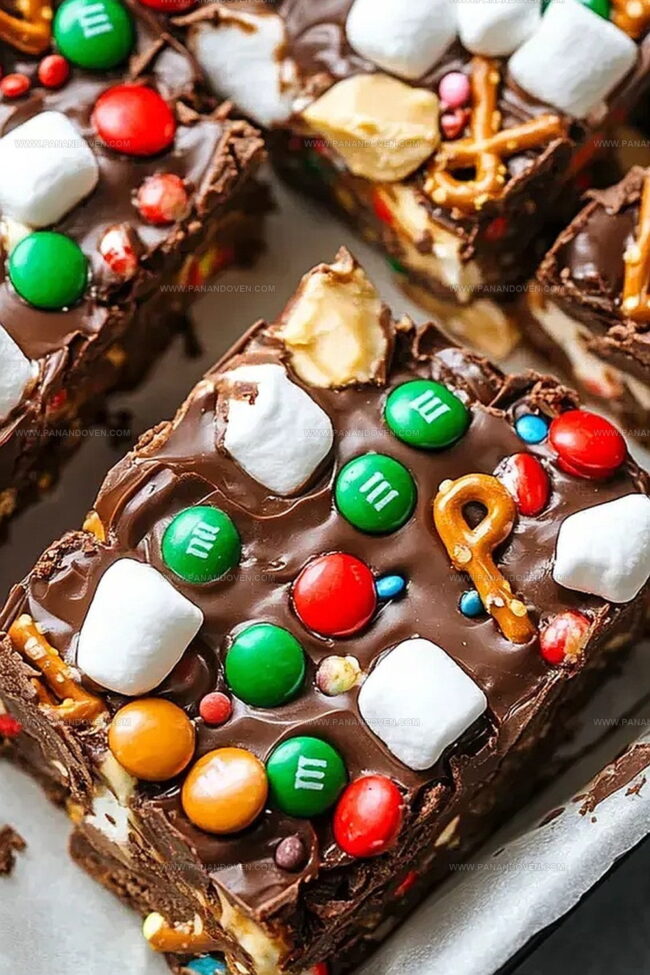
Step 8: Add Decorative Touches
Sprinkle additional M&Ms and colorful sprinkles on top for a playful, eye-catching finish.
Step 9: Chill and Set
Refrigerate the bars for 60-90 minutes until they become firm and perfectly set.
The waiting is the hardest part!
Rocky Road Bar Tips for Gooey Goodness
Mix In Ideas for Peanut Butter Rocky Road Bars
How to Serve Rocky Road Bars for Sharing
Storing Rocky Road Bars
FAQs
Yes, you can swap dark, milk, or semi-sweet chocolate based on your preference. Just ensure it melts smoothly.
Replace peanut butter with sunflower seed butter or almond butter for a nut-free version. Ensure other ingredients are nut-free too.
Reduce the amount of M&Ms and use dark chocolate instead of milk chocolate. You can also choose unsweetened pretzels to balance sweetness.
Use a heat-safe bowl over a pot of simmering water. Make sure the bowl doesn’t touch the water directly to prevent burning the chocolate.
Print
Peanut Butter Rocky Road Bars Recipe
- Total Time: 20 minutes
- Yield: 12 1x
Description
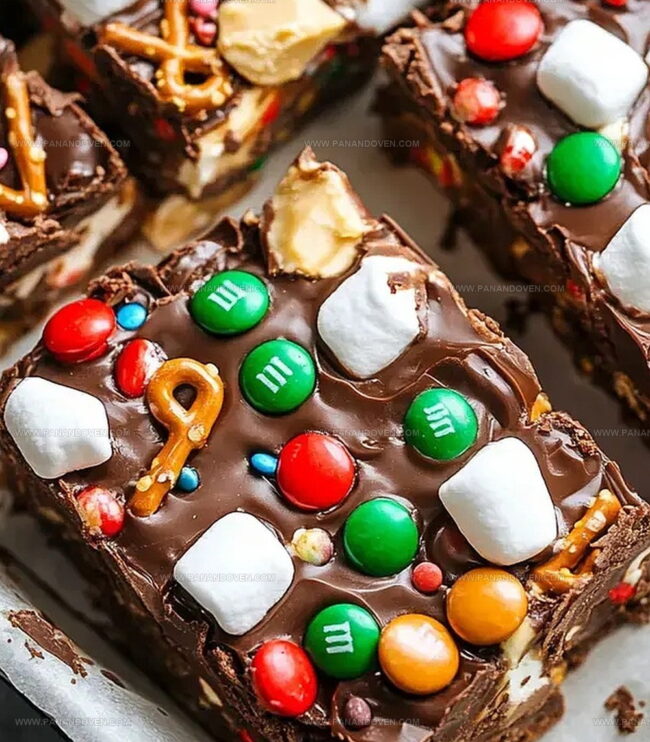
Mouthwatering peanut butter rocky road bars combine rich chocolate, creamy peanut butter, and marshmallow goodness. Sweet indulgence will tempt chocolate enthusiasts with layers of irresistible flavor combinations you cannot resist.
Ingredients
Main Ingredients:
- 12 ounces (340 grams) dark chocolate chips
- 3/4 cup (180 milliliters) creamy peanut butter
- 2 cups (80 grams) mini marshmallows
Supporting Ingredients:
- 1 cup (100 grams) broken pretzels
- 1/2 cup (85 grams) M&Ms
- 12 mini Reese’s trees
Finishing Ingredients:
- 3 tablespoons (45 milliliters) coconut oil or butter
- Sprinkles for decoration
Instructions
- Create a double boiler setup and gently melt chocolate, peanut butter, and oil together, stirring continuously until smooth and fully integrated.
- Allow the warm chocolate mixture to cool for approximately 10 minutes, ensuring it remains pliable but not hot.
- Prepare an 8×8 inch baking pan by carefully lining it with parchment paper, ensuring complete coverage of the bottom and sides.
- Incorporate marshmallows, crushed pretzels, and M&Ms into the cooled chocolate mixture, stirring gently to distribute ingredients evenly.
- Pour half of the chocolate-coated mixture into the prepared pan, creating an initial base layer with an even surface.
- Strategically arrange Reese’s pieces across the first layer, ensuring consistent coverage.
- Carefully pour the remaining chocolate mixture over the Reese’s layer, completely covering the initial ingredients.
- Embellish the top with additional M&Ms and colorful sprinkles for visual appeal and texture.
- Transfer the pan to the refrigerator and chill for 60-90 minutes, or until the bars have solidified completely and reached a firm, sliceable consistency.
Notes
- Choose high-quality chocolate for richer flavor and smoother texture.
- Adjust marshmallow and pretzel quantities based on personal preference or dietary needs.
- Use gluten-free pretzels and certified gluten-free chocolate for celiac-friendly version.
- Allow bars to sit at room temperature for 5-10 minutes before cutting for cleaner slices.
- Prep Time: 20 minutes
- Cook Time: 0 minutes
- Category: Desserts, Snacks
- Method: None
- Cuisine: American
Nutrition
- Serving Size: 12
- Calories: 320
- Sugar: 24 g
- Sodium: 150 mg
- Fat: 18 g
- Saturated Fat: 8 g
- Unsaturated Fat: 10 g
- Trans Fat: 0 g
- Carbohydrates: 36 g
- Fiber: 2 g
- Protein: 6 g
- Cholesterol: 0 mg
Clara Thompson
Recipe Developer & Food Educator
Expertise
Plant-based and vegetarian recipe development, Nutritional analysis and meal planning, Culinary education and workshop facilitation, Content writing with a focus on healthy living
Education
Diploma in Culinary Arts, Mt. San Jacinto College, CA
Focus: Comprehensive culinary training with an emphasis on sustainable cooking practices.
Certificate in Nutrition and Healthy Living, Cornell University (Online Program)
Focus: Understanding the principles of nutrition to create balanced and health-conscious recipes.
Clara lives where fresh ideas and fresh ingredients meet. She pairs her culinary know-how with her passion for healthy, planet-friendly cooking.
For Clara, good food should taste great, nourish your body, and feel easy to make. Her recipes highlight whole foods, colorful produce, and a deep respect for seasonal eating.