Indulgent Peanut Butter Oreo Truffles Recipe for Sweet Cravings
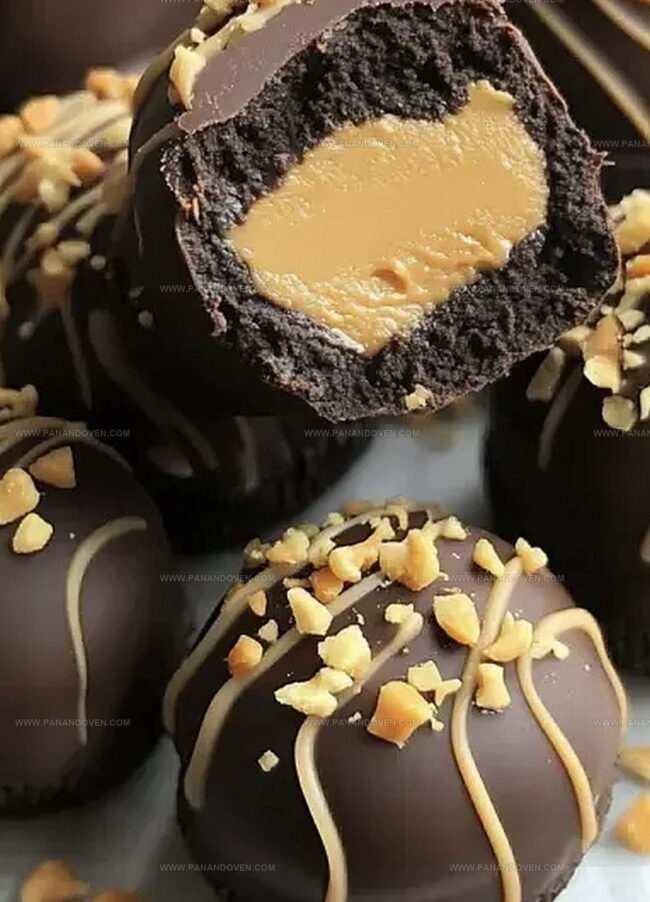
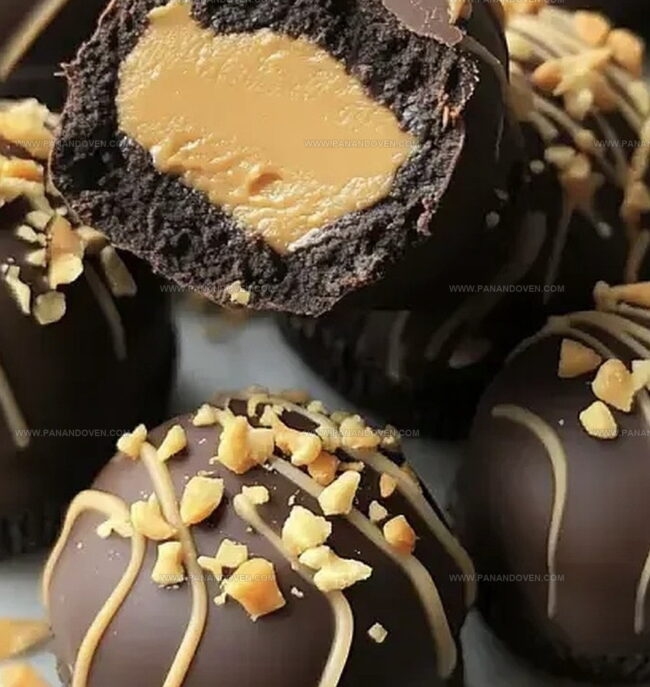
Sweet, decadent peanut butter Oreo truffles are the ultimate no-bake dessert that melts in your mouth with pure indulgence.
Crushing Oreo cookies creates a rich, chocolatey base that perfectly complements smooth peanut butter.
These bite-sized delights combine simple ingredients into an irresistible treat guaranteed to impress.
Each truffle offers a delightful blend of creamy and crunchy textures that dance on your palate.
The magic happens when crushed cookies mingle with soft cream cheese and peanut butter, forming delectable little spheres of happiness.
Dipped in melted chocolate and chilled, these truffles become an elegant, crowd-pleasing dessert that disappears faster than you can make them.
You’ll want to save this recipe for every sweet craving and special occasion.
Reese’s Peanut Butter Oreo Truffles Snack-Time Standouts
What Goes Into Reese’s Oreo Truffles
Base Ingredients:Coating Ingredients:Garnish Ingredients:Tools for Shaping Perfect Truffles
How to Make Reese’s Peanut Butter Oreo Truffles
Step 1: Pulverize Oreo Cookies
Grab your favorite method to transform Oreo cookies into fine, sandy crumbs.
You can use a food processor for quick work or place cookies in a sealed plastic bag and crush them with a rolling pin.
The goal is to create uniform, tiny crumbs that will blend seamlessly into your truffle mixture.
Step 2: Blend Creamy Mixture
In a spacious mixing bowl, combine:Mix these ingredients thoroughly until you achieve a smooth, consistent texture that holds together beautifully.
Step 3: Shape Delectable Spheres
Using a small cookie scoop or spoon, portion out bite-sized balls from your mixture.
Roll each portion gently between your palms to create perfect, round truffles.
Arrange these delightful spheres on a parchment-lined baking sheet.
Step 4: Chill Truffle Bases
Transfer the baking sheet to the freezer.
Allow truffles to firm up for 20-30 minutes, which will help them maintain their shape during the chocolate coating process.
Step 5: Melt Chocolate Coating
Select a microwave-safe bowl to melt chocolate chips with a touch of coconut oil.
Heat in short 30-second intervals, stirring between each session until the chocolate becomes silky smooth and glossy.
Step 6: Enrobe Truffles
Dip each chilled truffle into the melted chocolate using a fork or toothpick.
Gently tap to remove excess coating, ensuring an even, elegant chocolate shell.
Place the coated truffles back on the parchment-lined sheet.
Step 7: Add Festive Finishing Touches
While the chocolate coating remains wet, sprinkle your favorite garnishes:Let the truffles set at room temperature or in the refrigerator until the chocolate hardens completely.
Tricks for No-Bake Truffle Perfection
Truffle Flavor Ideas to Change Things Up
Serving Truffles at Parties or Solo
Storing Reese’s Oreo Truffles
FAQs
The key ingredients are Oreo cookies, cream cheese, peanut butter, chocolate chips, and optional toppings like Reese’s Pieces or crushed peanuts.
You’ll need a food processor or rolling pin to crush Oreos, a mixing bowl, a baking sheet, parchment paper, and a microwave-safe bowl for melting chocolate.
Yes, you can prepare these truffles in advance. They can be stored in the refrigerator for up to a week, making them perfect for party prep or quick desserts.
Print
Peanut Butter Oreo Truffles Recipe
- Total Time: 20 minutes
- Yield: 36 1x
Description
Delightful peanut butter oreo truffles blend creamy richness with chocolate-coated indulgence. Sweet treats provide a simple dessert perfect for sharing with friends and family.
Ingredients
Main Ingredients:
- 1 package Oreo cookies (36 cookies)
- 8 ounces (226 grams) cream cheese, softened
- 1/2 cup (120 milliliters) Reese’s Peanut Butter (or any peanut butter)
Coating Ingredients:
- 1 1/2 cups (255 grams) semi-sweet chocolate chips
- 1 tablespoon (15 milliliters) coconut oil (or vegetable oil, for smooth melting)
Garnish Ingredients:
- Crushed Oreos, Reese’s Pieces, or chopped peanuts
Instructions
- Transform Oreo cookies into fine, uniform crumbs using a food processor or by sealing them in a plastic bag and crushing with a rolling pin.
- In a spacious mixing bowl, blend the pulverized Oreo crumbs with softened cream cheese and creamy peanut butter until the mixture achieves a smooth, homogeneous consistency.
- Utilize a cookie scoop to portion out uniform spherical shapes, gently rolling each between palms to create perfectly round truffles. Arrange the delicate orbs on a parchment-lined tray.
- Transfer the tray to the freezer for approximately 25 minutes, allowing the truffles to firm up and maintain their structural integrity.
- Prepare the chocolate coating by melting chocolate chips with coconut oil in a microwave-safe vessel. Heat in brief 30-second intervals, stirring between each session until achieving a glossy, liquid texture.
- Carefully immerse each chilled truffle into the molten chocolate using a fork or dipping tool, ensuring even coverage and allowing excess chocolate to cascade off.
- While the chocolate coating remains lustrous, embellish with complementary toppings like crushed Oreo fragments, vibrant Reese’s Pieces, or chopped peanuts. Allow truffles to solidify at ambient temperature or expedite the process in the refrigerator.
Notes
- Use a food processor or rolling pin to crush Oreos into ultra-fine crumbs for smoother truffle texture.
- Ensure cream cheese and peanut butter are at room temperature to blend seamlessly without lumps.
- Slightly wet hands when rolling balls helps create perfectly smooth, uniform truffles without sticking.
- Refrigerate truffles in an airtight container up to 5 days for maximum freshness and flavor preservation.
- Prep Time: 20 minutes
- Cook Time: 0 minutes
- Category: Desserts, Snacks
- Method: None
- Cuisine: American
Nutrition
- Serving Size: 36
- Calories: 150
- Sugar: 10 g
- Sodium: 100 mg
- Fat: 9 g
- Saturated Fat: 4 g
- Unsaturated Fat: 5 g
- Trans Fat: 0 g
- Carbohydrates: 15 g
- Fiber: 1 g
- Protein: 3 g
- Cholesterol: 20 mg


Marcus Reed
Founder & Food Content Creator
Expertise
Single-recipe development, Seasonal and local ingredient utilization, Food photography and styling, Culinary writing and content creation
Education
Culinary Arts Certificate, Blue Ridge Community and Technical College, WV
Focus: Fundamentals of culinary techniques, emphasizing hands-on experience in small-scale kitchen settings.
Marcus’s story begins in Asheville, where good food and family kitchens shaped his earliest memories. After hands-on culinary training and a lot of trial (and a little error), he realized that real cooking isn’t about perfection, it’s about connection.
At Pan and Oven, Marcus crafts recipes that are easy to follow, packed with flavor, and built for real kitchens.