Irresistibly Gooey Peanut Butter Brownies Recipe for Chocoholics
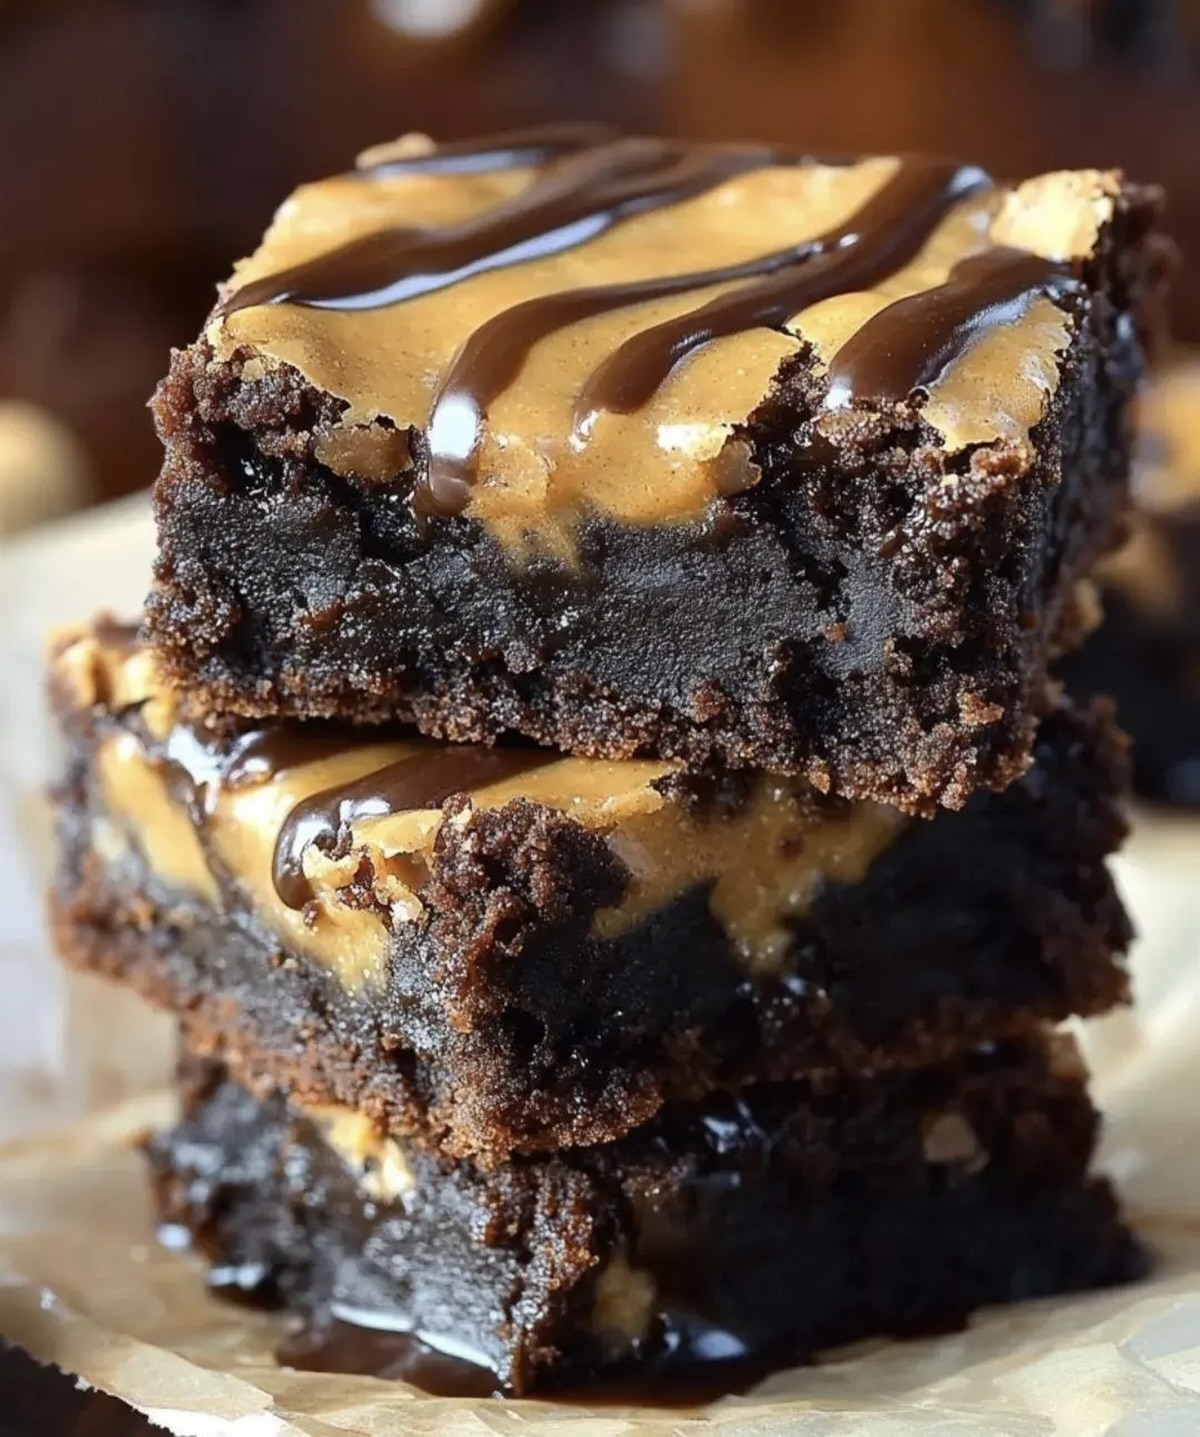
Decadent chocolate brownies swirled with creamy peanut butter create an irresistible dessert that promises pure indulgence.
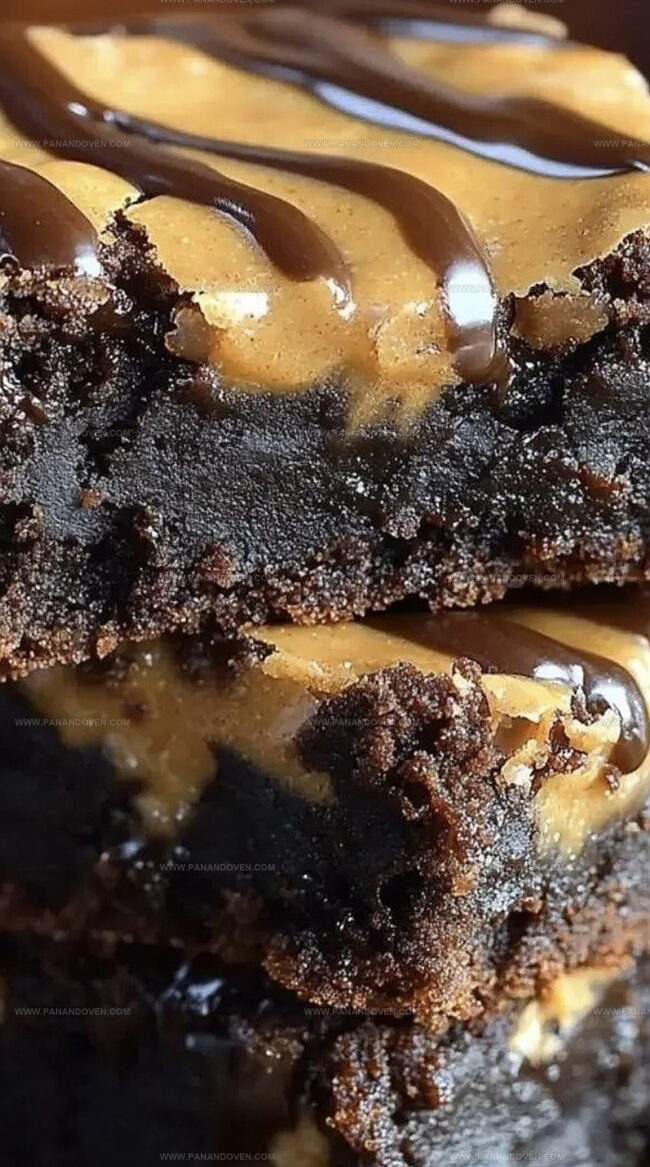
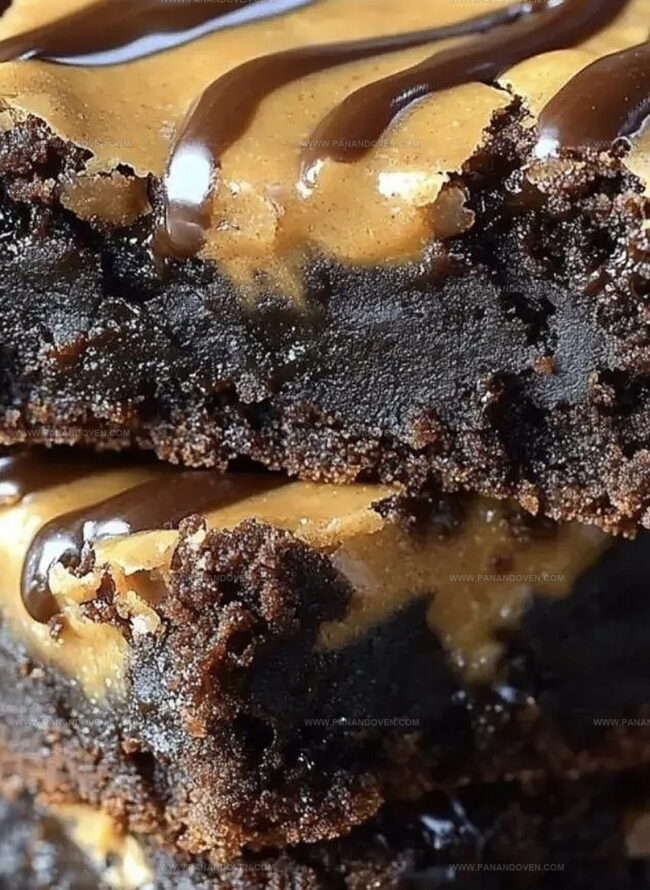
These fudgy squares blend rich cocoa with nutty, smooth peanut butter for a mouthwatering treat.
Every bite delivers a perfect balance of sweet and salty flavors that dance across your palate.
The dense, chewy texture makes these brownies a standout dessert for any occasion.
Chocolate and peanut butter lovers will adore this simple yet elegant recipe that comes together in minutes.
Baking these brownies fills your kitchen with an intoxicating aroma that draws everyone to the counter.
You won’t be able to resist cutting into these warm, gooey squares of pure bliss.
Fudgy Peanut Butter Brownies: Richness Redefined
Brownie Ingredient Checklist
Main Ingredients:Sweeteners:Flavor Enhancers:Brownie Baking Tools & Must-Haves
Fudgy Peanut Butter Brownies in 4 Steps
Step 1: Prep Your Baking Space
Warm up your oven to a cozy 350F.
Grab an 8×8-inch baking pan and give it a quick spritz of baking spray.
Line the pan with parchment paper for easy brownie removal.
Step 2: Create Chocolate Magic
Grab a small saucepan and melt butter over medium heat.
Pull it off the stove and whisk in chocolate chips until they transform into a smooth, glossy mixture.
Transfer this chocolatey goodness to a large mixing bowl and let it cool down for a moment.
Step 3: Combine Dry Ingredients
In a separate bowl, sift together:Sprinkle in a pinch of salt and give everything a good whisk.
Step 4: Blend Wet Ingredients
Whisk together:Fold these into your melted chocolate mixture until silky smooth.
Gently fold in the flour mixture, being careful not to overmix.
Stir in the remaining chocolate chips.
Step 5: Create Peanut Butter Swirl
Pour the brownie batter into your prepared pan.
Dollop spoonfuls of peanut butter across the top.
Use a knife or skewer to create beautiful swirls throughout the batter.
Step 6: Bake to Perfection
Slide the pan into the oven and bake for 40-45 minutes.
The center should look set and firm.
If the peanut butter starts browning too quickly, loosely cover with foil after 25 minutes.
Let the brownies cool completely before slicing into indulgent squares.
Brownie-Making Advice for a Fudgy Bite
Peanut Butter Brownie Variations
Serving Suggestions for Brownies
Storing Brownies for Ultimate Freshness
FAQs
Natural peanut butter can work, but it might make the brownies slightly less creamy. Choose a smooth variety with minimal oil separation for best results.
Insert a toothpick near the center – it should come out with a few moist crumbs. The edges will look set and slightly pulled away from the pan sides.
Semi-sweet chocolate chips are ideal. They provide the right balance of sweetness and richness without making the brownies too bitter or too sweet.
Cooling prevents the eggs from scrambling when mixed in. It helps create a smooth, consistent batter that results in fudgy, tender brownies.
Print
Peanut Butter Brownies Recipe
- Total Time: 1 hour 5 minutes
- Yield: 12 1x
Description
Creamy peanut butter brownies blend rich chocolate with smooth nutty swirls for ultimate dessert indulgence. Chocolate lovers will savor each decadent bite of this irresistible sweet treat.
Ingredients
Main Ingredients:
- 3 large eggs
- 1 cup (227g / 8 ounces) unsalted butter
- 1 cup (175g) semisweet chocolate chips
- 1/2 cup (113g) creamy peanut butter
Dry Ingredients:
- 1 1/4 cups (150g) all-purpose flour
- 1 cup (200g) granulated sugar
- 1 cup (220g) firmly packed light brown sugar
- 1/2 cup (50g) unsweetened cocoa powder
- 1 teaspoon salt
Flavor Enhancers:
- 1 tablespoon vanilla extract
Instructions
- Prepare the baking vessel by heating the oven to 350°F. Coat an 8×8-inch square pan with cooking spray and create a parchment paper sling for easy removal.
- Create a chocolate base by melting butter in a saucepan over medium heat. Remove from stove and incorporate half the chocolate chips, stirring until smooth. Transfer to a large mixing bowl and allow to cool slightly.
- Sift flour and cocoa powder together in a separate bowl. Integrate salt into the dry ingredients using a whisk.
- Develop the wet mixture by blending sugars, eggs, and vanilla into the melted chocolate until achieving a uniform consistency. Gently fold in the flour mixture, being careful not to overmix. Incorporate remaining chocolate chips.
- Transfer the batter to the prepared pan, ensuring an even distribution. Dot the surface with small spoonfuls of peanut butter, creating a marbled effect by gently swirling with a knife.
- Bake for 40-45 minutes, monitoring for a set center. If peanut butter begins to brown too quickly, cover with aluminum foil after 25 minutes.
- Allow brownies to cool completely in the pan before cutting into squares, ensuring clean and precise slices.
Notes
- Chocolate Quality Matters Use high-quality dark or semi-sweet chocolate chips for deeper, richer flavor that elevates the entire brownie experience.
- Peanut Butter Technique Ensure peanut butter is at room temperature for easier swirling and more even distribution throughout the brownie batter.
- Texture Perfection Remove brownies from oven when center is slightly underbaked for that signature fudgy, moist texture that melts in your mouth.
- Storage Secret Store brownies in an airtight container at room temperature for up to 3 days, or refrigerate for maximum freshness and a firmer consistency.
- Prep Time: 20 minutes
- Cook Time: 45 minutes
- Category: Desserts, Snacks
- Method: Baking
- Cuisine: American
Nutrition
- Serving Size: 12
- Calories: 280
- Sugar: 18g
- Sodium: 150mg
- Fat: 14g
- Saturated Fat: 8g
- Unsaturated Fat: 6g
- Trans Fat: 0g
- Carbohydrates: 36g
- Fiber: 2g
- Protein: 5g
- Cholesterol: 70mg
Marcus Reed
Founder & Food Content Creator
Expertise
Single-recipe development, Seasonal and local ingredient utilization, Food photography and styling, Culinary writing and content creation
Education
Culinary Arts Certificate, Blue Ridge Community and Technical College, WV
Focus: Fundamentals of culinary techniques, emphasizing hands-on experience in small-scale kitchen settings.
Marcus’s story begins in Asheville, where good food and family kitchens shaped his earliest memories. After hands-on culinary training and a lot of trial (and a little error), he realized that real cooking isn’t about perfection, it’s about connection.
At Pan and Oven, Marcus crafts recipes that are easy to follow, packed with flavor, and built for real kitchens.