Dreamy Peanut Butter Blossoms Recipe: Soft Kisses of Sweetness
Soft, chewy cookies that melt in your mouth always bring comfort and joy, especially when you create these delightful peanut butter blossoms that promise pure happiness.
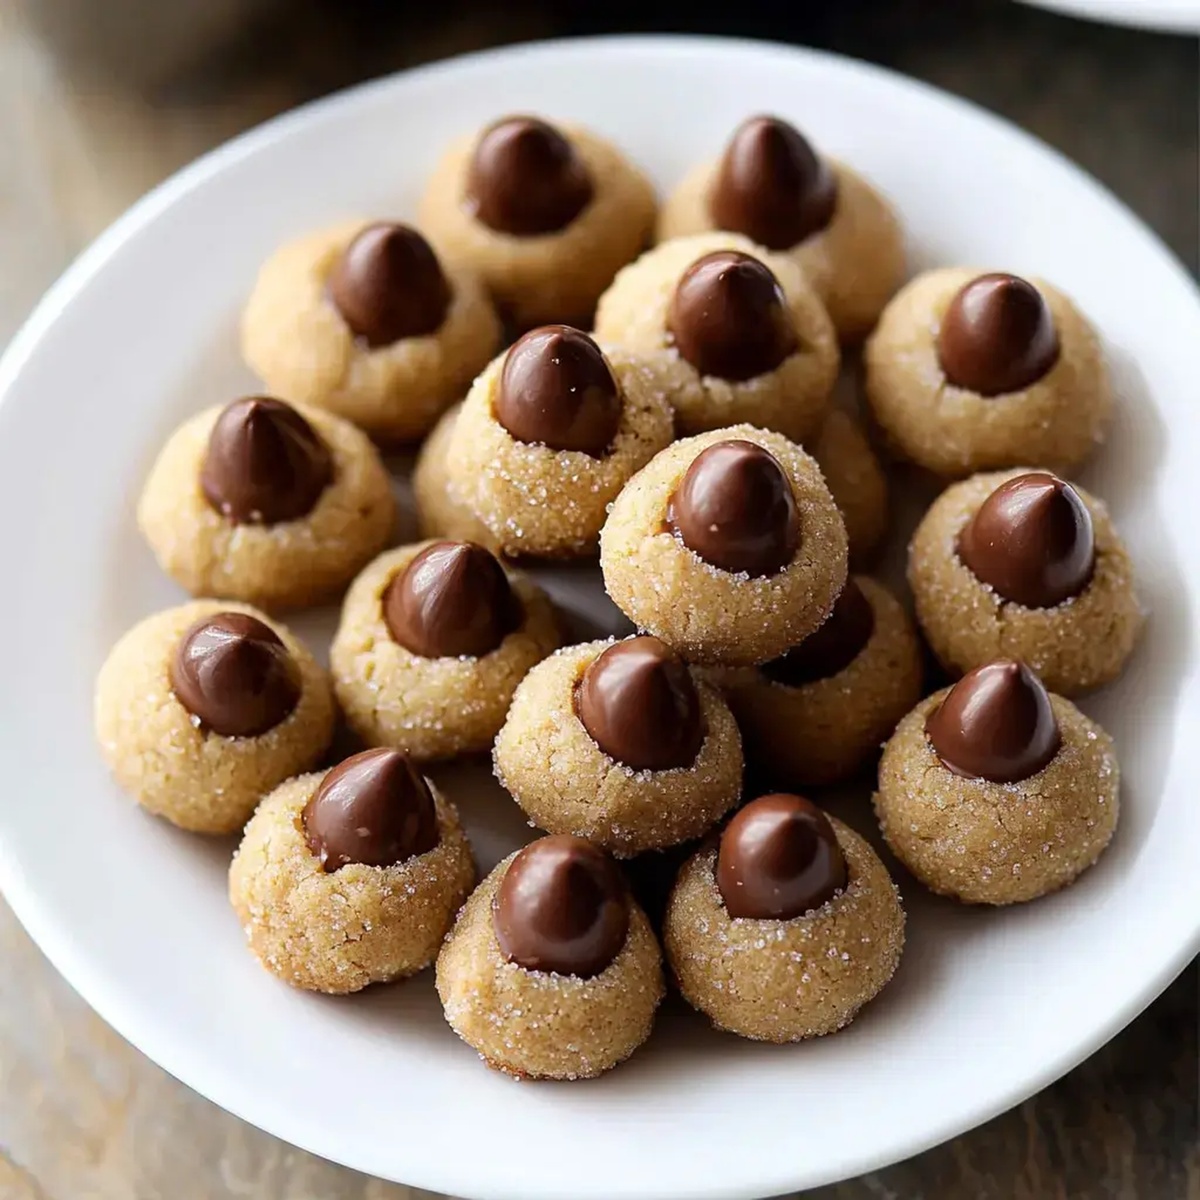
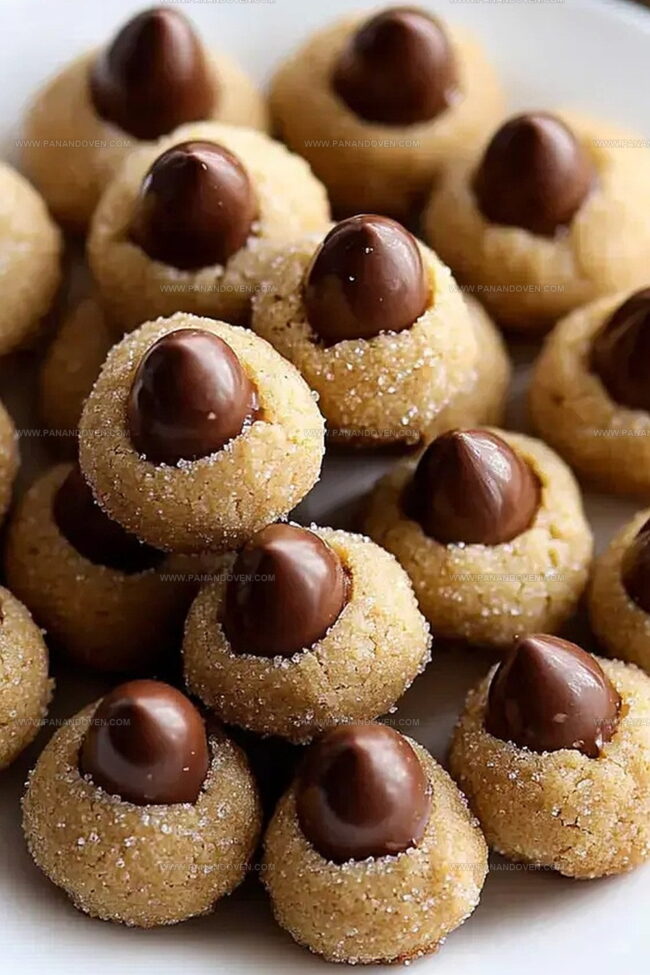
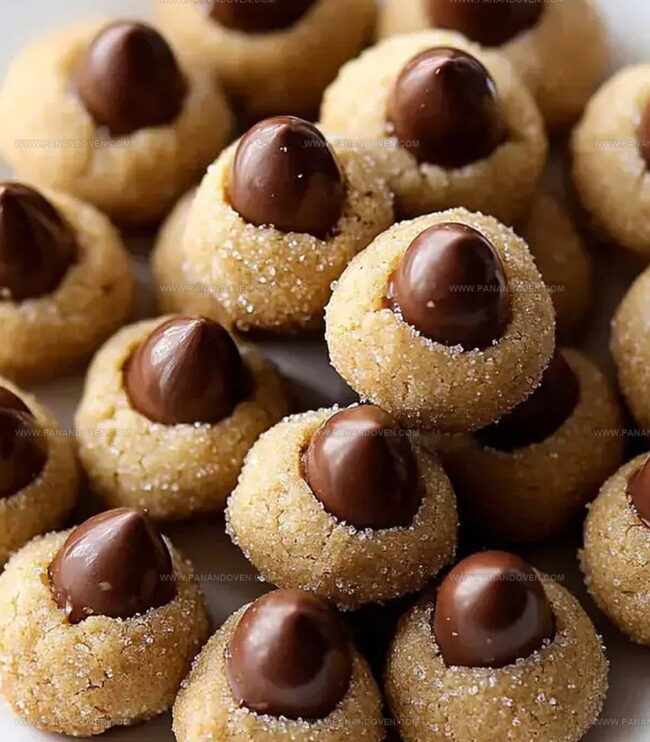
The classic peanut butter blossoms recipe combines rich, nutty flavors with a sweet chocolate kiss nestled perfectly in the center.
Generations of bakers have cherished this beloved treat, passing down the simple yet magical technique from kitchen to kitchen.
Each bite delivers a nostalgic blend of smooth peanut butter and decadent chocolate that feels like a warm hug.
Perfectly crisp edges give way to a tender, pillowy center that makes these cookies irresistible.
The aroma of freshly baked peanut butter blossoms will draw everyone to the kitchen, eager to sample these delectable morsels.
Brace yourself for a cookie experience that turns an ordinary moment into something truly extraordinary.
Peanut Butter Blossoms Why They’re a Cookie Jar Favorite
What Goes Into Peanut Butter Blossoms
Main Ingredients:Sugars:Binding and Leavening Ingredients:Finishing Ingredients:Tools for Baking Peanut Butter Blossom Cookies
Baking Directions for Peanut Butter Blossoms
Step 1: Combine Dry Ingredients
Whisk together flour, baking soda, and salt in a medium mixing bowl until well blended.
The dry ingredients create the perfect foundation for your cookies, ensuring a light and tender texture.
Step 2: Create Creamy Base
Grab your mixer and beat butter until it becomes smooth and creamy.
Pour in brown and granulated sugar, then whip the mixture for about two minutes until it transforms into a fluffy, light consistency that will make your cookies melt-in-your-mouth delicious.
Step 3: Blend Wet Components
Add egg, peanut butter, and vanilla extract to the butter mixture.
Beat everything together until completely combined.
Gently fold in the flour mixture on low speed, mixing just until the dough comes together smoothly.
Step 4: Chill Cookie Dough
Cover the dough and slide it into the refrigerator.
Let it rest and develop flavor for at least one hour, or keep it chilled for up to three days if you want to prep ahead.
Step 5: Prepare Baking Station
Heat the oven to 350 degrees Fahrenheit.
Line your baking sheets with parchment paper to prevent sticking and ensure easy cookie removal.
Step 6: Shape and Bake Cookies
Roll the chilled dough into small balls.
Roll each ball in granulated sugar for a sparkling exterior.
Place on prepared baking sheets and bake for 11-13 minutes until the tops show slight cracking.
Step 7: Add Chocolatey Finish
Immediately after removing from the oven, gently press a chocolate kiss into the center of each warm cookie.
Pop the cookies in the freezer for 10 minutes to help the chocolate set perfectly.
Pro Tips for Soft and Chewy Blossom Cookies
Cookie Variations for Blossom Lovers
Serving Suggestions for Peanut Butter Blossoms
Peanut Butter Blossom Storage Tips
FAQs
Natural peanut butter has more oil and can make cookies spread too much. Stick with traditional creamy peanut butter for best results.
Chill the dough thoroughly and don’t overbake. Remove cookies when edges are just set and tops have slight cracks.
Press kisses immediately after removing cookies from oven while cookies are still hot. Press gently in center so chocolate slightly melts but doesn’t completely flatten.
Yes, you can freeze baked cookies for up to 3 months. Place kisses after cookies cool completely, then store in airtight container between layers of parchment paper.
Print
Peanut Butter Blossoms Recipe
- Total Time: 33 minutes
- Yield: 24 1x
Description
Classic peanut butter blossoms cookies blend creamy American tradition with chocolate kiss centers. Delightful treats combine nutty richness and sweet chocolate for irresistible moments you’ll savor completely.
Ingredients
Dry Ingredients:
- 1 1/4 cups (156g) all-purpose flour
- 1/2 teaspoon baking soda
- 1/4 teaspoon salt
- 1/2 cup (100g) granulated sugar
- 1/2 cup (100g) granulated sugar for coating
Wet and Soft Ingredients:
- 1/2 cup (113g) unsalted butter, softened
- 1/2 cup (100g) light or dark brown sugar
- 1 large egg, room temperature
- 3/4 cup (185g) creamy peanut butter
- 1 teaspoon pure vanilla extract
Topping:
- 24 chocolate kiss candies
Instructions
- Combine flour, baking soda, and salt in a medium mixing bowl, thoroughly whisking to ensure even distribution of dry ingredients.
- Cream butter until light and fluffy, then gradually incorporate brown and granulated sugars, beating for approximately 2 minutes until smooth and well-blended.
- Integrate egg, peanut butter, and vanilla extract into the butter mixture, mixing until completely harmonized. Gently fold in flour mixture on low speed to create a cohesive dough.
- Wrap dough securely and refrigerate for minimum 1 hour, allowing flavors to meld and dough to firm up.
- Heat oven to 350°F and prepare baking sheets with parchment paper, creating a non-stick surface for cookies.
- Form chilled dough into uniform balls, rolling each in granulated sugar for a delicate, sparkling exterior. Arrange on prepared baking sheets, leaving space between cookies.
- Bake 11-13 minutes until cookie tops develop slight cracking and edges turn golden brown.
- Immediately upon removing from oven, gently press chocolate kiss into the center of each warm cookie. Allow cookies to rest for 10 minutes to set chocolate and stabilize cookie structure.
Notes
- Enhance Texture by ensuring butter is softened but not melted for perfect creamy consistency when beating with sugars.
- Chill Dough thoroughly to prevent spreading and create compact, thick cookies with crisp edges and soft centers.
- Swap Ingredients easily by using gluten-free flour for celiac diets or almond butter for peanut allergies without compromising taste.
- Chocolate Options can vary from traditional Hershey’s Kisses to caramel-filled or dark chocolate versions for personalized flavor experience.
- Prep Time: 20 minutes
- Cook Time: 13 minutes
- Category: Desserts, Snacks
- Method: Baking
- Cuisine: American
Nutrition
- Serving Size: 24
- Calories: 149
- Sugar: 10g
- Sodium: 50mg
- Fat: 7g
- Saturated Fat: 3g
- Unsaturated Fat: 4g
- Trans Fat: 0g
- Carbohydrates: 19g
- Fiber: 1g
- Protein: 3g
- Cholesterol: 12mg


Marcus Reed
Founder & Food Content Creator
Expertise
Single-recipe development, Seasonal and local ingredient utilization, Food photography and styling, Culinary writing and content creation
Education
Culinary Arts Certificate, Blue Ridge Community and Technical College, WV
Focus: Fundamentals of culinary techniques, emphasizing hands-on experience in small-scale kitchen settings.
Marcus’s story begins in Asheville, where good food and family kitchens shaped his earliest memories. After hands-on culinary training and a lot of trial (and a little error), he realized that real cooking isn’t about perfection, it’s about connection.
At Pan and Oven, Marcus crafts recipes that are easy to follow, packed with flavor, and built for real kitchens.