Homemade Peanut Brittle Recipe: Crunchy Golden Sweetness
Sweet memories of childhood crackle through this classic peanut brittle recipe that dances between crunchy and caramelized perfection.
Generations of home cooks have treasured this simple yet magical confection.
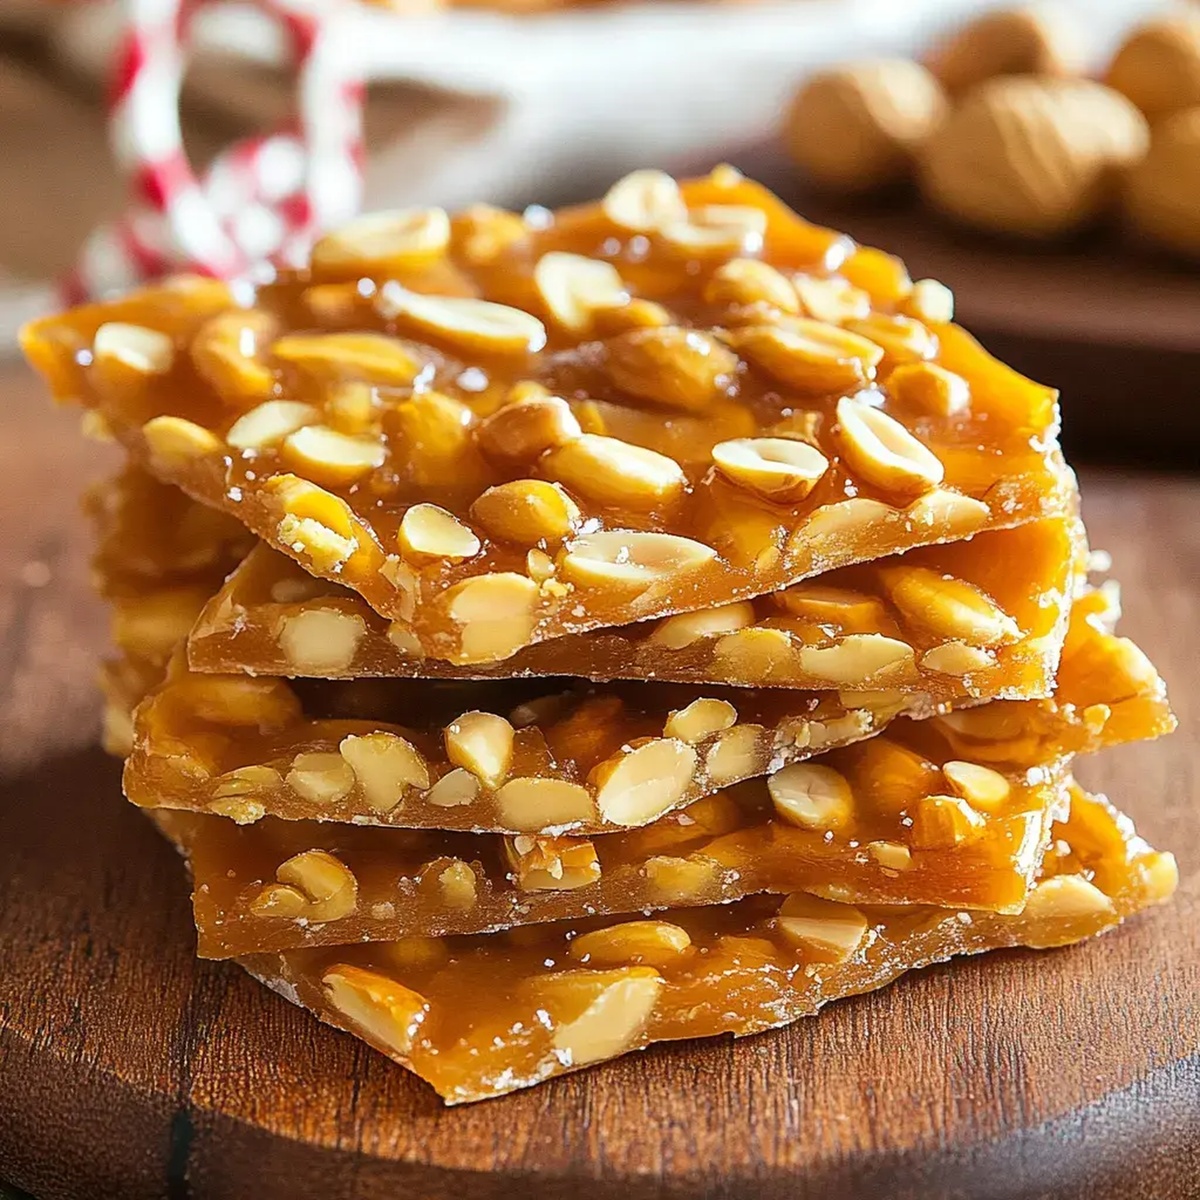
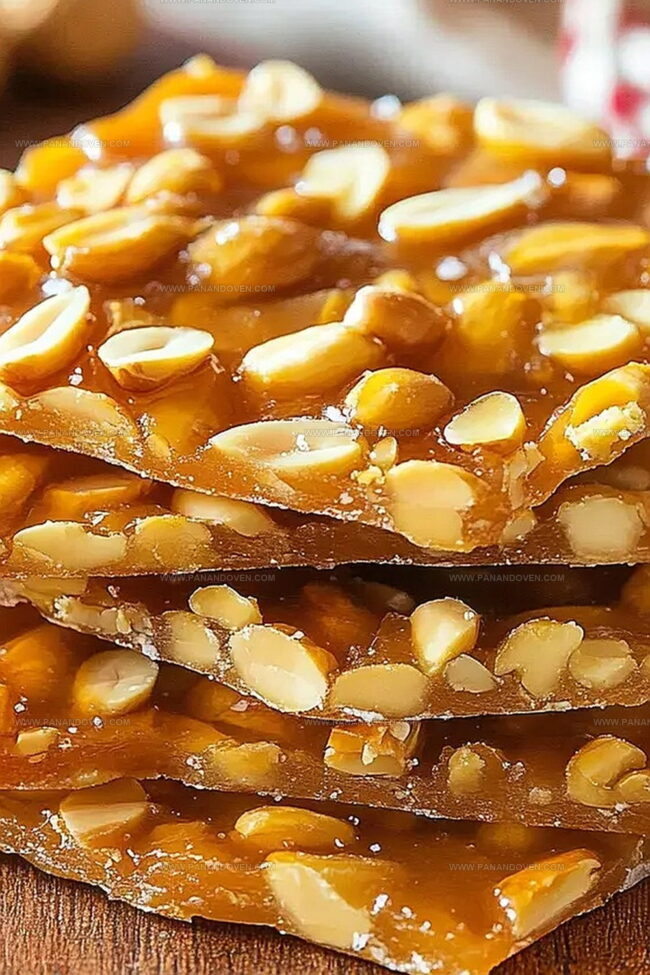
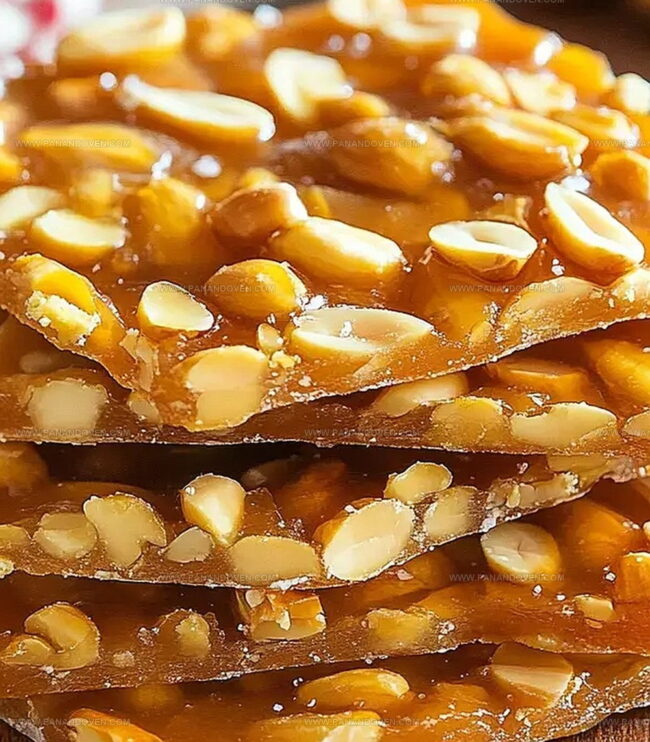
Sugar bubbles and transforms into a golden landscape studded with roasted peanuts.
Each bite delivers a satisfying snap that resonates with nostalgia and warmth.
The process might seem intimidating, but this recipe breaks down every step with crystal-clear simplicity.
Craft this timeless treat that will have everyone begging for seconds and asking for your secret.
Gather your ingredients and prepare to create a sweet masterpiece that connects generations through pure deliciousness.
Peanut Brittle Sweet Crunchy Reasons
Peanut Brittle Ingredient Essentials
Sugar Group:Nut Group:Flavor and Texture Enhancers:Tools for Perfect Homemade Peanut Brittle
Cooking Directions for Golden Peanut Brittle
Step 1: Prepare Baking Surface
Line a sheet pan with a silicone mat or parchment paper to create a non-stick surface for your peanut brittle.
Step 2: Combine Sweet Base
In a glass bowl, mix sugar and corn syrup thoroughly until well blended.
Step 3: Initial Heating
Place the sugar mixture in the microwave and heat on high for 4 minutes, creating a bubbling sweet foundation.
Step 4: Introduce Nutty Crunch
Add peanuts to the heated sugar mixture and continue microwaving for 3-4 minutes until the mixture turns a light golden brown color.
Step 5: Enhance Flavor Profile
Stir in butter and vanilla, then microwave for an additional 1 minute to develop rich, deep flavors.
Step 6: Create Signature Texture
Quickly sprinkle baking soda into the hot mixture and stir vigorously.
This will cause the brittle to become light and airy.
Step 7: Spread The Goodness
Immediately pour the molten mixture onto the prepared sheet pan, spreading it evenly to create a thin, crisp layer.
Step 8: Allow Complete Cooling
Let the peanut brittle sit undisturbed for 1 hour, allowing it to completely harden and set.
Step 9: Break Into Delectable Pieces
Once fully cooled, break the brittle into irregular, bite-sized pieces perfect for sharing or snacking.
Tips for Crisp and Even Peanut Brittle
Peanut Brittle Add Ins and Twists
How to Present Peanut Brittle for Gifts
Peanut Brittle Storage for Crunchiness
FAQs
The mat or paper prevents the brittle from sticking to the pan and makes removal much easier without breaking or damaging the candy.
Baking soda creates tiny air bubbles that make the brittle light and crispy, giving it a signature crunchy texture when you bite into it.
Yes, you can substitute peanuts with almonds, cashews, or pecans to create different flavor variations of the brittle.
The sugar mixture should look clear and slightly golden before adding peanuts, which typically takes about 4 minutes in the microwave.
Print
Peanut Brittle Recipe
- Total Time: 1 hour 10 minutes
- Yield: 12 1x
Description
Homemade peanut brittle celebrates classic Southern candy-making traditions with crunchy caramelized nuts. Sweet and salty flavors blend perfectly for delightful snacking pleasure you cannot resist.
Ingredients
Main Ingredients:
- 1 cup granulated sugar
- 1 cup roasted salted peanuts
- 1/2 cup corn syrup
Binding/Flavoring Ingredients:
- 1 tablespoon butter
- 1 teaspoon vanilla extract
Leavening Agent:
- 1 teaspoon baking soda
Instructions
- Prepare a silicone mat or parchment paper on a sheet pan to prevent sticking and ensure easy removal of the brittle.
- Combine sugar and corn syrup in a microwave-safe glass bowl, mixing thoroughly to create a uniform base.
- Microwave the sugar mixture on high for 4 minutes, allowing the sugars to melt and blend together.
- Incorporate peanuts into the heated sugar mixture, then microwave for an additional 3-4 minutes until the mixture turns a light golden brown.
- Carefully add butter and vanilla to the hot peanut-sugar mixture, microwaving for 1 minute to integrate the flavors.
- Quickly sprinkle baking soda over the hot mixture and stir vigorously, causing the mixture to foam and become lighter in texture.
- Immediately pour the hot, foamy mixture onto the prepared sheet pan, spreading it evenly to create a thin layer.
- Allow the brittle to cool and harden completely at room temperature for approximately 1 hour.
- Once fully cooled and hardened, gently break the brittle into irregular, bite-sized pieces using your hands or a kitchen mallet.
Notes
- Use a silicone mat or parchment paper to prevent sticking and ensure easy removal of the brittle.
- Watch sugar mixture carefully to avoid burning, as microwave temperatures can vary between appliances.
- Quickly stir baking soda to create tiny air bubbles that give the brittle its signature crispy, light texture.
- For a flavor twist, experiment with different nuts like almonds or cashews instead of peanuts to suit personal preferences.
- Prep Time: 10 minutes
- Cook Time: 1 hour
- Category: Snacks, Desserts
- Method: Microwaving
- Cuisine: American
Nutrition
- Serving Size: 12
- Calories: 194
- Sugar: 27 g
- Sodium: 79 mg
- Fat: 8 g
- Saturated Fat: 2 g
- Unsaturated Fat: 6 g
- Trans Fat: 0 g
- Carbohydrates: 28 g
- Fiber: 1 g
- Protein: 4 g
- Cholesterol: 3 mg
Clara Thompson
Recipe Developer & Food Educator
Expertise
Plant-based and vegetarian recipe development, Nutritional analysis and meal planning, Culinary education and workshop facilitation, Content writing with a focus on healthy living
Education
Diploma in Culinary Arts, Mt. San Jacinto College, CA
Focus: Comprehensive culinary training with an emphasis on sustainable cooking practices.
Certificate in Nutrition and Healthy Living, Cornell University (Online Program)
Focus: Understanding the principles of nutrition to create balanced and health-conscious recipes.
Clara lives where fresh ideas and fresh ingredients meet. She pairs her culinary know-how with her passion for healthy, planet-friendly cooking.
For Clara, good food should taste great, nourish your body, and feel easy to make. Her recipes highlight whole foods, colorful produce, and a deep respect for seasonal eating.