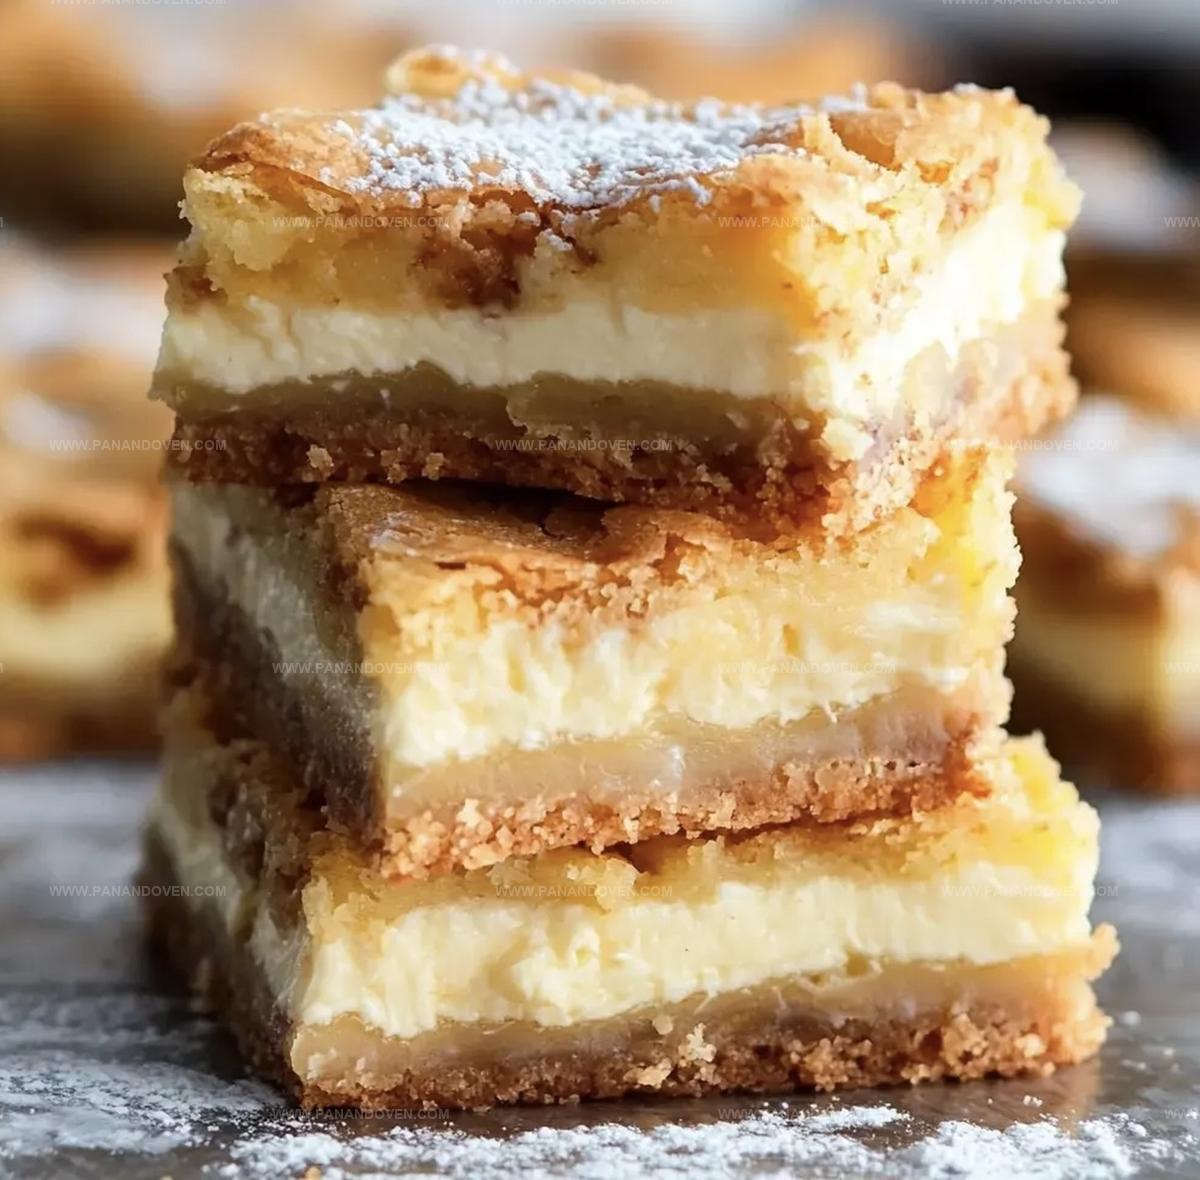
Irresistibly Sweet Ooey Gooey Bars Recipe for Happy Tummies
Decadent chocolate chip ooey gooey bars promise pure dessert bliss with every single bite.
These sweet squares deliver comfort wrapped in sugary goodness.
Chocolate lovers cannot resist the rich, melting center that oozes with each slice.
The simple recipe combines classic ingredients into a mouthwatering treat that disappears quickly at gatherings.
Butter, cream cheese, and chocolate chips create a dreamy texture that melts on your tongue.
Baking these bars fills the kitchen with an irresistible aroma that draws everyone near.
One taste will convince you these are the ultimate indulgent dessert worth every delicious calorie.
Ooey Gooey Bars: Pure Indulgence
Everything for Making Ooey Gooey Bars
Base Layer:Filling Layer:Finishing Touch:Bakeware & Tools for Ooey Gooey Bar Success
How to Whip Up Ooey Gooey Bars

Step 1: Warm Up the Oven
Crank the oven to a cozy 325°F.
Grab your 9×13 inch baking dish and give it a quick spray with non-stick cooking spray to prevent any sticky situations.
Step 2: Create the Crumbly Crust
Grab these ingredients:Dive in with a fork and mix these buddies until they form a dry, crumbly texture.
Press this mixture firmly into the pan, covering the entire bottom and slightly creeping up the sides.
Step 3: Whip Up the Dreamy Filling
Set aside a portion of powdered sugar for later.
In a mixing bowl, combine:Gradually blend in the remaining powdered sugar until the mixture becomes silky smooth and creamy.
Step 4: Layer the Goodness
Gently pour the luscious filling over the prepared crust, making sure it spreads evenly across the surface.
Step 5: Bake to Golden Perfection
Slide the pan into the preheated oven and bake for 40-45 minutes.
You’ll know it’s ready when the top turns a beautiful golden brown color.
Step 6: Cool and Dust
Let the bars rest for 10 minutes after removing from the oven.
Sprinkle the reserved powdered sugar on top like a delicate snow.
Allow the bars to cool completely before slicing and serving.
Tips for Extra Ooey Gooey Goodness
Mix-Up Ideas for Ooey Gooey Bars
Best Ways to Present Gooey Bars
Storing Ooey Gooey Bars to Keep Them Fresh
FAQs
Yes, you can experiment with various cake mix flavors like chocolate, yellow, or strawberry to create unique Ooey Gooey Bars.
Look for a golden brown top and slightly set edges. The center might still seem slightly jiggly, which is normal for these gooey bars.
The combination of cream cheese, eggs, and powdered sugar creates a smooth, rich filling that becomes deliciously gooey when baked.
Absolutely! You can prepare these bars a day in advance and store them in the refrigerator until ready to serve.
Print
Ooey Gooey Bars Recipe
- Total Time: 1 hour
- Yield: 12 1x
Description
Irresistible ooey gooey bars combine rich chocolate layers with creamy caramel for a sinful dessert experience. Sweet squares deliver pure indulgence with each delectable bite you’ll savor.
Ingredients
Main Ingredients:
- 1 box (18.25 ounces / 517 grams) yellow cake mix
- 1 package (8 ounces / 227 grams) cream cheese
- 1 box (16 ounces / 454 grams) powdered sugar
Dairy and Binding Ingredients:
- 1 stick (113 grams / 4 ounces) butter
- 3 eggs
Flavor Enhancer:
- 1 teaspoon vanilla
Instructions
- Preheat the oven to 325°F and generously coat a 9×13 inch baking dish with non-stick cooking spray.
- Combine cake mix, melted butter, and egg using a fork until a crumbly texture forms. Press the mixture firmly into the prepared pan, ensuring even coverage of the bottom and slightly up the sides.
- Set aside 1/4 cup of powdered sugar for later. In a separate bowl, blend cream cheese, eggs, and vanilla extract until smooth. Gradually incorporate the remaining powdered sugar, mixing until the filling becomes creamy and well-integrated.
- Carefully pour the creamy filling over the prepared crust, spreading it evenly to cover the entire surface.
- Place the pan in the preheated oven and bake for 40-45 minutes, or until the top develops a golden-brown color and the filling appears set but slightly jiggly in the center.
- Remove from the oven and allow to cool for 10 minutes. Dust the top generously with the reserved powdered sugar. Let the bars cool completely at room temperature before cutting and serving.
Notes
- Ensure your butter is softened at room temperature for easier mixing and smoother crust texture.
- Use an offset spatula or the back of a spoon to press the crust evenly, creating a uniform base for the gooey filling.
- For a gluten-free version, swap the cake mix with a gluten-free yellow cake mix and verify all other ingredients are gluten-free.
- Prevent over-browning by tenting the pan with aluminum foil if the top starts to darken too quickly during baking.
- Prep Time: 15 minutes
- Cook Time: 45 minutes
- Category: Desserts, Snacks
- Method: Baking
- Cuisine: American
Nutrition
- Serving Size: 12
- Calories: 319
- Sugar: 24 g
- Sodium: 261 mg
- Fat: 14 g
- Saturated Fat: 8 g
- Unsaturated Fat: 6 g
- Trans Fat: 0 g
- Carbohydrates: 42 g
- Fiber: 0 g
- Protein: 4 g
- Cholesterol: 76 mg
Marcus Reed
Founder & Food Content Creator
Expertise
Single-recipe development, Seasonal and local ingredient utilization, Food photography and styling, Culinary writing and content creation
Education
Culinary Arts Certificate, Blue Ridge Community and Technical College, WV
Focus: Fundamentals of culinary techniques, emphasizing hands-on experience in small-scale kitchen settings.
Marcus’s story begins in Asheville, where good food and family kitchens shaped his earliest memories. After hands-on culinary training and a lot of trial (and a little error), he realized that real cooking isn’t about perfection, it’s about connection.
At Pan and Oven, Marcus crafts recipes that are easy to follow, packed with flavor, and built for real kitchens.