
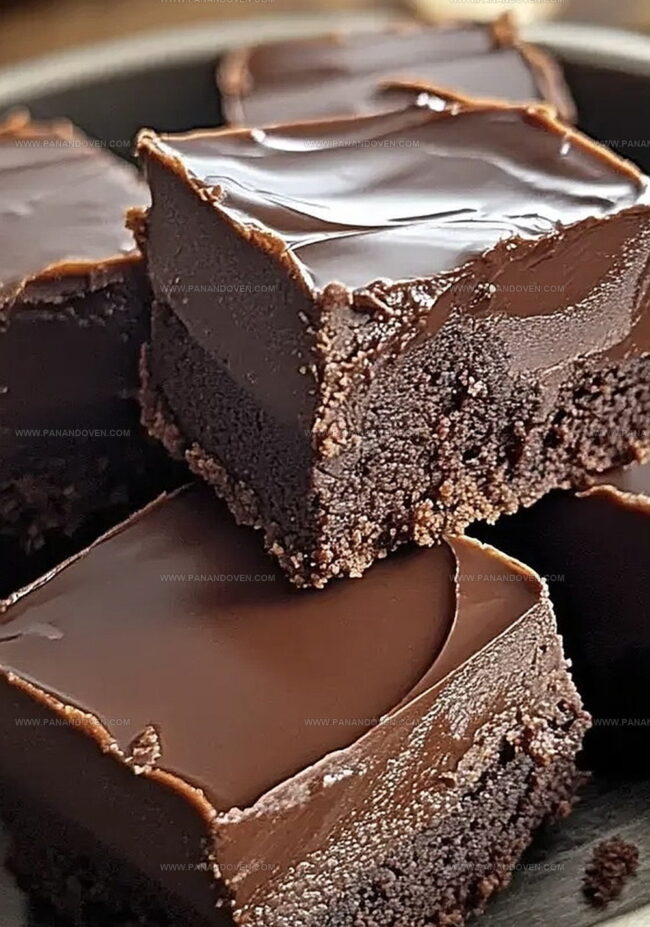
The Creamiest Old-Fashioned Fudge Recipe for Sweet Moments
Chocolate lovers rejoice as this old-fashioned fudge recipe brings pure nostalgia straight to your kitchen.
rich, creamy textures melt effortlessly on your tongue with each decadent bite.
Sweet memories of grandma’s cherished desserts flood back when you prepare this classic treat.
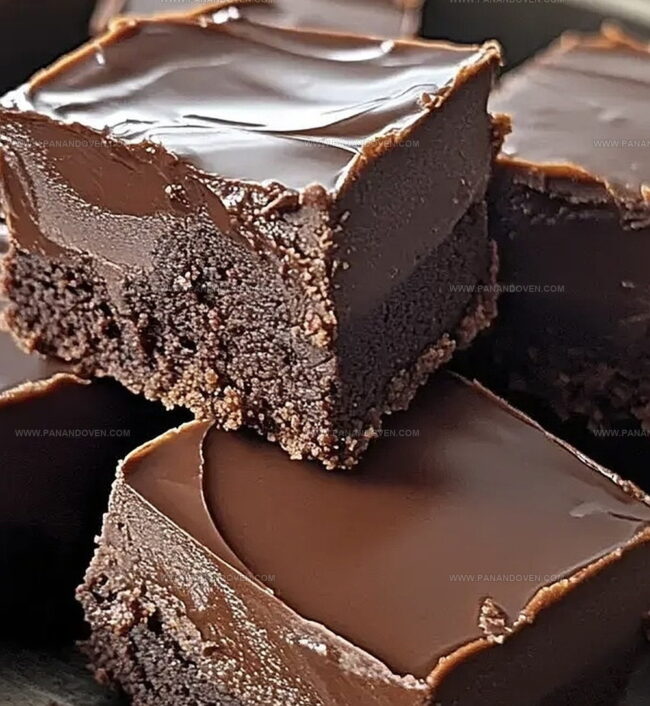
Generations have savored these smooth, velvety squares of pure indulgence.
Dark chocolate and smooth butter combine to create a luxurious confection that feels like a warm hug.
Each carefully crafted piece promises a journey through traditional dessert making.
Prepare to fall in love with a timeless recipe that transforms simple ingredients into pure magic.
Old-Fashioned Fudge: Classic Dessert Appeal
Ingredients List for Old-Fashioned Fudge

Fudge-Making Equipment You’ll Need

How to Make Rich Old-Fashioned Fudge
Step 1: Blend Chocolate Base
Grab a sturdy medium pot and whisk together sugar, cocoa powder, and salt until perfectly blended.
Use a wooden spoon to gradually incorporate milk and butter, creating a smooth chocolatey mixture.
Step 2: Boil With Precision
Heat the mixture to a vigorous, unstoppable boil that bubbles intensely.
Continuously stir to prevent burning.
Maintain the boil precisely for 3 minutes and 45 seconds, watching carefully.
Step 3: Infuse With Vanilla
Remove pot from heat and gently stir in vanilla extract.
This will enhance the rich chocolate flavor and create a luxurious aroma.
Step 4: Transform Into Creamy Fudge
Using an electric mixer, begin beating the mixture on low speed.
Gradually increase to high speed, whipping for 5-10 minutes.
Watch for the magical transformation where the fudge turns from glossy to matte and thickens.
Step 5: Pour And Shape
When the fudge loses its shine and starts collecting at the bowl’s edges, quickly pour into a prepared pan.
Spread evenly to create a smooth, delectable surface.
Step 6: Add Final Touches
Sprinkle chopped nuts over the top if desired.
Allow fudge to set at room temperature until firm and sliceable.
Pro Tips for the Best Homemade Fudge

Old-Fashioned Fudge Mix-In Options
Presenting Fudge as a Sweet Gift
Keeping Old-Fashioned Fudge at Its Best
FAQs
Grainy fudge happens when sugar crystals form during cooling. To prevent this, avoid stirring the mixture while boiling and beat the fudge thoroughly until it loses its shine.
The mixture should reach exactly 3 minutes and 45 seconds of boiling and cool for no more than 5 minutes before beating. This ensures the perfect texture and prevents overcooking.
While a mixer helps achieve the right consistency, you can use a wooden spoon and some elbow grease. Beat vigorously and consistently to create a smooth, creamy texture.
Print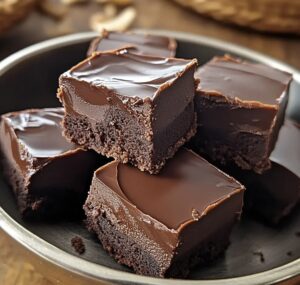
Old-Fashioned Fudge Recipe
- Total Time: 25 minutes
- Yield: 16 1x
Description
Grandma’s classic old-fashioned fudge recipe delivers rich chocolate comfort straight from nostalgic kitchens. Sweet memories melt together with simple ingredients, inviting you to savor a timeless dessert that connects generations.
Ingredients
Primary Ingredients:
- 2 cups sugar
- 1/2 cup (120 milliliters) milk
- 1/2 cup (113 grams) butter
- 1/2 cup (50 grams) cocoa
Flavor Enhancers:
- 1/4 teaspoon salt
- 1 teaspoon vanilla extract
Instructions
- Combine sugar, cocoa, and salt in a heavy-bottomed pot, whisking thoroughly to eliminate any lumps and ensure even distribution of dry ingredients.
- Gradually incorporate milk and butter into the dry mixture, stirring carefully to create a smooth, uniform base for the fudge.
- Place the pot over medium-high heat, bringing the mixture to a vigorous boil that cannot be reduced by stirring, maintaining constant movement to prevent scorching.
- Continue boiling precisely for 3 minutes and 45 seconds, monitoring temperature and consistency while stirring continuously to prevent burning.
- Remove from heat and quickly introduce vanilla extract, stirring gently to preserve its aromatic essence and integrate it thoroughly.
- Allow the mixture to cool for exactly 5 minutes, ensuring it reaches the optimal temperature for beating.
- Using an electric mixer, begin beating at low speed, gradually increasing to high speed to incorporate air and transform the texture.
- Continue beating for 5-10 minutes, watching for the fudge to lose its glossy appearance and develop a creamy, matte finish around the bowl’s edges.
- Once the desired consistency is achieved, immediately transfer the fudge to your serving surface, spreading evenly and swiftly.
- Optionally, sprinkle chopped nuts across the surface while the fudge is still warm, allowing them to slightly embed into the mixture.
Notes
- Select a heavy-bottomed pot for even heat distribution and prevent burning during the caramelization process.
- Monitor temperature precisely using a candy thermometer to ensure perfect fudge consistency and avoid crystallization.
- Use unsalted butter for better control of the salt content and smoother texture in the final product.
- Allow fudge to cool naturally at room temperature to prevent cracking or grainy texture, avoiding refrigeration.
- Prep Time: 15 minutes
- Cook Time: 10 minutes
- Category: Desserts, Snacks
- Method: Boiling
- Cuisine: American
Nutrition
- Serving Size: 16
- Calories: 165
- Sugar: 18 g
- Sodium: 40 mg
- Fat: 7 g
- Saturated Fat: 4 g
- Unsaturated Fat: 2 g
- Trans Fat: 0 g
- Carbohydrates: 25 g
- Fiber: 0 g
- Protein: 1 g
- Cholesterol: 15 mg
Marcus Reed
Founder & Food Content Creator
Expertise
Single-recipe development, Seasonal and local ingredient utilization, Food photography and styling, Culinary writing and content creation
Education
Culinary Arts Certificate, Blue Ridge Community and Technical College, WV
Focus: Fundamentals of culinary techniques, emphasizing hands-on experience in small-scale kitchen settings.
Marcus’s story begins in Asheville, where good food and family kitchens shaped his earliest memories. After hands-on culinary training and a lot of trial (and a little error), he realized that real cooking isn’t about perfection, it’s about connection.
At Pan and Oven, Marcus crafts recipes that are easy to follow, packed with flavor, and built for real kitchens.