The Dreamiest No-Bake Cherry Cheesecake Recipe Ever
Sweet, creamy, and absolutely irresistible, this no-bake cherry cheesecake recipe delivers pure dessert magic.
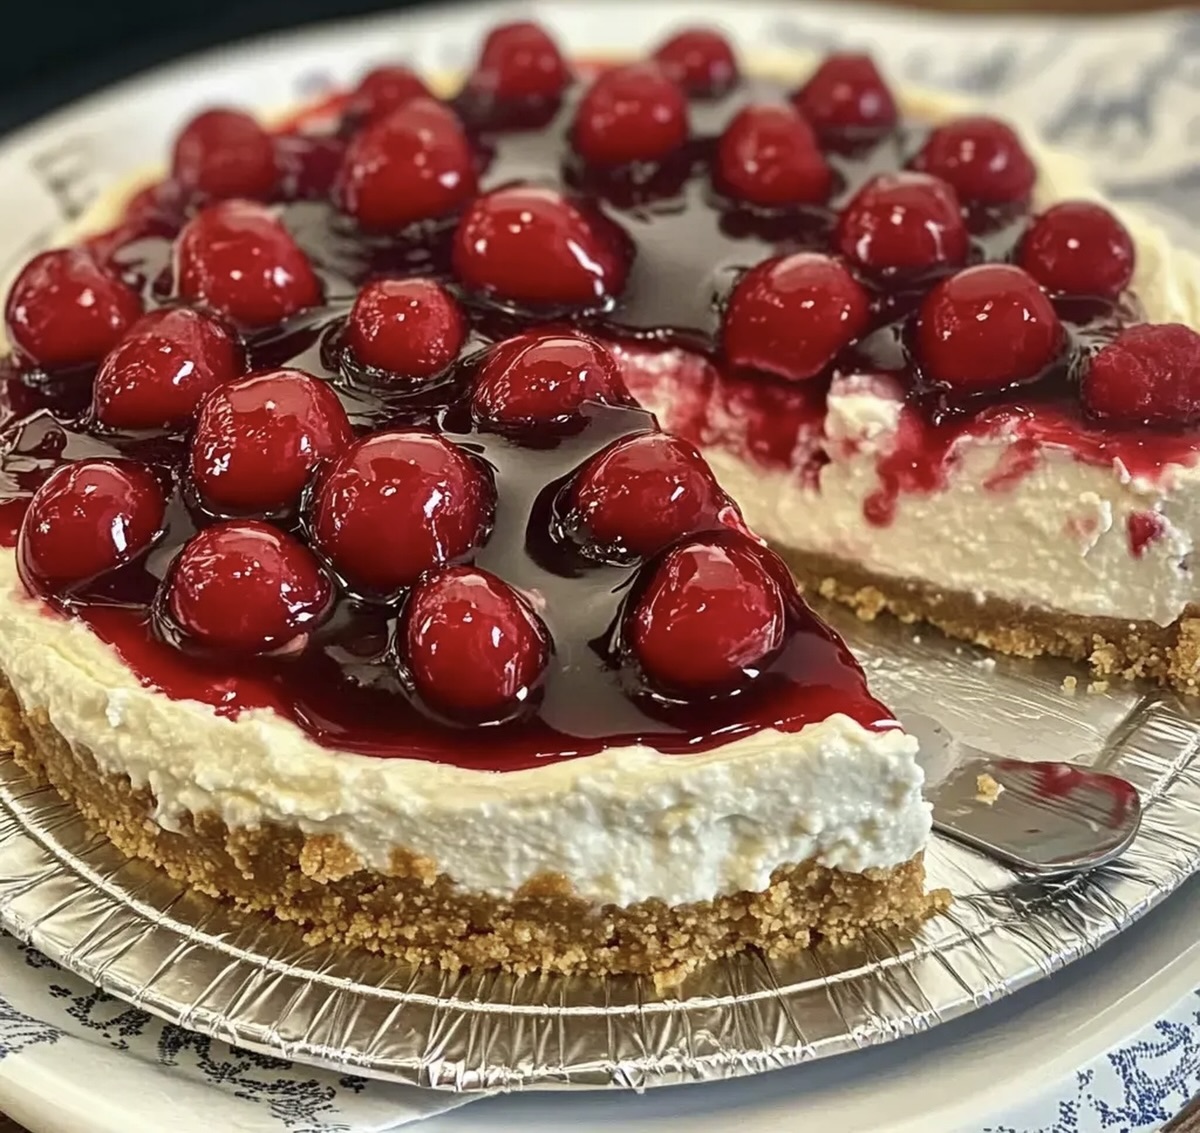
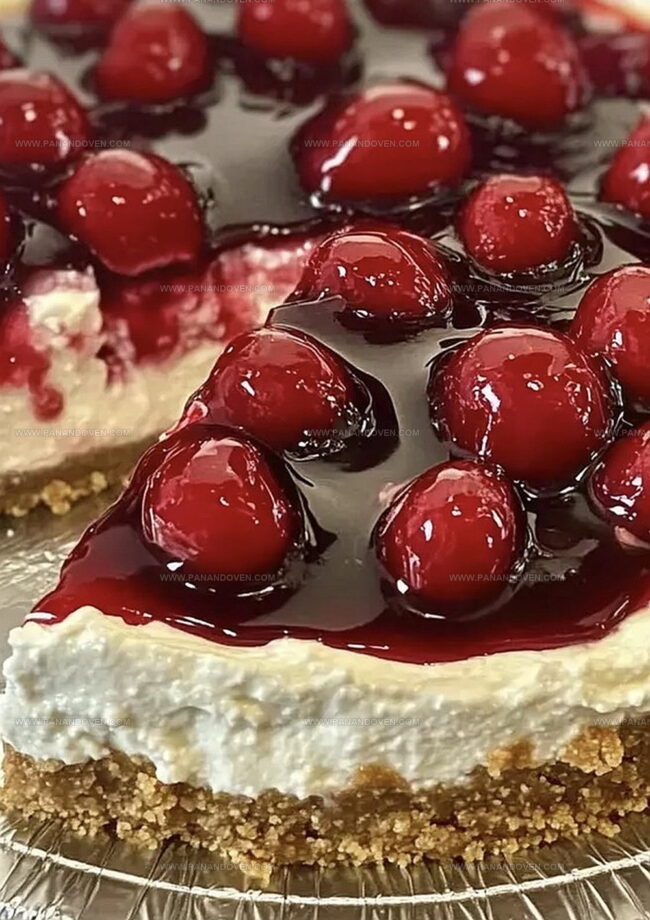
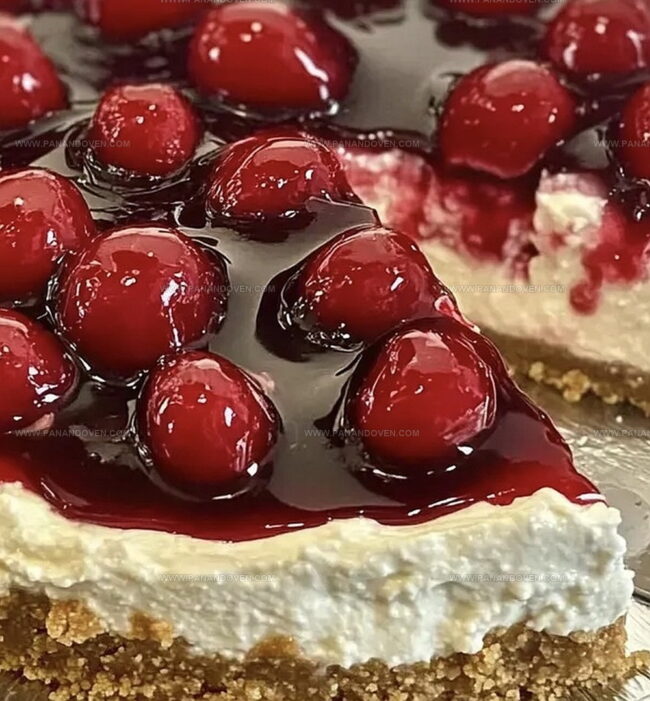
Indulgent layers of silky smooth cream cheese blend perfectly with a buttery graham cracker crust.
Each spoonful promises a delightful balance of tangy and sweet flavors that dance across your palate.
Fresh cherries add a vibrant pop of color and juicy brightness to this delectable treat.
The best part?
You can whip up this stunning dessert without ever turning on the oven.
Chilled to perfection and ready in minutes, this cheesecake will become your new go-to summer dessert that’s sure to impress everyone at the table.
No Bake Cherry Cheesecake Why This Dessert Is Effortless
Ingredients List for No Bake Cherry Cheesecake
Crust Ingredients:Filling Ingredients:Topping Ingredients:Kitchen Tools for No Bake Cheesecake Prep
How to Assemble Cherry Cheesecake Without Baking
Step 1: Create Crumbly Crust Base
Grab a medium bowl and toss in graham cracker crumbs, sugar, and melted butter.
Mix everything until the mixture looks like damp sand.
Press this golden mixture firmly into the bottom of a pie dish or springform pan, creating an even, compact layer.
Pop the crust into the refrigerator to chill while you prepare the creamy filling.
Step 2: Whip Luxurious Cream Cheese Mixture
In a large mixing bowl, beat the cream cheese until it becomes silky smooth.
Sprinkle in powdered sugar and vanilla extract, then blend until the mixture looks perfectly creamy and glossy.
Step 3: Craft Fluffy Whipped Cream
In a separate bowl, whip the heavy cream until it forms beautiful, stiff peaks.
Gently fold this cloud-like whipped cream into the cream cheese mixture, creating a light and airy filling.
Step 4: Assemble Cheesecake Layers
Spread the dreamy cream cheese filling evenly over the chilled crust.
Smooth the top with a spatula to create a perfect surface.
Return the cheesecake to the refrigerator and let it set for at least 4 hours.
Step 5: Prepare Cherry Topping
For canned cherry filling, simply spoon it over the chilled cheesecake right before serving.
If using fresh cherries, mix them with a sprinkle of sugar and let them sit for 30 minutes to release their sweet juices.
Step 6: Serve and Enjoy
Slice the cheesecake into elegant portions and top each piece with the luscious cherry mixture.
Serve chilled and watch everyone’s eyes light up with delight!
Tricks for Silky Smooth No Bake Cheesecake
Cherry Cheesecake Variations to Explore
Ways to Serve No Bake Cheesecake Beautifully
Best Storage for No Bake Cherry Cheesecake
FAQs
No, it’s incredibly easy! This no-bake recipe requires no oven and basic ingredients. Even beginner bakers can create a delicious dessert without complex techniques.
Absolutely! While graham crackers are traditional, you can substitute with crushed digestive biscuits, vanilla wafers, or even chocolate cookies for a different flavor profile.
When stored properly in the refrigerator with a cover, this cheesecake will remain delicious for 3-4 days. Just keep it chilled to maintain its creamy texture and prevent spoiling.
Print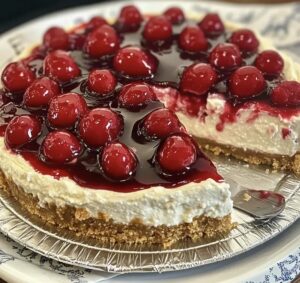
No-Bake Cherry Cheesecake Recipe
- Total Time: 6 hours 20 minutes (plus 4-6 hours chilling)
- Yield: 8 1x
Description
Creamy no-bake cherry cheesecake delights dessert enthusiasts with its silky texture and rich flavor profile. Graham cracker crust and luscious cherry topping provide a perfect balance of sweetness and tanginess for memorable dining experiences.
Ingredients
Main Ingredients:
- 16 oz (454 g) cream cheese, softened
- 1 can (15 oz or 425 g) cherry pie filling
- 1 cup (240 ml) heavy cream
Crust Ingredients:
- 1 1/2 cups (180 g) graham cracker crumbs
- 1/2 cup (113 g) unsalted butter, melted
- 1/4 cup (50 g) granulated sugar
Sweet and Flavor Enhancers:
- 1 cup (120 g) powdered sugar
- 1 teaspoon vanilla extract
Instructions
- Craft a crumbly foundation by thoroughly blending graham cracker crumbs with sugar and melted butter until the mixture resembles coarse sand.
- Transfer the crust mixture into a 9-inch pie dish, pressing firmly to create a compact, uniform base. Chill the crust in the refrigerator for 10-15 minutes to set.
- Using an electric mixer, whip softened cream cheese until silky and lump-free, approximately 2-3 minutes at medium speed.
- Gradually incorporate powdered sugar and vanilla extract into the cream cheese, mixing until the texture becomes smooth and creamy.
- In a separate chilled bowl, whip heavy cream until it forms stiff, elegant peaks that hold their shape when the whisk is lifted.
- Delicately fold the whipped cream into the cream cheese mixture, using gentle circular motions to maintain the airiness and prevent deflation.
- Carefully spread the light, fluffy filling across the chilled crust, ensuring an even distribution with minimal air pockets.
- Refrigerate the assembled cheesecake for 4-6 hours, or ideally overnight, to allow complete setting and flavor development.
- For canned cherry topping, gently spoon the vibrant filling over the chilled cheesecake just before serving.
- Alternatively, macerate fresh cherries with a sprinkle of sugar for 30 minutes to release natural juices, then artfully arrange over each slice.
- Serve the cheesecake well-chilled, cutting with a clean, warm knife for pristine slices.
Notes
- Crust Consistency Matters: Press the graham cracker mixture firmly and evenly to create a compact, stable base that won’t crumble when serving.
- Room Temperature Ingredients: Ensure cream cheese is completely softened at room temperature to achieve a smooth, lump-free filling that blends perfectly.
- Whipping Cream Technique: Whip heavy cream until stiff peaks form, but avoid over-beating, which can make the texture grainy and affect the cheesecake’s silky smoothness.
- Gluten-Free Adaptation: Swap graham cracker crumbs with gluten-free cookie crumbs or ground nuts like almonds for a celiac-friendly version that maintains the same delicious crunch.
- Prep Time: 20 minutes
- Cook Time: 0 minutes
- Category: Desserts
- Method: Chilling
- Cuisine: American
Nutrition
- Serving Size: 8
- Calories: 360
- Sugar: 26 g
- Sodium: 230 mg
- Fat: 25 g
- Saturated Fat: 15 g
- Unsaturated Fat: 10 g
- Trans Fat: 0 g
- Carbohydrates: 32 g
- Fiber: 1 g
- Protein: 4 g
- Cholesterol: 70 mg
Marcus Reed
Founder & Food Content Creator
Expertise
Single-recipe development, Seasonal and local ingredient utilization, Food photography and styling, Culinary writing and content creation
Education
Culinary Arts Certificate, Blue Ridge Community and Technical College, WV
Focus: Fundamentals of culinary techniques, emphasizing hands-on experience in small-scale kitchen settings.
Marcus’s story begins in Asheville, where good food and family kitchens shaped his earliest memories. After hands-on culinary training and a lot of trial (and a little error), he realized that real cooking isn’t about perfection, it’s about connection.
At Pan and Oven, Marcus crafts recipes that are easy to follow, packed with flavor, and built for real kitchens.