Dreamy No Bake Chocolate Oat Bars Recipe for Sweet Moments
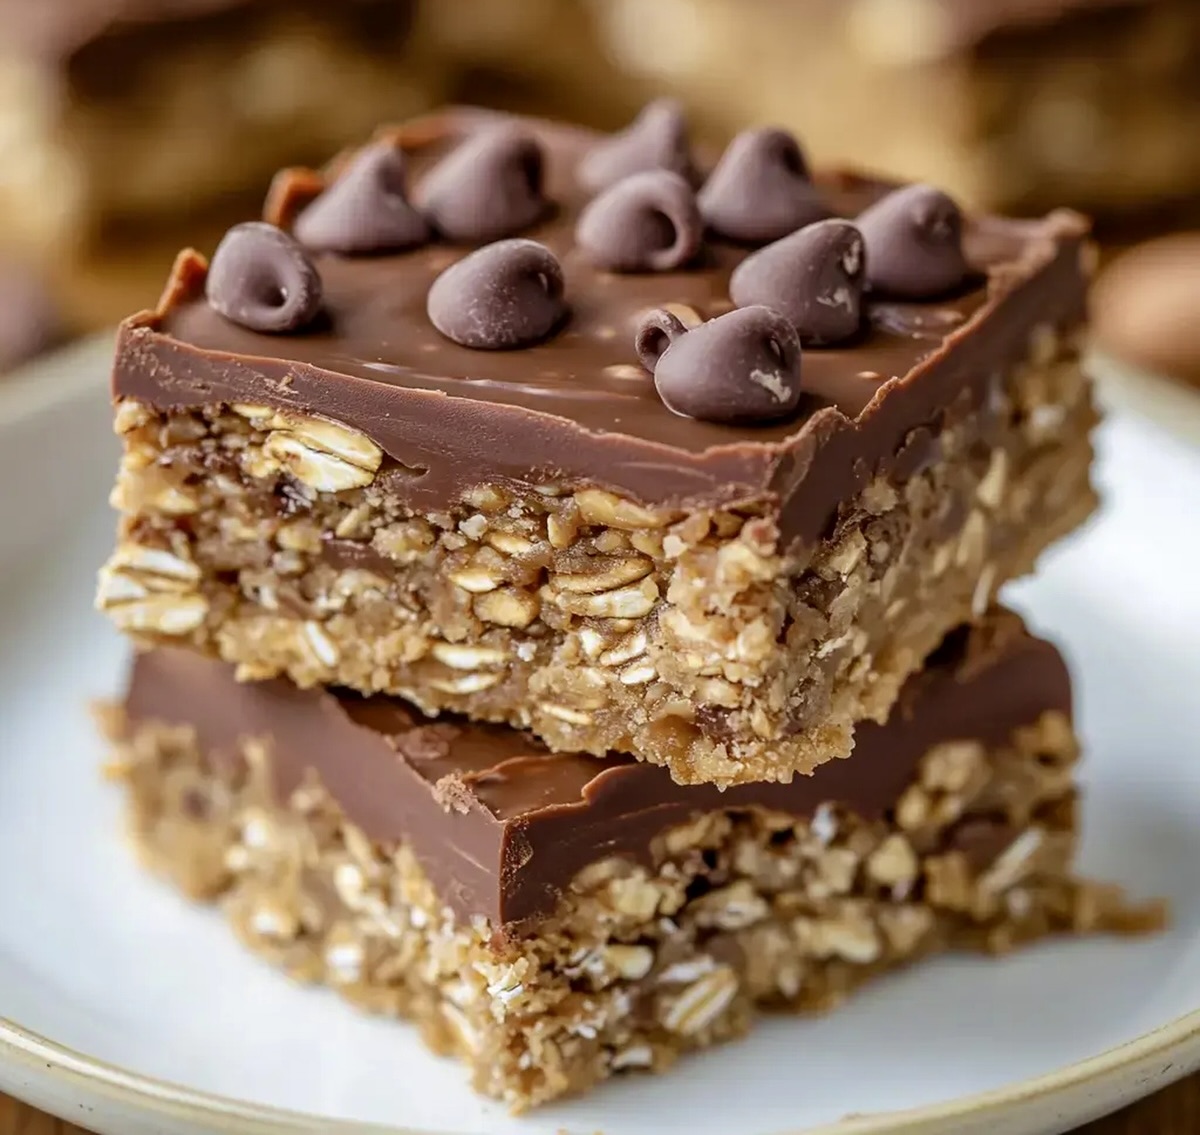
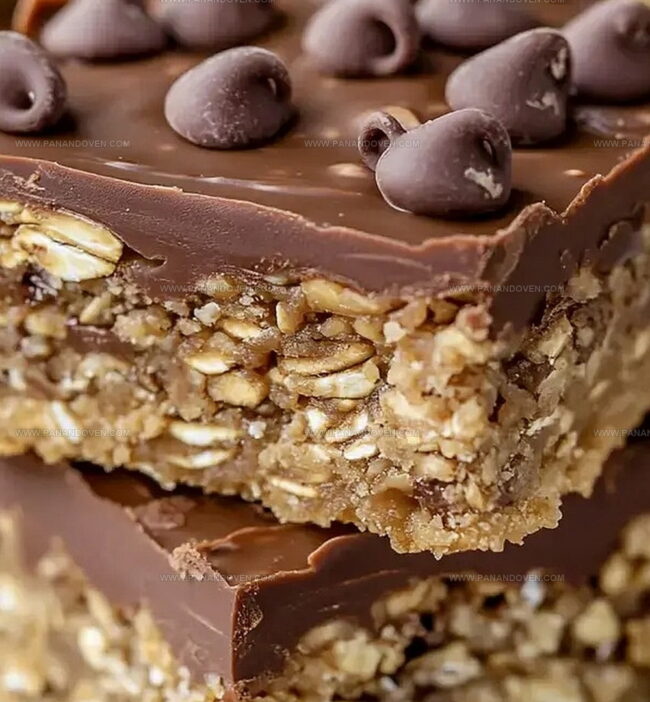
Chocolate and oats create a dreamy no bake chocolate oat bars that melt in your mouth with pure indulgence.
These decadent treats require zero oven time and minimal effort.
Packed with rich, smooth chocolate and hearty oats, they deliver a perfect balance of sweetness and texture.
Each bite promises a delightful crunch and creamy finish that satisfies dessert cravings instantly.
simple ingredients come together quickly to craft these irresistible bars.
The recipe transforms basic pantry staples into a delectable snack everyone will adore.
Prepare to be amazed by how effortlessly these bars become a crowd-pleasing favorite.
No Bake Chocolate Oat Bars: Sweet Reasons to Try
Ingredients for No Bake Oat Bars
Tools for Easy Oat Bar Making
How to Make Chocolate Oat Bars
Step 1: Grease The Pan
Grab your 9×9-inch baking dish and give it a quick spray with non-stick cooking spray or lightly coat it with butter to ensure easy bar removal later.
Step 2: Create Oat Base
In a spacious saucepan, melt the butter over medium heat.
Gently blend in brown sugar and vanilla essence, stirring until they form a harmonious mixture.
Fold in the oats and cook softly for 2-3 minutes, stirring occasionally to prevent sticking.
Step 3: Craft The Bottom Layer
Take half of the warm oat mixture and press it firmly into the bottom of the greased pan, creating a solid foundation for your delectable bars.
Set the remaining oat mixture aside for later use.
Step 4: Develop Chocolate Layer
In a separate saucepan, combine chocolate chips and peanut butter.
Melt them together over low heat, stirring continuously until the mixture becomes silky smooth and fully integrated.
Step 5: Spread Chocolate Goodness
Pour the melted chocolate and peanut butter mixture evenly across the oat crust, ensuring complete coverage from edge to edge.
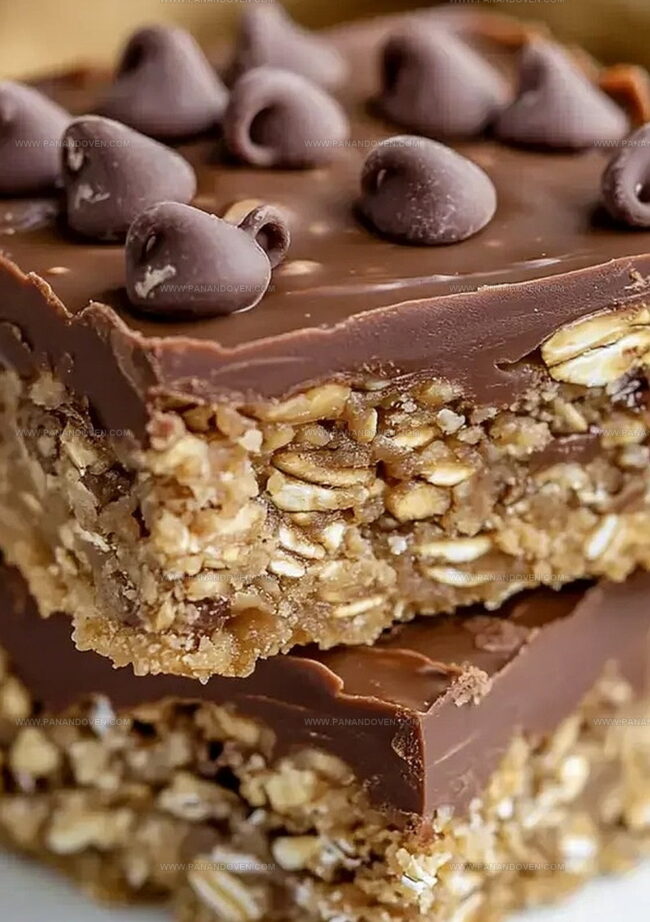
Step 6: Add Crumbly Topping
Sprinkle the reserved oat mixture over the chocolate layer.
Gently press down to create a slightly textured top that will add crunch and visual appeal.
Step 7: Chill And Slice
Cover the pan and refrigerate the bars for 2-3 hours or overnight until they become firm and set.
Before serving, let the bars sit at room temperature for a few minutes, then slice into perfect squares and enjoy your no-bake treat.
Tips for Chewy, Sweet Oat Bars
Oat Bar Flavor Variations
Presenting No Bake Oat Bars for Snacking
Keeping Chocolate Oat Bars Fresh
FAQs
These bars can be gluten-free if you use certified gluten-free oats. Standard rolled oats might contain traces of gluten, so check the packaging carefully.
Yes, you can use almond butter, sunflower seed butter, or cashew butter as alternatives. Each will provide a slightly different flavor profile while maintaining the recipe’s creamy texture.
These no-bake chocolate oat bars will stay fresh in the refrigerator for up to 7-10 days when stored in an airtight container. Just ensure they’re covered to prevent absorbing other refrigerator odors.
Print
No Bake Chocolate Oat Bars Recipe
- Total Time: 20 minutes
- Yield: 12 1x
Description
Irresistible no bake chocolate oat bars merge creamy chocolate with hearty oats for a quick dessert. Simple ingredients and minimal effort create a delightful treat you’ll crave again and again.
Ingredients
Main Ingredients:
- 2 cups (480 ml) easy-cook oats
- 1 cup (240 ml) chocolate chips
- 1/2 cup (120 ml) butter
- 1/2 cup (120 ml) peanut butter
Sweeteners:
- 1/2 cup (120 ml) brown sugar
Flavor Enhancers:
- 1 teaspoon (5 ml) vanilla essence
Instructions
- Prepare a 9×9-inch baking dish by generously coating with cooking spray to prevent sticking and ensure easy removal of the bars.
- In a medium saucepan, melt butter over medium heat. Incorporate brown sugar and vanilla, stirring until the mixture becomes smooth and cohesive. Fold in oats, toasting them gently for 2-3 minutes while stirring to enhance their nutty flavor.
- Transfer half of the oat mixture into the prepared pan, pressing firmly and evenly to create a compact, sturdy base layer that will support the chocolate topping.
- Create the chocolate layer by combining chocolate chips and peanut butter in a separate saucepan. Melt slowly over low heat, stirring continuously until the mixture becomes silky and completely integrated.
- Pour the glossy chocolate-peanut butter mixture over the oat crust, using a spatula to distribute it uniformly across the entire surface.
- Crumble the remaining oat mixture over the chocolate layer, gently pressing down to ensure it adheres and creates a textured, rustic topping.
- Refrigerate the bars for 3-4 hours or overnight until completely set. Allow to sit at room temperature for 10 minutes before slicing into uniform squares for easier serving.
Notes
- Customize Texture by adjusting the oat mixture’s cooking time to create a crumblier or more compact base.
- Swap peanut butter with almond or sunflower seed butter for nut-free variations that accommodate dietary restrictions.
- Enhance chocolate layer by using dark, milk, or white chocolate chips depending on personal flavor preference.
- Reduce sugar content by using alternative sweeteners like honey or maple syrup for a healthier twist on the classic recipe.
- Prep Time: 20 minutes
- Cook Time: 0 minutes
- Category: Snacks, Desserts
- Method: None
- Cuisine: American
Nutrition
- Serving Size: 12
- Calories: 236
- Sugar: 10 g
- Sodium: 85 mg
- Fat: 14 g
- Saturated Fat: 7 g
- Unsaturated Fat: 5 g
- Trans Fat: 0 g
- Carbohydrates: 27 g
- Fiber: 2 g
- Protein: 4 g
- Cholesterol: 15 mg
Marcus Reed
Founder & Food Content Creator
Expertise
Single-recipe development, Seasonal and local ingredient utilization, Food photography and styling, Culinary writing and content creation
Education
Culinary Arts Certificate, Blue Ridge Community and Technical College, WV
Focus: Fundamentals of culinary techniques, emphasizing hands-on experience in small-scale kitchen settings.
Marcus’s story begins in Asheville, where good food and family kitchens shaped his earliest memories. After hands-on culinary training and a lot of trial (and a little error), he realized that real cooking isn’t about perfection, it’s about connection.
At Pan and Oven, Marcus crafts recipes that are easy to follow, packed with flavor, and built for real kitchens.