The Spooky-Sweet Monster Mash Cheesecake Bars Recipe
Spooky season calls for a wickedly delicious monster mash cheesecake bars that blend creepy creativity with sweet satisfaction.
Halloween desserts reach new heights of ghoulish delight with this playful treat.
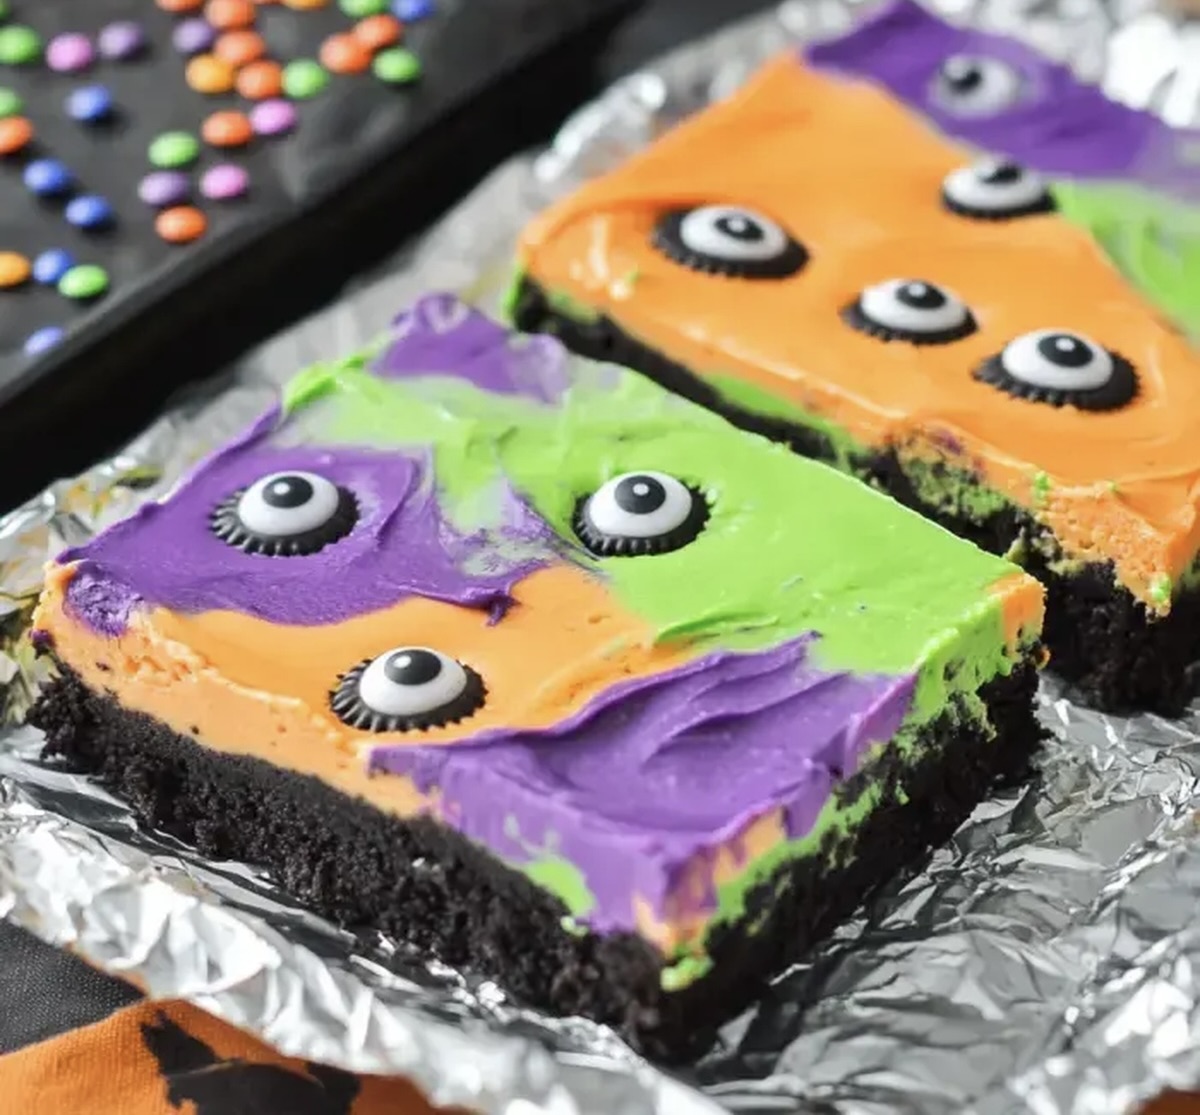
Vibrant colors and whimsical decorations make these bars a showstopper at any festive gathering.
Chocolate cookie crusts provide a rich foundation for the creamy cheesecake filling.
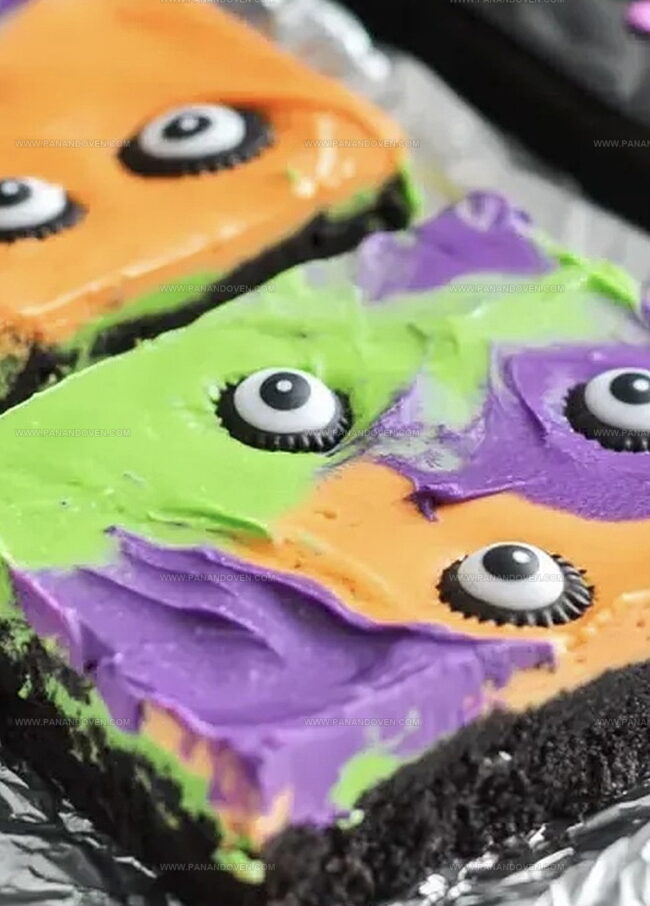
Swirls of green and purple frosting transform ordinary bars into monstrous masterpieces.
Bold bakers can unleash their inner mad scientist with simple decorating techniques.
You’ll love how quickly these spine-tingling bars come together for maximum Halloween fun.
Monster Mash Cheesecake Bars: What Makes Them Special
Monster Mash Bar Ingredient List
Equipment for Spooky Cheesecake Bars

How to Make Halloween Cheesecake Bars
Step 1: Fire Up the Oven
Crank the oven to a toasty 350°F (175°C).
Grab a 9×13-inch baking pan and line it with parchment paper, letting the edges hang over for easy removal later.
Step 2: Craft the Spooky Crust
Grab a mixing bowl and toss in:Blend these ghoulish ingredients until they form a deliciously dark mixture that looks like midnight’s embrace.
Step 3: Flatten the Crust
Press the chocolatey blend into the prepared pan, creating an even layer that will serve as the foundation for your monster treat.
Step 4: Whip Up the Creamy Filling
In a separate bowl, beat cream cheese and sugar until they transform into a silky smooth concoction.
Crack in the eggs and splash of vanilla extract, mixing until everything combines into a ghostly white mixture.
Step 5: Swirl in the Sour Cream
Gently fold sour cream into the cheesecake mixture, creating a rich and tangy base that’ll make taste buds dance.
Step 6: Pour the Ghostly Layer
Carefully pour the creamy cheesecake mixture over the chocolate crust, creating a hauntingly beautiful landscape.
Step 7: Sprinkle Monstrous Goodies
Scatter across the top:Distribute these treats evenly like little Halloween confetti.
Step 8: Add Spooky Decorations
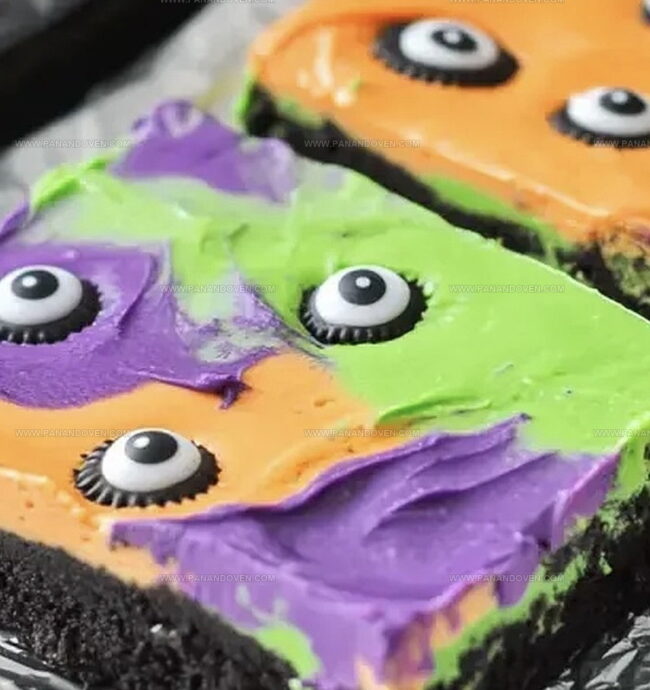
Shake Halloween sprinkles over the surface, creating a festive and playful design that screams Halloween spirit.
Step 9: Bake to Perfection
Slide the pan into the preheated oven and bake for 35-40 minutes.
You’re looking for a center that’s almost set but still has a slight wiggle – like a ghost doing a little dance.
Step 10: Chill and Slice
Let the bars cool completely at room temperature.
Then, park them in the refrigerator for at least 2 hours.
When ready, lift out using the parchment paper and slice into spine-tingling bars that’ll be the hit of any Halloween party.
Tips for Spooky, Fun Cheesecake Bars

Halloween Bar Variations and Mix-Ins

Serving Monster Mash Cheesecake Bars
Spooky Sweet Spectacular: Serving Suggestions
Keeping Cheesecake Bars Fresh
FAQs
The recipe uses Halloween sprinkles, colorful M&M’s, and a chocolate cake mix base to create a festive and spooky dessert that’s perfect for the holiday.
While chocolate cake mix works best for the Monster Mash theme, you could substitute with a similar dark or chocolate-based cake mix to maintain the rich flavor profile.
Absolutely! Kids will love helping sprinkle the M&M’s and Halloween decorations, and the process is simple enough for children to participate in most steps with adult supervision.
Print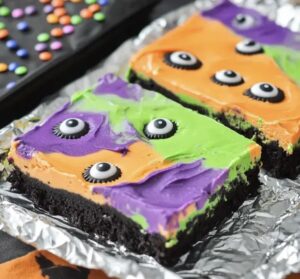
Monster Mash Cheesecake Bars Recipe
- Total Time: 1 hour
- Yield: 12 1x
Description
Monster mash cheesecake bars blend Halloween spirit with creamy indulgence. Colorful layers and spooky decorations make this dessert a festive treat you’ll love to share with friends and family.
Ingredients
Base:
- 1 package (15.25 ounces / 432 grams) chocolate cake mix
- 1/2 cup (113 grams) unsalted butter, melted
- 1 large egg
Filling:
- 2 packages (8 ounces / 226 grams each) cream cheese, softened
- 1 cup (200 grams) granulated sugar
- 2 large eggs
- 1 teaspoon vanilla extract
- 1/2 cup (120 milliliters) sour cream
Toppings:
- 1/2 cup (85 grams) Halloween-colored M&M’s
- 1/2 cup (85 grams) chocolate chips
- Halloween sprinkles for decoration
Instructions
- Preheat the oven to 350°F (175°C) and prepare a 9×13-inch baking pan by lining it with parchment paper, ensuring complete coverage.
- Combine chocolate cake mix, melted butter, and one egg in a large mixing bowl, stirring until the mixture forms a cohesive and smooth texture.
- Evenly distribute and firmly press the cake mix combination into the prepared pan, creating a uniform crust layer that covers the entire bottom surface.
- In a separate mixing bowl, thoroughly blend cream cheese and sugar until achieving a silky, lump-free consistency.
- Incorporate the remaining two eggs and vanilla extract into the cream cheese mixture, whisking until completely integrated and smooth.
- Gently fold sour cream into the cheesecake mixture, ensuring minimal overmixing to maintain a light texture.
- Carefully pour the cheesecake mixture over the prepared chocolate cake mix crust, spreading it evenly to cover the entire surface.
- Strategically scatter M&M’s and chocolate chips across the top of the cheesecake layer, distributing them for consistent coverage.
- Sprinkle Halloween-themed decorative sprinkles over the surface for a festive seasonal appearance.
- Transfer the pan to the preheated oven and bake for 35-40 minutes, watching for the center to become almost completely set.
- Remove from oven and allow the cheesecake to cool completely at room temperature, then refrigerate for a minimum of 2 hours.
- Once thoroughly chilled, slice into bars using a sharp knife for clean, precise cuts.
Notes
- Use room temperature cream cheese and eggs for smoother, lump-free cheesecake mixture that blends perfectly.
- Prevent cracking by avoiding overmixing and overbaking, ensuring the center remains slightly jiggly when removed from oven.
- Customize Halloween theme by using seasonal colored M&M’s or festive sprinkles for different holiday variations.
- Gluten-free option: Swap chocolate cake mix with gluten-free cake mix or crushed gluten-free cookies for a similar texture.
- Prep Time: 20 minutes
- Cook Time: 40 minutes
- Category: Desserts
- Method: Baking
- Cuisine: American
Nutrition
- Serving Size: 12
- Calories: 320
- Sugar: 22 g
- Sodium: 240 mg
- Fat: 18 g
- Saturated Fat: 10 g
- Unsaturated Fat: 8 g
- Trans Fat: 0 g
- Carbohydrates: 36 g
- Fiber: 1 g
- Protein: 4 g
- Cholesterol: 60 mg
Marcus Reed
Founder & Food Content Creator
Expertise
Single-recipe development, Seasonal and local ingredient utilization, Food photography and styling, Culinary writing and content creation
Education
Culinary Arts Certificate, Blue Ridge Community and Technical College, WV
Focus: Fundamentals of culinary techniques, emphasizing hands-on experience in small-scale kitchen settings.
Marcus’s story begins in Asheville, where good food and family kitchens shaped his earliest memories. After hands-on culinary training and a lot of trial (and a little error), he realized that real cooking isn’t about perfection, it’s about connection.
At Pan and Oven, Marcus crafts recipes that are easy to follow, packed with flavor, and built for real kitchens.