
Super Cute Mini Pancake Poppers Recipe for Breakfast Joy
Breakfast just got a delightful upgrade with these irresistible mini pancake poppers that pack a punch of sweetness in every bite.
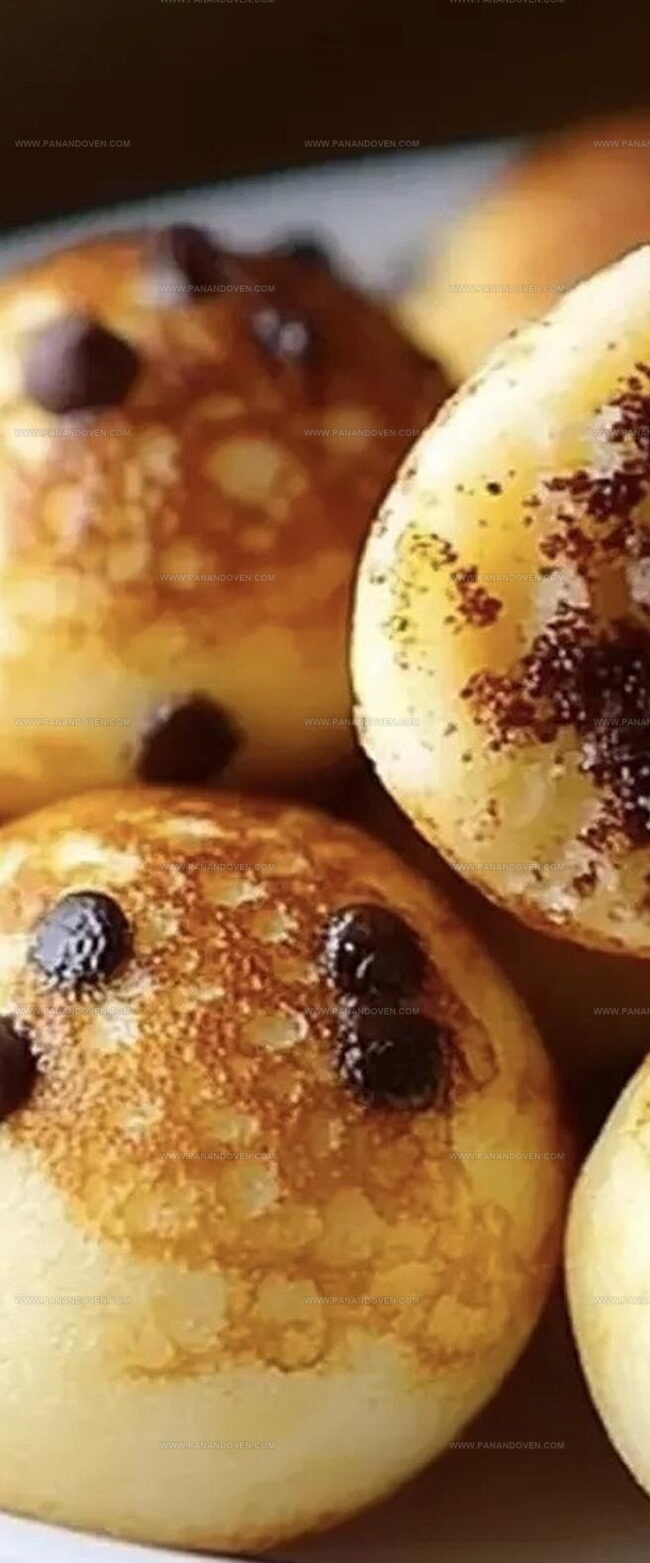
Perfectly golden and bite-sized, these little morsels bring excitement to your morning routine.
The compact pancake poppers blend fluffy texture with a playful presentation that will have everyone at the table smiling.
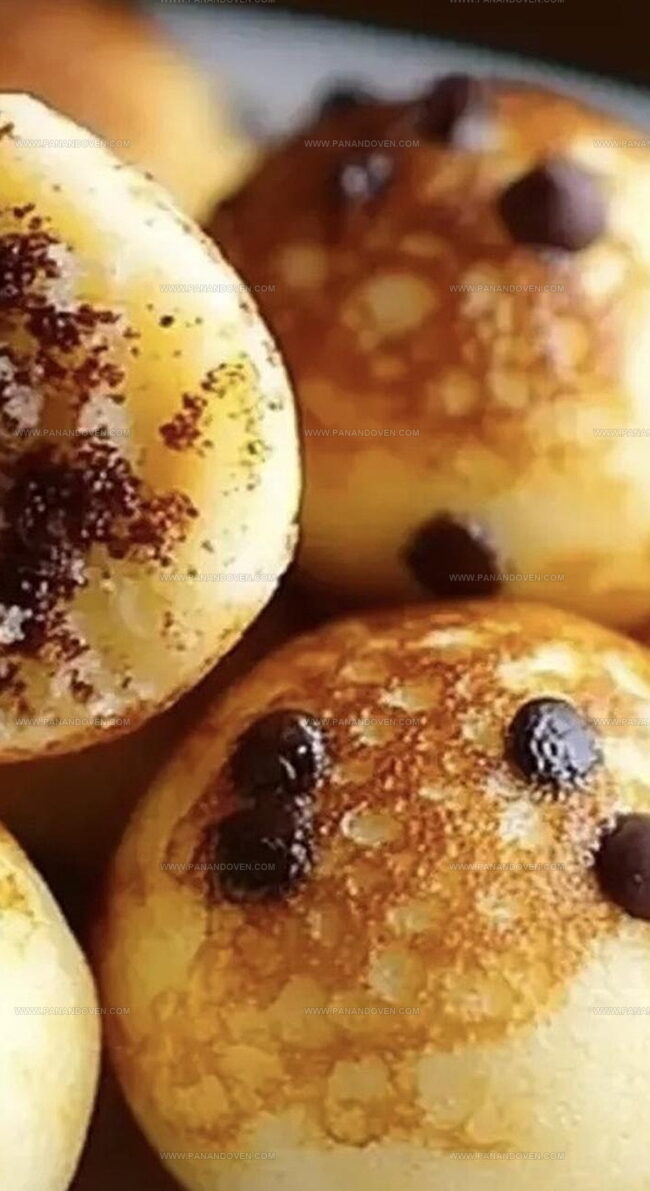
Crisp edges and soft centers make these poppers an instant crowd-pleaser for lazy weekend mornings or quick weekday breakfasts.
You can customize them with chocolate chips, berries, or a sprinkle of cinnamon to match your mood.
A drizzle of maple syrup turns these miniature treats into pure breakfast magic.
One batch won’t be enough, so prepare to make these addictive poppers on repeat.
Pancake Poppers: What Makes Them Fun
Key Ingredients for Pancake Poppers
Equipment to Make Pancake Poppers
Pancake Popper How-To Guide
Step 1: Prepare The Oven
Warm up your oven to 375F and generously spray a cake pop or mini muffin pan with cooking spray to prevent sticking.
Step 2: Mix Dry Ingredients
Grab a large mixing bowl and whisk together your dry ingredients until perfectly blended:Step 3: Combine Wet Components
Pour in the liquid ingredients and blend smoothly:Whisk until just combined, keeping the texture slightly lumpy for fluffy poppers.
Step 4: Whip The Egg White
In a separate bowl, beat the egg white energetically until stiff peaks form.
Gently fold this into the batter, creating an incredibly light texture.
Step 5: Add Tasty Extras
If desired, fold in mini chocolate chips for an extra burst of sweetness.
Step 6: Fill The Pan
Use a cookie scoop to distribute batter evenly, filling each mold almost to the top.
Step 7: Bake To Perfection
Slide the pan into the oven and bake for approximately 12 minutes.
Check doneness by inserting a toothpick – it should come out clean.
Step 8: Serve And Enjoy
Immediately flip the poppers onto a wire rack.
Serve warm with delicious toppings like maple syrup, fresh berries, or a dusting of powdered sugar.
Tricks for Fluffy Pancake Poppers
Flavorful Pancake Popper Combos
Serving Pancake Poppers with Dips
How to Store Pancake Poppers Right
FAQs
Yes, simply substitute the all-purpose flour with a gluten-free flour blend. Make sure to use a blend that has a similar protein content for the best texture.
The beaten egg white helps create a lighter, fluffier texture in the poppers. While not mandatory, it does improve the overall airiness of the final product.
Always use cooking spray or generously grease the pan with butter. A non-stick mini muffin or cake pop pan works best to ensure easy removal.
Print
Mini Pancake Poppers Recipe
- Total Time: 27 minutes
- Yield: 12 1x
Description
Sweet mini pancake poppers from scratch offer a delightful breakfast treat perfect for weekend mornings. Crispy exterior and fluffy interior combine with maple syrup for an irresistible morning indulgence you cannot resist.
Ingredients
Main Ingredients:
- 1 1/2 cups (375 milliliters) all-purpose flour
- 1 cup + 1 tablespoon (250 milliliters) milk
- 1 large egg
- 1 large egg white
Dry Ingredients:
- 3 1/2 teaspoons baking powder
- 3/4 teaspoon salt
- 1 tablespoon granulated sugar
Flavor and Fat Enhancers:
- 1 teaspoon vanilla extract
- 3 tablespoons (45 milliliters) unsalted butter, melted
- 1/2 cup (85 grams) mini chocolate chips (optional)
Instructions
- Prepare the oven to 375°F and thoroughly grease a mini muffin or cake pop pan with cooking spray to prevent sticking.
- In a large mixing bowl, combine all dry ingredients, ensuring an even distribution of flour, baking powder, salt, and sugar.
- Create a smooth batter by whisking milk, whole egg, vanilla extract, and melted butter into the dry ingredient mixture. Mix until just incorporated, allowing small lumps to remain for a tender texture.
- Separately whip the egg white until it forms stiff, glossy peaks that hold their shape when the whisk is lifted.
- Gently fold the whipped egg white into the batter using a light, sweeping motion to maintain its airy consistency.
- If desired, carefully incorporate mini chocolate chips into the batter, distributing them evenly throughout.
- Utilize a cookie scoop to fill each mold nearly to the top, ensuring uniform size and consistent baking.
- Transfer the pan to the preheated oven and bake for approximately 12 minutes, checking doneness by inserting a toothpick into the center – it should come out clean.
- Immediately invert the pan onto a wire rack, allowing the poppers to release and cool slightly for a few minutes.
- Serve the warm poppers with preferred accompaniments such as maple syrup, fresh berries, or a dusting of powdered sugar.
Notes
- Whip egg whites to stiff peaks carefully, ensuring no yolk breaks during separation for maximum fluffiness.
- Use room temperature ingredients to help batter mix more smoothly and create consistent texture.
- Avoid overmixing batter to prevent tough, dense pancake poppers; stop stirring when ingredients are just combined.
- Replace wheat flour with gluten-free alternatives like almond or oat flour for those with dietary restrictions.
- Prep Time: 15 minutes
- Cook Time: 12 minutes
- Category: Breakfast, Snacks, Desserts
- Method: Baking
- Cuisine: American
Nutrition
- Serving Size: 12
- Calories: 140
- Sugar: 3 g
- Sodium: 150 mg
- Fat: 6 g
- Saturated Fat: 4 g
- Unsaturated Fat: 1.5 g
- Trans Fat: 0 g
- Carbohydrates: 18 g
- Fiber: 0.5 g
- Protein: 3 g
- Cholesterol: 30 mg
Marcus Reed
Founder & Food Content Creator
Expertise
Single-recipe development, Seasonal and local ingredient utilization, Food photography and styling, Culinary writing and content creation
Education
Culinary Arts Certificate, Blue Ridge Community and Technical College, WV
Focus: Fundamentals of culinary techniques, emphasizing hands-on experience in small-scale kitchen settings.
Marcus’s story begins in Asheville, where good food and family kitchens shaped his earliest memories. After hands-on culinary training and a lot of trial (and a little error), he realized that real cooking isn’t about perfection, it’s about connection.
At Pan and Oven, Marcus crafts recipes that are easy to follow, packed with flavor, and built for real kitchens.