
Buttery Mini Chicken Pot Pie Muffins Recipe: A Cozy Dinner Win
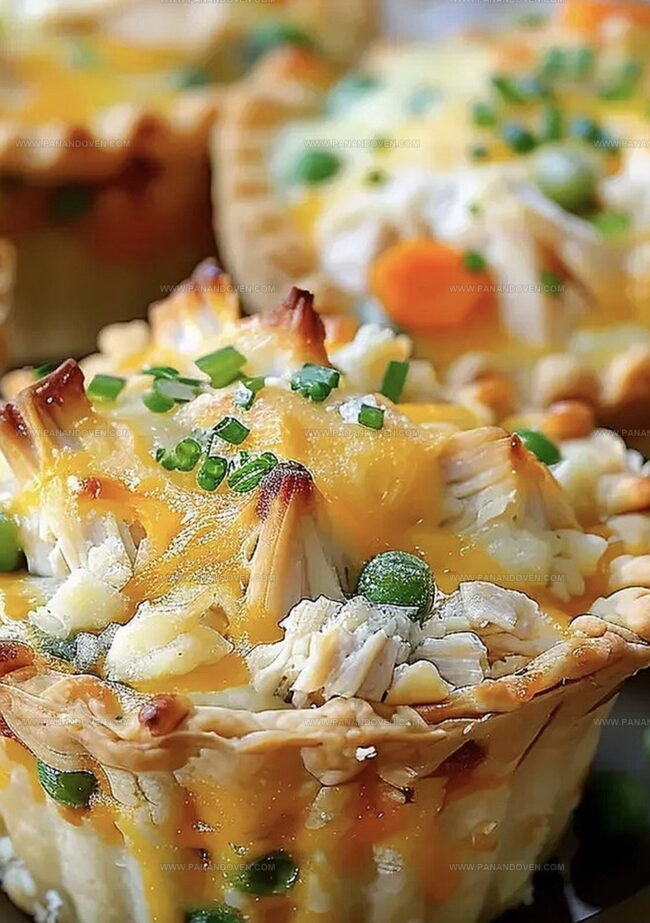
Comfort arrives in small, golden packages with these delightful mini chicken pot pies muffins that pack incredible flavor into every single bite.
Perfectly portioned and wonderfully crispy, these handheld treats transform traditional pot pie into a convenient snack everyone adores.
Tender chicken, creamy sauce, and flaky pastry come together in a compact form that feels both nostalgic and modern.
Busy weeknight dinners welcome these adorable muffin-shaped pies as a quick and satisfying meal solution.
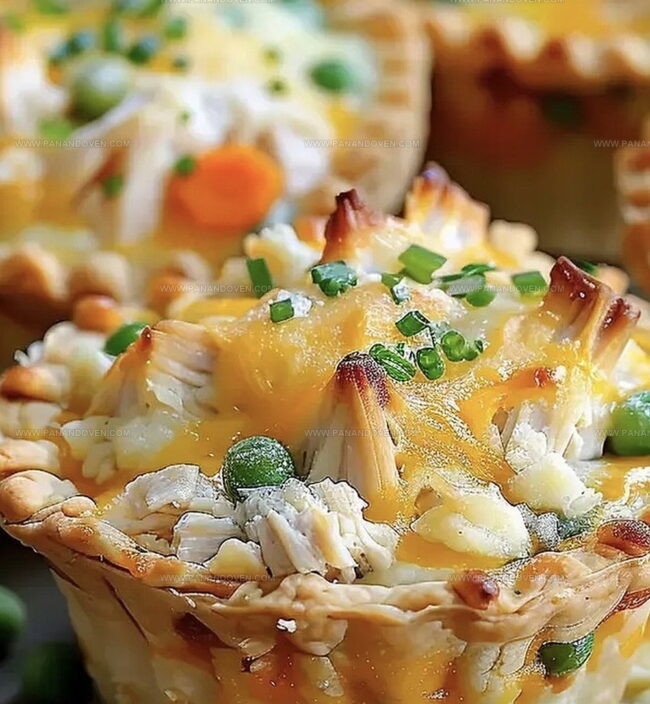
Each mini pot pie delivers a burst of hearty goodness that will have everyone reaching for seconds.
The combination of buttery crust and savory filling creates an irresistible balance that makes these little pockets of deliciousness impossible to resist.
Serve these mini chicken pot pies muffins and watch as smiles spread around the table.
Mini Chicken Pot Pie Muffins: Bite-Sized Comfort
All The Must-Have Pot Pie Ingredients
Main Protein:Pastry Base:Vegetable Mixture:Cheese and Dairy:Seasoning Blend:Preparation Essentials:Muffin Tin Tools For Mini Pies
How To Make Mini Chicken Pot Pies
Step 1: Warm Up The Oven
Crank up your oven to a toasty 375F (190C).
Grab a muffin tin and give it a quick spray with cooking oil to prevent sticking.
Step 2: Create The Hearty Filling
Toss these ingredients into a big mixing bowl:Stir everything together until it looks like a delicious, cohesive mixture.
Step 3: Shape The Pastry Shells
Sprinkle some flour on your countertop.
Unroll the refrigerated pie crusts and use a round cookie cutter or drinking glass to cut out perfect circles.
Make sure they’re slightly larger than your muffin tin openings.
Step 4: Build Your Mini Pies
Gently press each dough circle into the muffin tin, letting the edges hang over slightly.
Spoon the chicken mixture into each cup, filling them almost to the top.
Step 5: Seal The Deal
Fold the overhanging dough over the filling, pinching the edges to create a tight seal.
Use a sharp knife to cut a tiny vent on top of each mini pie to let steam escape.
Step 6: Bake To Golden Perfection
Slide the muffin tin into the preheated oven.
Bake for 25-30 minutes until the crust turns a beautiful golden brown and the filling starts bubbling.
Step 7: Serve And Savor
Carefully remove the muffin tin from the oven.
Let the mini pies cool for a few minutes, then gently pop them out.
Serve these little bundles of comfort while they’re warm and watch everyone smile!
Pot Pie Tips For Golden Crusts
Mini Pie Variations For Fun Flavors
Serving Mini Pot Pies At Parties
Storing Mini Pot Pies Fresh
FAQs
Yes, you can substitute the mixed vegetables with your favorite veggies like peas, carrots, or corn. Just make sure they’re diced small and pre-cooked to ensure even cooking.
Absolutely! You can assemble the mini pot pies and refrigerate them for up to 24 hours before baking. Just add a few extra minutes to the baking time if they’re cold from the fridge.
These pot pies freeze wonderfully. After baking, let them cool completely, then wrap individually in plastic wrap and store in a freezer bag for up to 3 months. Reheat in the oven at 350F for 15-20 minutes.
Print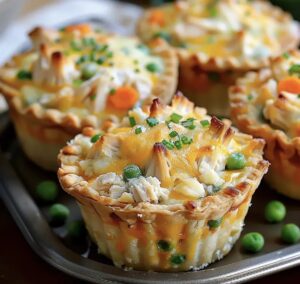
Mini Chicken Pot Pies Muffins Recipe
- Total Time: 50 minutes
- Yield: 12 1x
Description
Homemade mini chicken pot pies muffins combine classic comfort with delightful personal portions. Crisp pastry shells nestle creamy chicken filling, offering a perfect handheld meal that delights diners eager for nostalgic flavors.
Ingredients
Main Ingredients:
- 2 cups chicken, cooked and diced
- 1 can (10.5 ounces / 298 grams) condensed cream of chicken soup
- 2 refrigerated pie crusts
- 1 cup shredded cheddar cheese
Vegetables and Seasonings:
- 1 cup frozen mixed vegetables (carrots, peas, corn, green beans), thawed
- 1 teaspoon garlic powder
- 1 teaspoon onion powder
- 1 teaspoon dried thyme
Finishing Ingredients:
- Cooking spray
- Salt, to taste
- Pepper, to taste
Instructions
- Prepare the oven at 375F (190C) and generously coat a muffin tin with cooking spray to prevent sticking.
- Create a harmonious filling by blending diced chicken, mixed vegetables, condensed cream of chicken soup, shredded cheddar cheese, garlic powder, onion powder, dried thyme, salt, and pepper in a large mixing bowl until thoroughly incorporated.
- Unroll refrigerated pie crusts on a lightly floured surface and utilize a round cookie cutter or glass to cut dough circles marginally larger than the muffin tin openings.
- Gently press each dough circle into the greased muffin cups, allowing slight overhang around edges, then carefully distribute the chicken mixture into each cup, filling approximately three-quarters full.
- Delicately fold the overhanging dough across the filling, crimping edges to create a secure seal, and make a small strategic vent on top of each pot pie to facilitate steam release during baking.
- Transfer the muffin tin to the preheated oven and bake for 25-30 minutes, watching for a golden-brown crust and bubbling filling that indicates complete cooking.
- After removing from the oven, allow mini pot pies to rest in the tin for a few minutes, then carefully extract and serve these delectable handheld treasures while warm.
Notes
- Customize Vegetable Mix Swap frozen mixed vegetables for fresh seasonal produce like diced carrots, peas, and corn to enhance flavor and nutrition.
- Make Gluten-Free Substitute pie crusts with gluten-free pastry dough or use almond flour-based alternatives for those with wheat sensitivities.
- Enhance Protein Options Replace chicken with rotisserie, turkey, or plant-based protein crumbles to accommodate different dietary preferences and add variety.
- Meal Prep Friendly These mini pot pies freeze beautifully for up to 3 months, making them perfect for quick weeknight dinners or convenient lunch options.
- Prep Time: 20 minutes
- Cook Time: 30 minutes
- Category: Lunch, Dinner, Appetizer, Snacks
- Method: Baking
- Cuisine: American
Nutrition
- Serving Size: 12
- Calories: 200
- Sugar: 2 g
- Sodium: 500 mg
- Fat: 10 g
- Saturated Fat: 4 g
- Unsaturated Fat: 5 g
- Trans Fat: 0 g
- Carbohydrates: 20 g
- Fiber: 1 g
- Protein: 10 g
- Cholesterol: 30 mg
Marcus Reed
Founder & Food Content Creator
Expertise
Single-recipe development, Seasonal and local ingredient utilization, Food photography and styling, Culinary writing and content creation
Education
Culinary Arts Certificate, Blue Ridge Community and Technical College, WV
Focus: Fundamentals of culinary techniques, emphasizing hands-on experience in small-scale kitchen settings.
Marcus’s story begins in Asheville, where good food and family kitchens shaped his earliest memories. After hands-on culinary training and a lot of trial (and a little error), he realized that real cooking isn’t about perfection, it’s about connection.
At Pan and Oven, Marcus crafts recipes that are easy to follow, packed with flavor, and built for real kitchens.