Cozy Loaded Taco-Stuffed Cheesy Pockets Recipe for Family Dinner
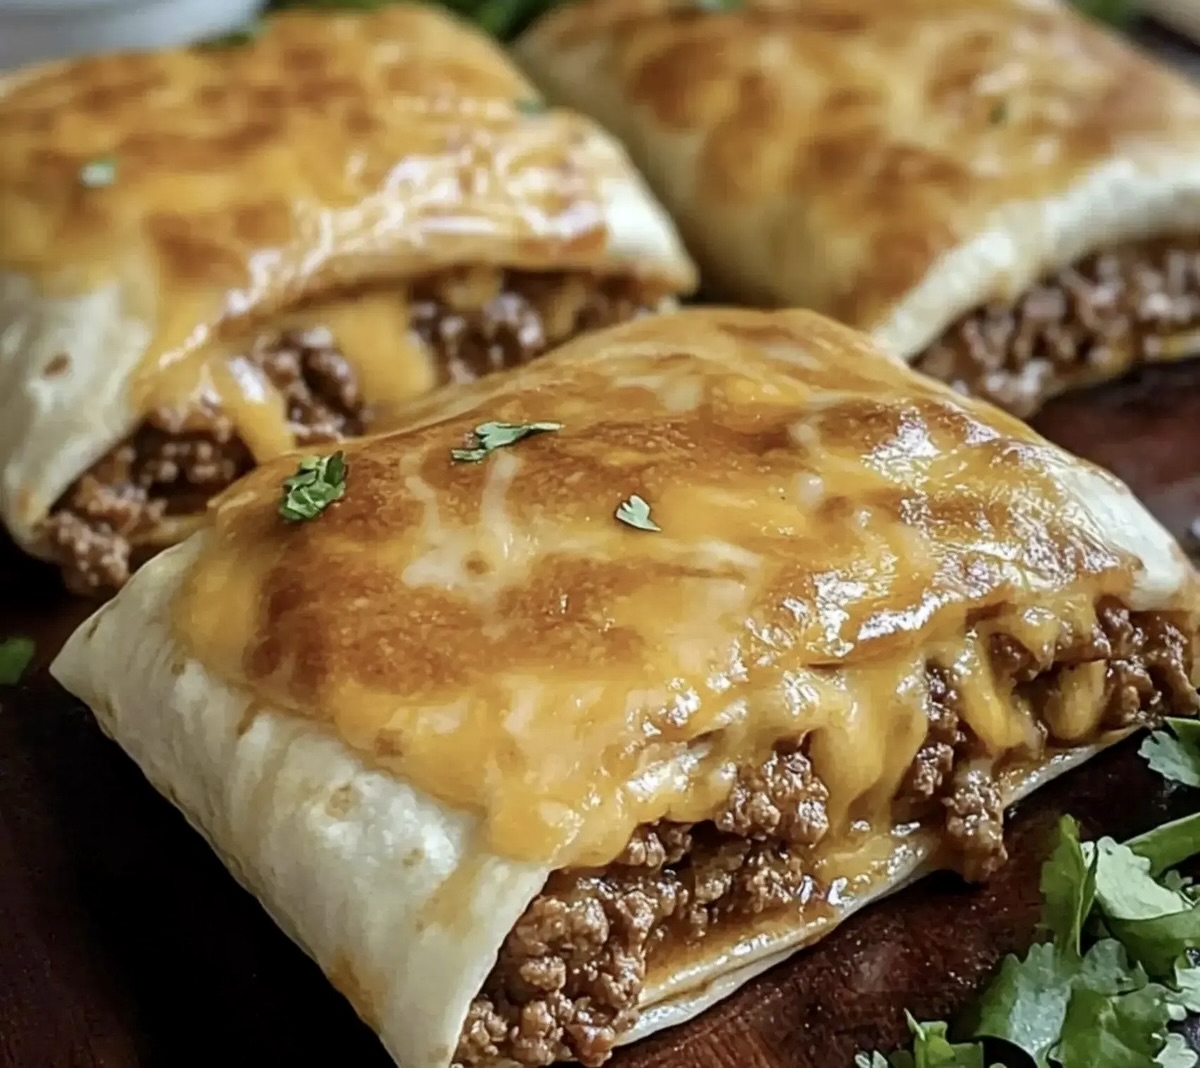
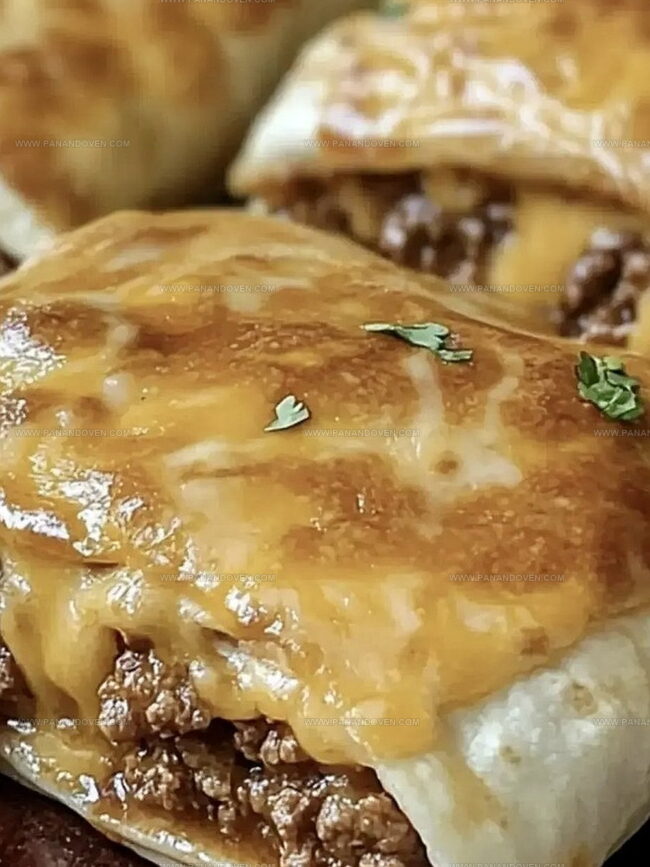
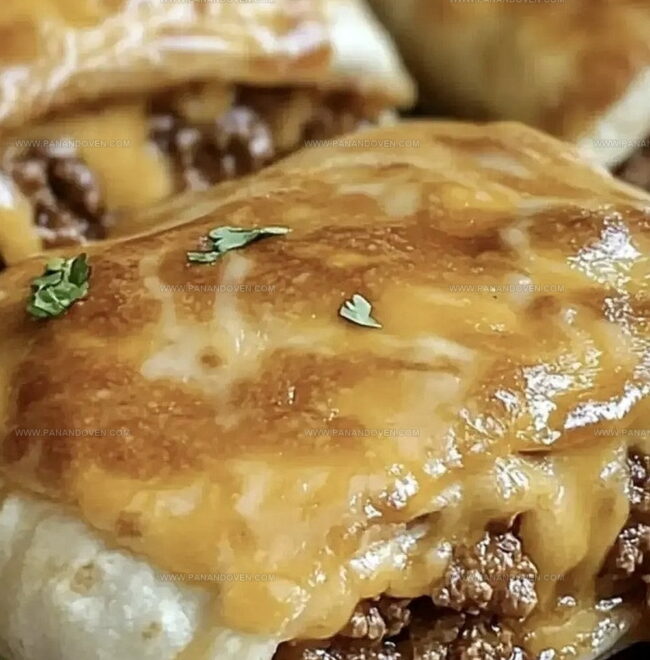
Crispy, golden pockets bursting with zesty taco-stuffed cheesy goodness promise an epic flavor explosion.
These handheld delights combine the best of Mexican-inspired comfort food in one irresistible package.
Melted cheese oozes alongside seasoned ground beef, creating a mouthwatering blend of textures and tastes.
Every bite delivers a punch of rich, bold flavors that dance across your palate.
Perfectly crisp on the outside and delightfully soft inside, these pockets transform an ordinary meal into a celebration of culinary creativity.
Weekend gatherings or quick weeknight dinners will never be the same with this crowd-pleasing recipe that brings excitement to the table.
Prepare to wow everyone with these incredible taco-stuffed cheesy pockets that turn ordinary ingredients into extraordinary memories.
Reasons You’ll Crave Taco-Stuffed Cheesy Pockets
Must-Have Ingredients for Cheesy Taco Pockets
Protein Base:Dairy Components:Seasoning and Flavor Enhancers:Wrapper and Assembly:Optional Toppings:Tools for Filling the Perfect Cheesy Pockets
Steps for Making Cheesy Taco Pockets with Ease
Step 1: Fire Up The Oven
Crank your oven to a toasty 350F (175C).
Spritz a baking sheet with cooking spray so nothing sticks.
Step 2: Brown The Meat
Toss ground beef into a hot skillet.
Break it into tiny crumbles while cooking until it’s completely browned.
Drain away any extra fat.
Step 3: Spice Things Up
Sprinkle taco seasoning over the meat, mixing thoroughly so every morsel gets deliciously coated with flavor.
Step 4: Whip The Creamy Base
Grab a mixing bowl and transform cream cheese into a silky smooth mixture.
Swirl in salsa until it becomes a dreamy, creamy blend.
Step 5: Layer The Goodness
Spread out a soft tortilla.
Dollop the cream cheese mixture right in the center.
Add a hearty scoop of seasoned meat on top.
Shower the area with shredded cheddar cheese.
Step 6: Wrap And Tuck
Fold the tortilla like a cozy envelope, sealing in all those mouthwatering ingredients.
Position each wrap seam-side down on the baking sheet.
Step 7: Crisp And Golden
Brush the tops with melted butter for extra golden deliciousness.
Slide into the oven and bake until the edges turn perfectly crispy and light brown.
Step 8: Dress And Serve
Pull out your sizzling wraps and deck them out with fun toppings:Serve immediately and watch everyone dive in!
Tips for Flavorful, Cheesy Pocket Perfection
Cheesy Pocket Variations for Taco Lovers
Serving Cheesy Taco Pockets at Gatherings

Storing Cheesy Pockets Enjoyment

FAQs
Soft flour tortillas are ideal because they’re pliable, fold easily without breaking, and create a perfect seal for the filling.
Yes, you can prepare and assemble the pockets up to a day in advance. Store them covered in the refrigerator and bake just before serving to maintain their crispy texture.
Drain the ground beef thoroughly and make sure the cream cheese mixture isn’t too watery. This helps keep the tortillas crisp during baking.
Absolutely! Choose a mild or hot taco seasoning and salsa based on your preference. You can also add jalapeños or hot sauce to increase the heat level.
Print
Loaded Taco-Stuffed Cheesy Pockets Recipe
- Total Time: 35 minutes
- Yield: 6 1x
Description
Mexican-inspired loaded taco-stuffed cheesy pockets promise flavor-packed delights with crisp tortillas and melted cheese. Diners will savor spicy meat, zesty salsa, and creamy textures in each satisfying bite.
Ingredients
Protein:
- 1 pound (454 grams) ground beef
- 1 packet taco seasoning
Cheese:
- 8 ounces (227 grams) cream cheese, softened
- 1 cup (227 grams) cheddar cheese, shredded
Additional Ingredients:
- 12 6-inch tortillas
- 1/2 cup (120 milliliters) salsa
- 2 tablespoons (30 milliliters) melted butter
Instructions
- Prepare your workspace by heating the oven to 350F (175C) and lightly coating a baking sheet with non-stick spray.
- Brown the ground beef in a skillet over medium heat, breaking it into small crumbles until fully cooked. Drain excess fat completely.
- Incorporate the taco seasoning into the beef, stirring thoroughly to distribute the spices evenly and create a robust flavor profile.
- Whip the softened cream cheese until silky smooth, then fold in salsa, blending until the mixture achieves a consistent, creamy texture.
- Lay out a tortilla and spread a generous layer of the cream cheese-salsa mixture in the center, leaving a small border around the edges.
- Layer seasoned beef over the cream cheese mixture, then sprinkle shredded cheddar cheese across the filling.
- Carefully fold the tortilla edges inward, creating a tight seal to prevent filling from escaping during baking.
- Position each rolled pocket seam-side down on the prepared baking sheet, ensuring they are not touching.
- Brush the exterior of each pocket with melted butter to enhance golden browning and add richness.
- Bake for 15 minutes until the tortillas turn crisp and develop a beautiful golden-brown color.
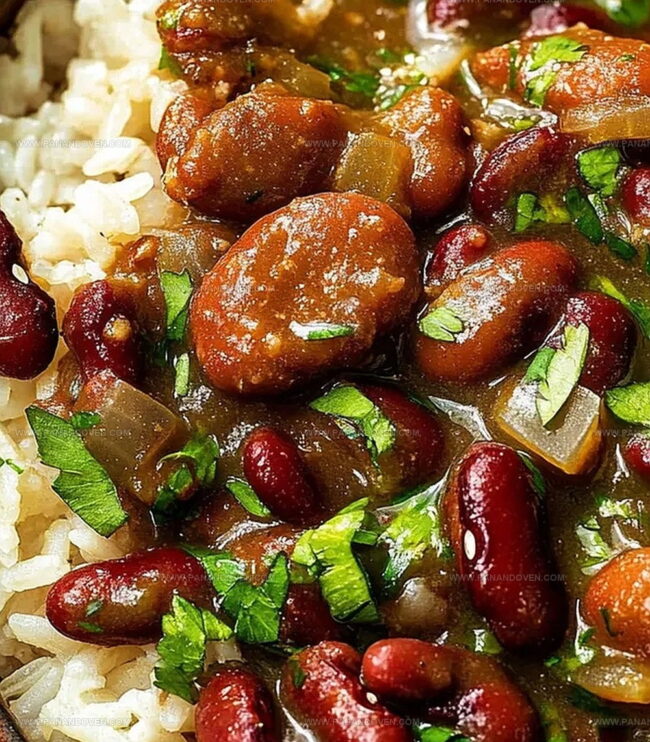
- After removing from the oven, garnish with optional toppings like fresh lettuce, additional salsa, sour cream, sliced olives, or extra cheese.
- Serve immediately while hot and enjoy the melty, flavor-packed taco pockets.
Notes
- Choose lean ground beef or turkey for a healthier protein option that reduces overall fat content without compromising flavor.
- Swap regular tortillas with low-carb or whole wheat alternatives to increase nutritional value and accommodate different dietary preferences.
- Ensure even cooking by rolling tortillas tightly and placing them seam-side down to prevent filling from leaking during baking.
- Experiment with different salsa varieties like roasted, green, or fruit-based salsas to create unique flavor profiles and add exciting taste dimensions.
- Prep Time: 20 minutes
- Cook Time: 15 minutes
- Category: Lunch, Dinner, Snacks
- Method: Baking
- Cuisine: Mexican
Nutrition
- Serving Size: 6
- Calories: 400
- Sugar: 2 g
- Sodium: 800 mg
- Fat: 24 g
- Saturated Fat: 12 g
- Unsaturated Fat: 8 g
- Trans Fat: 0 g
- Carbohydrates: 28 g
- Fiber: 2 g
- Protein: 20 g
- Cholesterol: 70 mg
Marcus Reed
Founder & Food Content Creator
Expertise
Single-recipe development, Seasonal and local ingredient utilization, Food photography and styling, Culinary writing and content creation
Education
Culinary Arts Certificate, Blue Ridge Community and Technical College, WV
Focus: Fundamentals of culinary techniques, emphasizing hands-on experience in small-scale kitchen settings.
Marcus’s story begins in Asheville, where good food and family kitchens shaped his earliest memories. After hands-on culinary training and a lot of trial (and a little error), he realized that real cooking isn’t about perfection, it’s about connection.
At Pan and Oven, Marcus crafts recipes that are easy to follow, packed with flavor, and built for real kitchens.