The Best Zesty Lemon Bars Recipe For Tangy Sweet Perfection
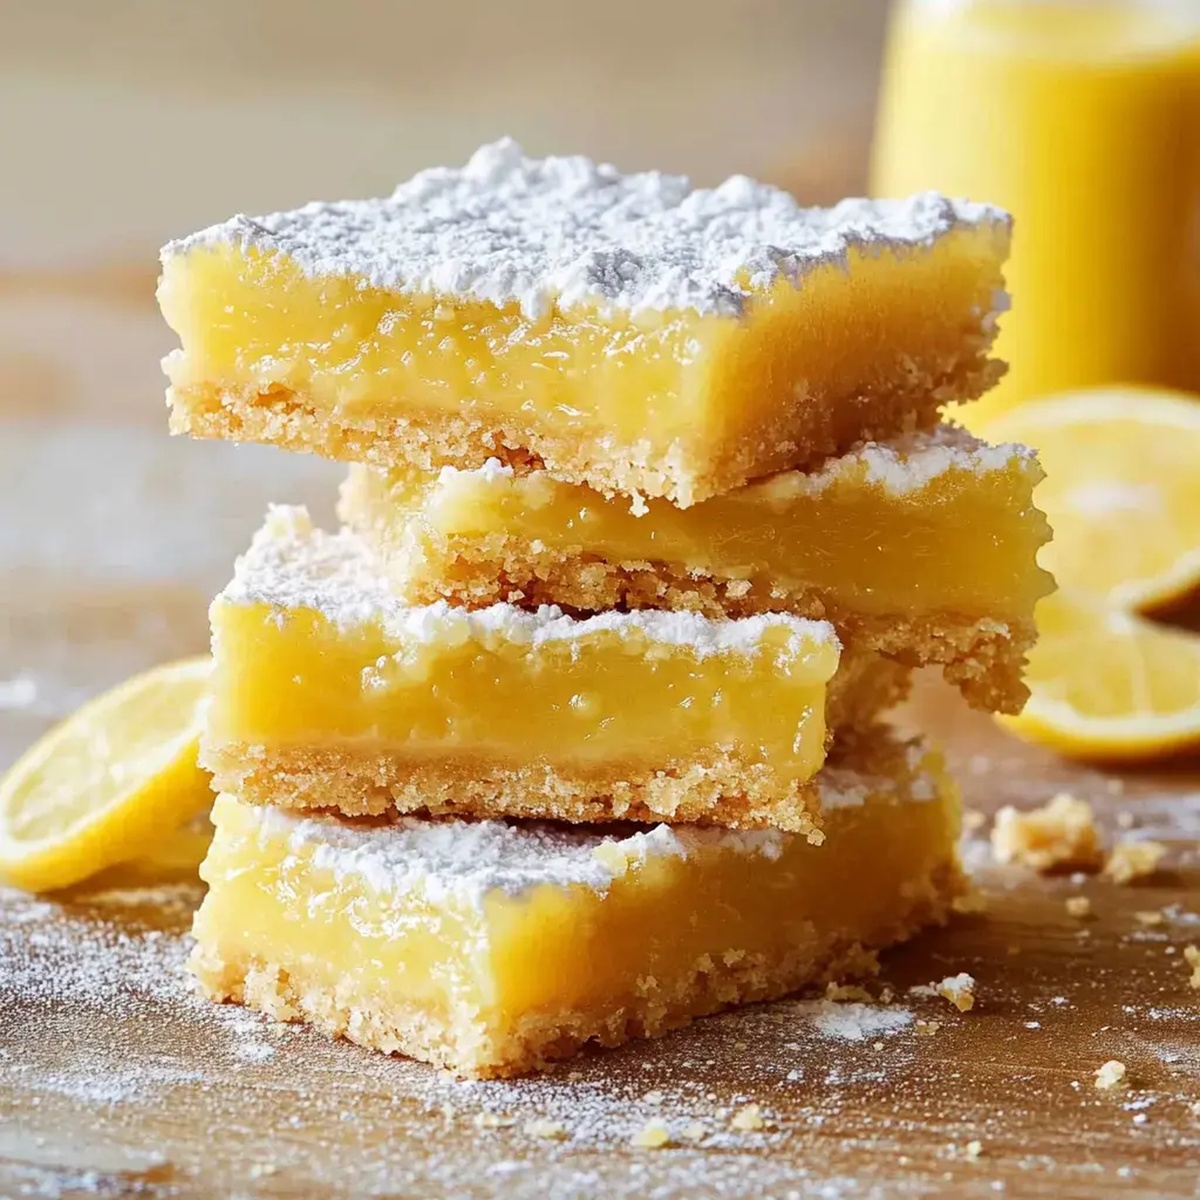
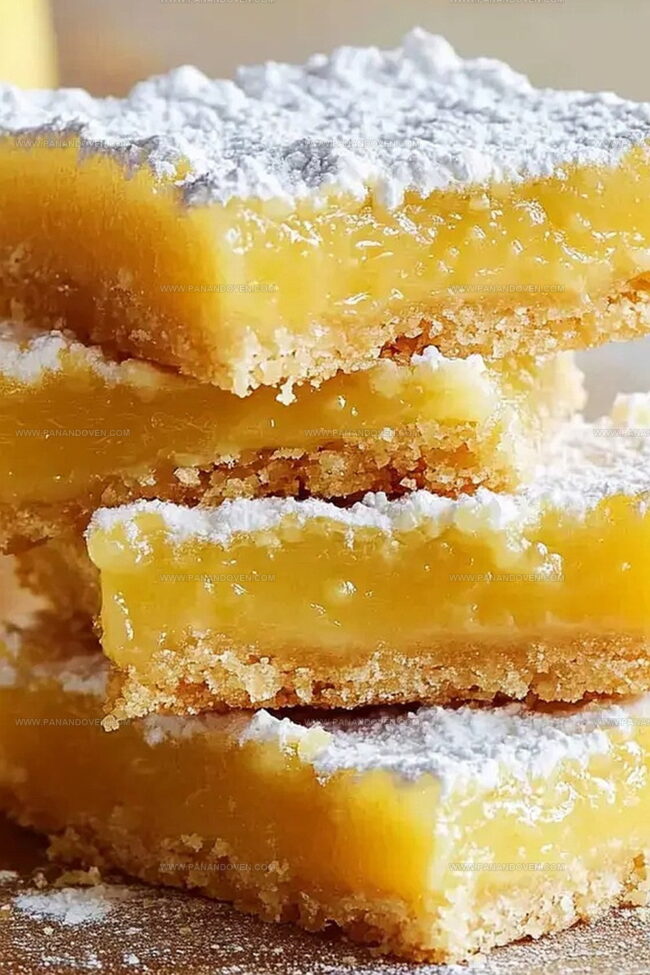
Zesty and bright, these classic lemon bars with their sweet and tangy lemon filling dance on a buttery shortbread crust that melts in your mouth.
Sunlight seems to shine through each golden square, promising pure citrusy delight.
The simple recipe comes together faster than you can slice a lemon, requiring just a handful of pantry staples.
Powdered sugar dusted across the top adds a delicate finish that beckons dessert lovers.
Creamy yet light, these bars offer the perfect balance of sweet and tart flavors that everyone adores.
The straightforward preparation means even novice bakers can create a stunning dessert that looks like it came from a professional bakery.
Serve these crowd-pleasing treats at your next gathering and watch them disappear in minutes.
Lemon Bars Sweet and Tangy Dessert Reasons
Ingredients for Perfect Lemon Bars
Crust Ingredients:Filling Ingredients:Finishing Ingredients:Tools for Baking Lemon Bars at Home
Stepwise Lemon Bar Preparation
Step 1: Preheat and Prepare Oven
Set your oven to 350°F.
Take a baking pan and line it completely with parchment paper, ensuring the paper covers the bottom and sides for easy removal later.
Step 2: Create Crumbly Shortbread Base
In a mixing bowl, combine flour, sugar, salt, softened butter, and vanilla extract.
Use your fingers or a pastry blender to mix ingredients until they form a soft, crumbly texture.
Gently press this mixture evenly into the prepared pan, creating a smooth, compact layer.
Step 3: Bake the Shortbread Crust
Place the pan in the preheated oven and bake for 18-20 minutes.
Watch for the edges to turn a beautiful golden brown.
Once done, remove from oven and use a fork to gently poke small holes across the surface, which helps prevent bubbling.
Step 4: Whip Up Tangy Lemon Filling
In a separate bowl, combine:Whisk these ingredients together until they form a smooth, vibrant yellow mixture with no lumps.
Step 5: Combine and Finish Baking
Pour the lemon filling directly over the hot shortbread crust, ensuring an even distribution.
Return the pan to the oven and bake for 20-25 minutes.
The filling should look set but still have a slight jiggle in the center.
Step 6: Cool and Chill
Allow the lemon bars to cool at room temperature for one hour.
Then transfer to the refrigerator and chill for an additional two hours.
This helps the bars set perfectly and enhances the flavor.
Step 7: Slice and Serve
Once fully chilled, lift the bars out using the parchment paper.
Cut into neat squares and dust with powdered sugar if desired.
Enjoy your tangy, sweet treat!
Lemon Bar Tips for Gooey Centers
Fun Twists for Classic Lemon Bars

How to Serve Lemon Bars at Parties
Storing Lemon Bars Enjoyment
FAQs
Parchment paper helps easily remove lemon bars from the pan without breaking and provides clean, neat slices with minimal effort.
Fresh lemon juice is recommended because it provides brighter flavor and more vibrant citrus notes compared to bottled juice, which can taste flat or artificial.
The filling should look set but slightly jiggly in the center, and the edges will be light golden. When you gently shake the pan, the middle shouldn’t look liquid.
Docking prevents the crust from puffing up during baking and creates small holes that help the crust bake evenly and maintain a flat, stable surface for the lemon filling.
Print
Lemon Bars Recipe
- Total Time: 1 hour
- Yield: 16 1x
Description
Zesty homemade lemon bars showcase bright citrus flavors from Mediterranean lemons. Sweet shortbread crust complements tangy filling, offering you a perfect balance of tart and sweet in each delightful bite.
Ingredients
Main Ingredients:
- 4 large eggs
- 1 cup granulated sugar
- 1/2 cup fresh lemon juice
- 1/2 cup unsalted butter, melted
- 1 tablespoon lemon zest (optional)
Crust Ingredients:
- 1 cup all-purpose flour
- 1/3 cup powdered sugar
- 1/4 teaspoon sea salt
- 1/2 teaspoon vanilla extract
Finishing Ingredient:
- Powdered sugar (for dusting)
Instructions
- Preheat the oven to 350°F and prepare a baking pan by lining it with parchment paper, ensuring complete coverage for easy removal.
- Combine flour, sugar, salt, softened butter, and vanilla in a mixing bowl, blending until a cohesive crumbly dough forms.
- Firmly press the crust mixture evenly into the prepared pan, creating a compact and uniform base.
- Bake the crust for 18-20 minutes, watching for golden-brown edges as an indicator of doneness. Remove from oven and gently dock the surface with a fork to prevent bubbling.
- While the crust bakes, create the filling by whisking together sugar and lemon zest until fragrant, then incorporating flour, eggs, and fresh lemon juice until smooth and well-integrated.
- Pour the lemon filling directly over the hot crust, ensuring even distribution across the surface.
- Return the pan to the oven and bake for 20-25 minutes, monitoring until the filling sets and appears slightly firm with a gentle jiggle in the center.
- Allow the lemon bars to cool completely at room temperature for approximately 1 hour, then transfer to the refrigerator to chill for an additional 2 hours.
- Once fully chilled, lift the bars from the pan using the parchment paper and slice into neat squares for serving.
Notes
- Use room temperature butter for the crust to ensure smooth, even mixing and prevent a crumbly texture.
- Always zest the lemon before juicing to maximize flavor extraction and avoid wasting citrus oils.
- For a gluten-free version, substitute all-purpose flour with almond flour or a gluten-free blend in both crust and filling.
- Dust powdered sugar just before serving to prevent moisture from making the sugar dissolve and look messy.
- Prep Time: 15 minutes
- Cook Time: 45 minutes
- Category: Desserts, Snacks
- Method: Baking
- Cuisine: American
Nutrition
- Serving Size: 16
- Calories: 150
- Sugar: 12 g
- Sodium: 30 mg
- Fat: 7 g
- Saturated Fat: 4 g
- Unsaturated Fat: 2 g
- Trans Fat: 0 g
- Carbohydrates: 20 g
- Fiber: 0 g
- Protein: 2 g
- Cholesterol: 50 mg
Marcus Reed
Founder & Food Content Creator
Expertise
Single-recipe development, Seasonal and local ingredient utilization, Food photography and styling, Culinary writing and content creation
Education
Culinary Arts Certificate, Blue Ridge Community and Technical College, WV
Focus: Fundamentals of culinary techniques, emphasizing hands-on experience in small-scale kitchen settings.
Marcus’s story begins in Asheville, where good food and family kitchens shaped his earliest memories. After hands-on culinary training and a lot of trial (and a little error), he realized that real cooking isn’t about perfection, it’s about connection.
At Pan and Oven, Marcus crafts recipes that are easy to follow, packed with flavor, and built for real kitchens.