Zesty Key-Lime Pie Cream Cheese Mints Recipe for Sweet Smiles
Creamy and delightful key-lime pie cream cheese mints dance between tangy and sweet, promising a delectable treat for any occasion.
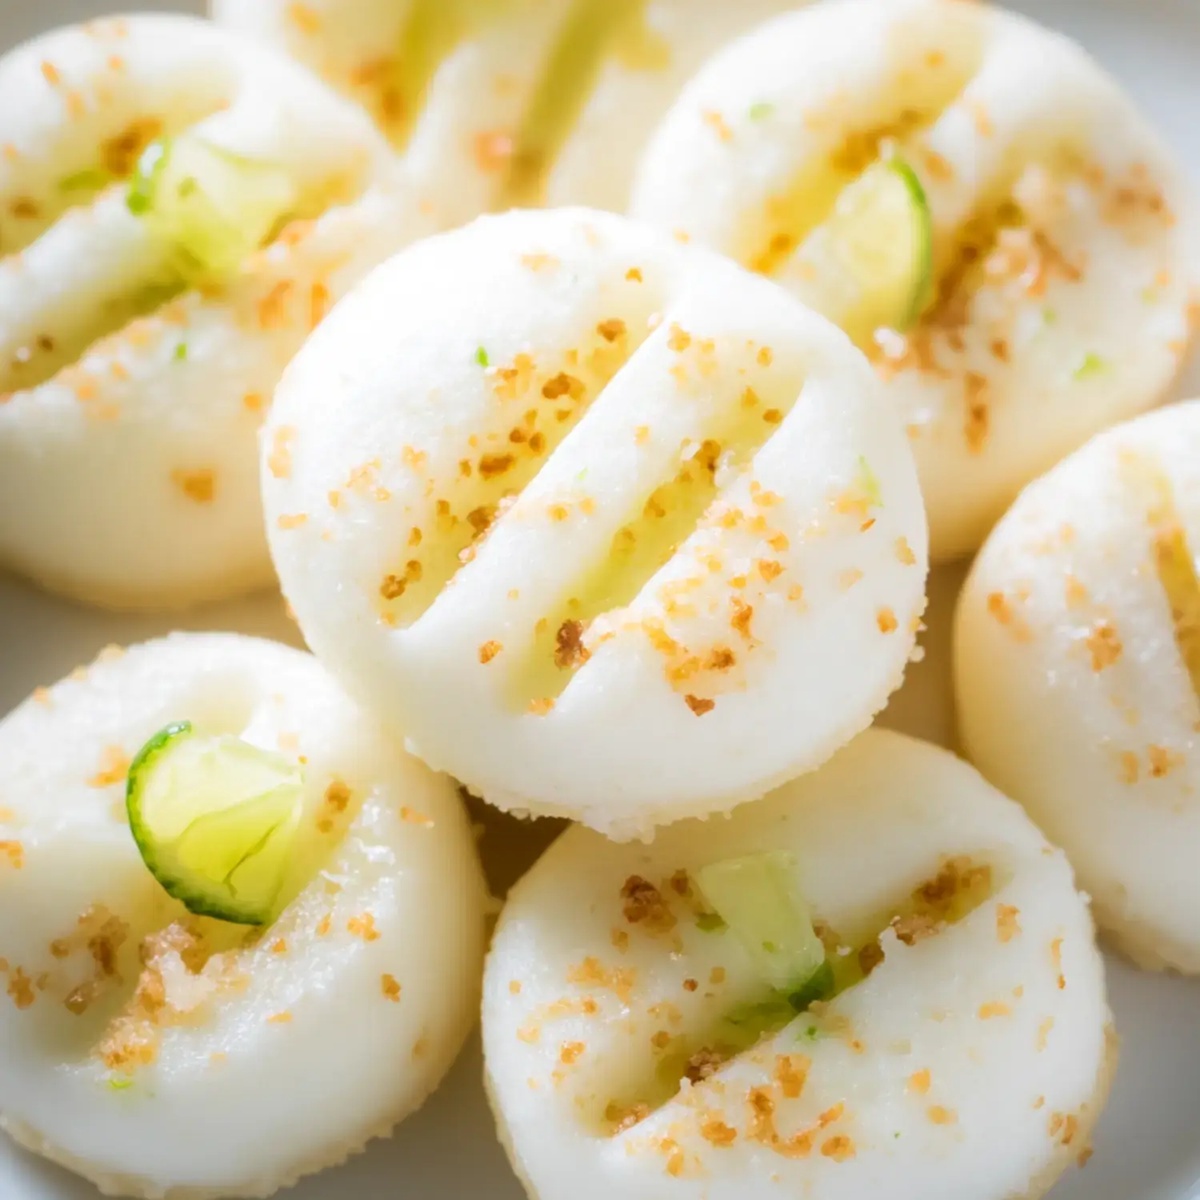
These bite-sized confections blend the zesty essence of key limes with smooth cream cheese.
Soft, melt-in-your-mouth textures make these mints an irresistible dessert or party favor.
Guests will adore the refreshing burst of citrus paired with rich, velvety cream cheese.
Each mint carries a perfect balance of flavors that transport you to a tropical paradise.
Simple ingredients and quick preparation ensure you can whip up these elegant treats in no time.
Serve these charming mints and watch as everyone falls in love with their bright, indulgent charm.
Key Lime Pie Mints Features
Ingredients for Key Lime Pie Mints
Main Ingredients:Flavor Enhancers:Preparation Essentials:Equipment for Key Lime Pie Mints
Making Key Lime Pie Mints
Step 1: Whip Up the Creamy Base
In a spacious mixing bowl, blend softened cream cheese, butter, freshly squeezed lime juice, and vibrant lime zest.
Stir until the ingredients dance together into a smooth, harmonious mixture.
Step 2: Sweeten the Deal
Gradually fold in powdered sugar, adding about half a cup at a time.
Keep mixing until the mixture transforms into a perfect, non-sticky dough that holds its shape beautifully.
Step 3: Roll and Shape
Gently roll the mint mixture into small, delicate balls.
Carefully place each one on a parchment-lined baking sheet, giving them a little breathing room.
Step 4: Create Delightful Texture
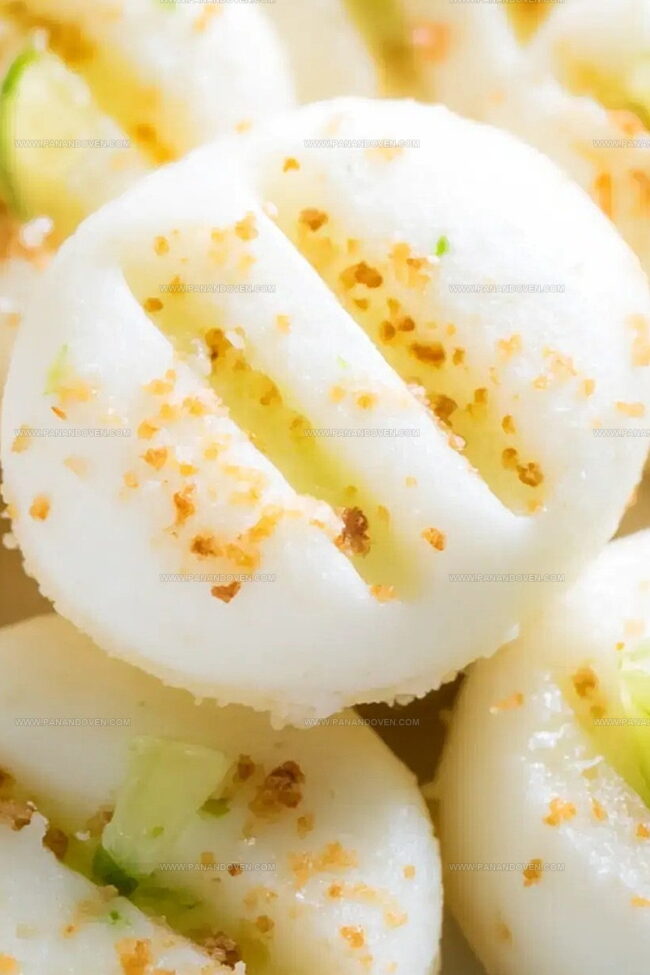
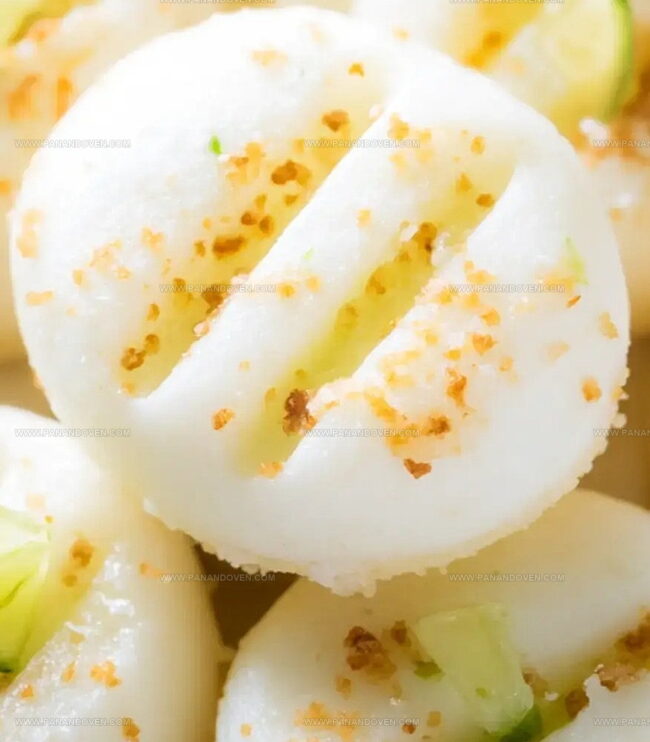
Using a fork, tenderly press down on each mint ball.
Create a classic, elegant pattern by making gentle crisscross marks across the surface.
Step 5: Chill and Enjoy
Slide the baking sheet into the refrigerator and let these zesty mints cool and set for one full hour.
This allows the flavors to mingle and the texture to become perfectly firm.
Tips for Key Lime Pie Mints
Ways to Change Up Key Lime Pie Mints
Serving Key Lime Pie Mints
Storing Key Lime Pie Mints
FAQs
The combination of cream cheese, butter, lime juice, and zest creates a tangy, creamy base that captures the essence of key lime pie in a sweet mint form.
Yes, you can increase or decrease the amount of lime juice and zest to suit your taste preferences, allowing you to control the intensity of the citrus flavor.
No special equipment is required. You just need a mixing bowl, a fork for creating patterns, and a baking sheet lined with parchment paper.
When stored in an airtight container in the refrigerator, these cream cheese mints will typically stay fresh for about a week, maintaining their creamy texture and bright lime flavor.
Print
Key-Lime Pie Cream Cheese Mints Recipe
- Total Time: 1 hour 20 minutes
- Yield: 20 1x
Description
Creamy key lime pie cream cheese mints blend tangy citrus with sweet comfort. Cool mint notes and smooth cream cheese create a delightful dessert treat you’ll savor after meals.
Ingredients
Key Ingredients:
- 4 ounces (113 grams) cream cheese, softened
- 4 cups (480 grams) powdered sugar
Flavor Enhancers:
- 1 tablespoon (15 grams) butter, softened
- 1 teaspoon (5 milliliters) lime juice concentrate
- 1 teaspoon fresh lime zest
Instructions
- In a spacious mixing bowl, blend softened cream cheese, butter, fresh lime juice, and vibrant lime zest until thoroughly incorporated and smooth.
- Gradually fold in powdered sugar, 1/2 cup portions at a time, kneading until a cohesive, non-adhesive dough emerges that holds its shape.
- Roll the mint mixture into uniform, bite-sized spheres approximately 1 inch in diameter, positioning each delicately on a parchment-lined baking sheet.
- Gently imprint each mint sphere with decorative fork tine markings, creating an elegant textured surface.
- Transfer the prepared mints to the refrigerator and allow them to chill for approximately 60 minutes, enabling the treats to firm and develop enhanced flavor complexity.
Notes
- Ensure cream cheese and butter are at room temperature for smooth, lump-free mixing.
- Use fresh lime zest and juice for the most vibrant, tangy flavor profile.
- Adjust powdered sugar gradually to control dough consistency and prevent over-sweetening.
- Store mints in an airtight container in the refrigerator for up to one week, separating layers with parchment paper to prevent sticking.
- Prep Time: 20 minutes
- Cook Time: 1 hour
- Category: Desserts, Snacks
- Method: Refrigerating
- Cuisine: American
Nutrition
- Serving Size: 20
- Calories: 66
- Sugar: 15 g
- Sodium: 12 mg
- Fat: 2 g
- Saturated Fat: 1 g
- Unsaturated Fat: 1 g
- Trans Fat: 0 g
- Carbohydrates: 16 g
- Fiber: 0 g
- Protein: 0 g
- Cholesterol: 5 mg
Clara Thompson
Recipe Developer & Food Educator
Expertise
Plant-based and vegetarian recipe development, Nutritional analysis and meal planning, Culinary education and workshop facilitation, Content writing with a focus on healthy living
Education
Diploma in Culinary Arts, Mt. San Jacinto College, CA
Focus: Comprehensive culinary training with an emphasis on sustainable cooking practices.
Certificate in Nutrition and Healthy Living, Cornell University (Online Program)
Focus: Understanding the principles of nutrition to create balanced and health-conscious recipes.
Clara lives where fresh ideas and fresh ingredients meet. She pairs her culinary know-how with her passion for healthy, planet-friendly cooking.
For Clara, good food should taste great, nourish your body, and feel easy to make. Her recipes highlight whole foods, colorful produce, and a deep respect for seasonal eating.