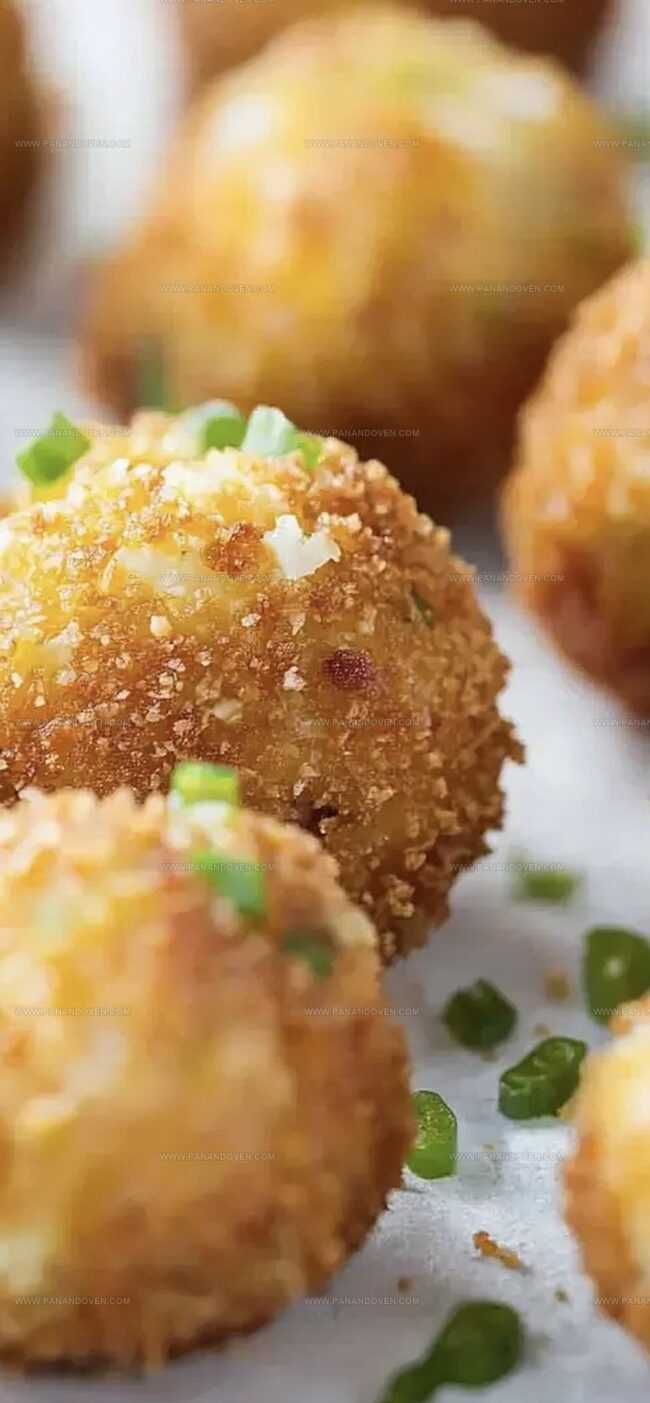
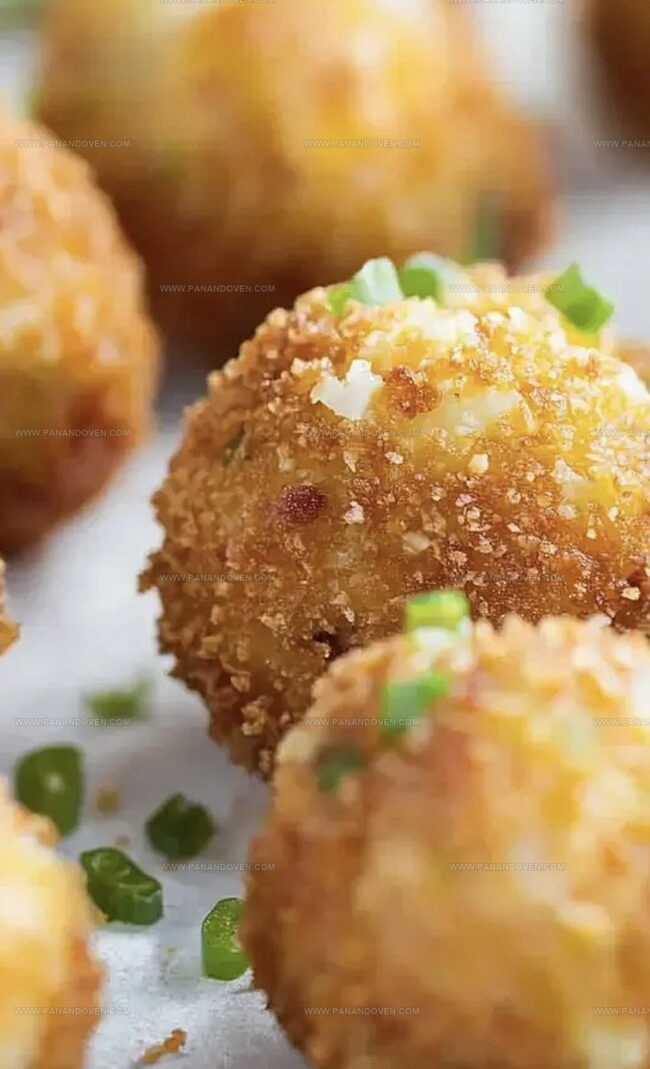
Spicy Jalapeno Popper Bites: The Crowd-Pleasing Recipe
Spice lovers rejoice as these jalapeno popper bites deliver an irresistible blend of heat and creamy goodness.
Every crispy, golden bite packs a punch of bold flavor that dances across your taste buds.
The jalapeno popper bites combine creamy cheese, zesty peppers, and a crunchy exterior that makes them impossible to resist.
Perfectly seasoned and designed to tantalize, these appetizers transform any gathering into a flavor celebration.
Each morsel offers a delightful balance of spicy and smooth textures that will leave you craving more.
Simple ingredients come together to create a mouthwatering snack that everyone will devour in seconds.
Prepare to be the star of your next party with these addictive, crowd-pleasing bites that promise pure deliciousness.
Jalapeno Popper Bites That Pack A Punch
Ingredients To Make Cheesy, Zesty Popper Bites
Cheese Base:Coating Ingredients:Frying Ingredient:The Tools For Jalapeno Popper Bite Perfection
Steps To Spicy, Cheesy Jalapeno Popper Bites
Step 1: Whip Up the Cheesy Filling
Grab a mixing bowl and toss in the shredded Monterey jack cheese, cream cheese, diced jalapenos, and minced garlic.
Give everything a good stir until the ingredients are well-blended and looking deliciously creamy.
Step 2: Shape Tasty Cheese Nuggets
Scoop out small portions of the mixture and roll them into compact little balls.
Gently place each cheese ball onto a parchment-lined baking sheet.
Keep going until you’ve used up all the cheesy goodness.
Step 3: Chill and Firm Up
Pop the cheese balls into the freezer for about 20-30 minutes.
This quick chill helps them hold their shape and makes the coating process much easier.
Step 4: Create Your Coating Station
Set up three separate plates for a smooth coating adventure:Step 5: Roll and Coat with Care
Take each cheese ball on a fun coating journey:Make sure each ball gets a thorough coating at every stage.
Step 6: Heat the Sizzling Oil
Pour oil into a large skillet, filling it about 1/4 inch deep.
Warm it over medium heat until it reaches a toasty 350°F.
Step 7: Fry to Golden Perfection
Carefully drop the coated cheese balls into the hot oil.
Fry them in small batches, turning occasionally, until they transform into beautiful golden-brown nuggets of deliciousness (about 3 minutes).
Step 8: Drain and Serve Immediately
Transfer the crispy bites to a paper towel-lined plate to absorb any extra oil.
Serve these hot, crunchy morsels right away for maximum flavor and excitement.
Pro Hints For Golden, Gooey Popper Bites
Twists And Turns For Jalapeno Popper Bites
Plating Popper Bites For A Crowd
How To Keep Jalapeno Popper Bites Tasting Great
FAQs
Jalapeno popper bites are delicious appetizers made with a creamy cheese mixture of Monterey jack, cream cheese, and jalapenos, coated in a crispy breading and deep-fried until golden brown.
Yes, you can reduce the heat by removing the jalapeno seeds and membranes before chopping, or use fewer jalapenos in the recipe to lower the spice level.
No, you can use a large skillet with about 1/4 inch of oil heated to 350F. Just ensure the oil is at the right temperature for even and crispy frying.
Print
Jalapeno Popper Bites Recipe
- Total Time: 35 minutes
- Yield: 8 1x
Description
Spicy jalapeno popper bites combine creamy cheese and crisp bacon in a mouthwatering appetizer. Guests will crave these irresistible poppers that deliver bold Southwest-inspired flavors you cannot stop eating.
Ingredients
Main Ingredients:
- 3 medium jalapenos, seeded and finely diced
- 1 cup (113 g/4 ounces) Monterey jack cheese, freshly shredded
- 4 ounces (113 g) cream cheese, room temperature
Breading and Seasoning:
- 1/2 cup (62.5 g) all-purpose flour
- 1/4 teaspoon kosher salt
- 1/4 teaspoon pepper
- 2 large eggs, room temperature
- 2 teaspoons water
- 1 cup (108 g) plain bread crumbs
- 1/2 teaspoon garlic powder
- 1/2 teaspoon cayenne pepper
Additional Ingredients:
- 1 teaspoon garlic, minced
- Vegetable or canola oil for frying
Instructions
- In a spacious mixing bowl, thoroughly blend Monterey jack cheese, cream cheese, finely chopped jalapenos, and minced garlic until the mixture becomes uniformly combined.
- Using a tablespoon, carefully craft compact cheese spheres, ensuring each ball is tightly packed and consistent in size. Arrange these spheres on a parchment-lined baking sheet.
- Refrigerate the cheese balls for approximately 25 minutes, allowing them to solidify and maintain structural integrity during coating and frying.
- Create three distinct coating stations: first, whisk flour with salt and pepper; second, beat eggs with water; third, mix bread crumbs with garlic powder and cayenne pepper.
- Methodically coat each cheese ball by first rolling in seasoned flour, then dipping in egg mixture, and finally encrusting with spiced bread crumbs, ensuring complete and even coverage.
- Heat vegetable oil in a large skillet to 350°F, maintaining a consistent medium temperature for optimal frying conditions.
- Carefully introduce cheese balls into hot oil in small batches, rotating periodically to achieve a uniform golden-brown exterior, approximately 3 minutes per batch.
- Remove jalapeno popper bites using a slotted spoon, draining excess oil on paper towels to preserve crispiness, and serve immediately while piping hot.
Notes
- Choose jalapeños with a milder heat by removing seeds and membranes for a gentler spice level that everyone can enjoy.
- Experiment with different cheese combinations like sharp cheddar or pepper jack to create unique flavor profiles and personalize the bites.
- Freeze cheese balls for up to 2 hours before frying to ensure they maintain their shape and prevent cheese from leaking during cooking.
- Create a gluten-free version by substituting regular breadcrumbs with almond flour or gluten-free panko for a crispy, celiac-friendly alternative.
- Prep Time: 20 minutes
- Cook Time: 15 minutes
- Category: Appetizer, Snacks
- Method: Frying
- Cuisine: American
Nutrition
- Serving Size: 8
- Calories: 160
- Sugar: 1 g
- Sodium: 200 mg
- Fat: 10 g
- Saturated Fat: 4 g
- Unsaturated Fat: 5 g
- Trans Fat: 0 g
- Carbohydrates: 12 g
- Fiber: 1 g
- Protein: 6 g
- Cholesterol: 60 mg


Marcus Reed
Founder & Food Content Creator
Expertise
Single-recipe development, Seasonal and local ingredient utilization, Food photography and styling, Culinary writing and content creation
Education
Culinary Arts Certificate, Blue Ridge Community and Technical College, WV
Focus: Fundamentals of culinary techniques, emphasizing hands-on experience in small-scale kitchen settings.
Marcus’s story begins in Asheville, where good food and family kitchens shaped his earliest memories. After hands-on culinary training and a lot of trial (and a little error), he realized that real cooking isn’t about perfection, it’s about connection.
At Pan and Oven, Marcus crafts recipes that are easy to follow, packed with flavor, and built for real kitchens.