Dreamy Homemade Rainbow Ice Cream Recipe for Sweet Smiles
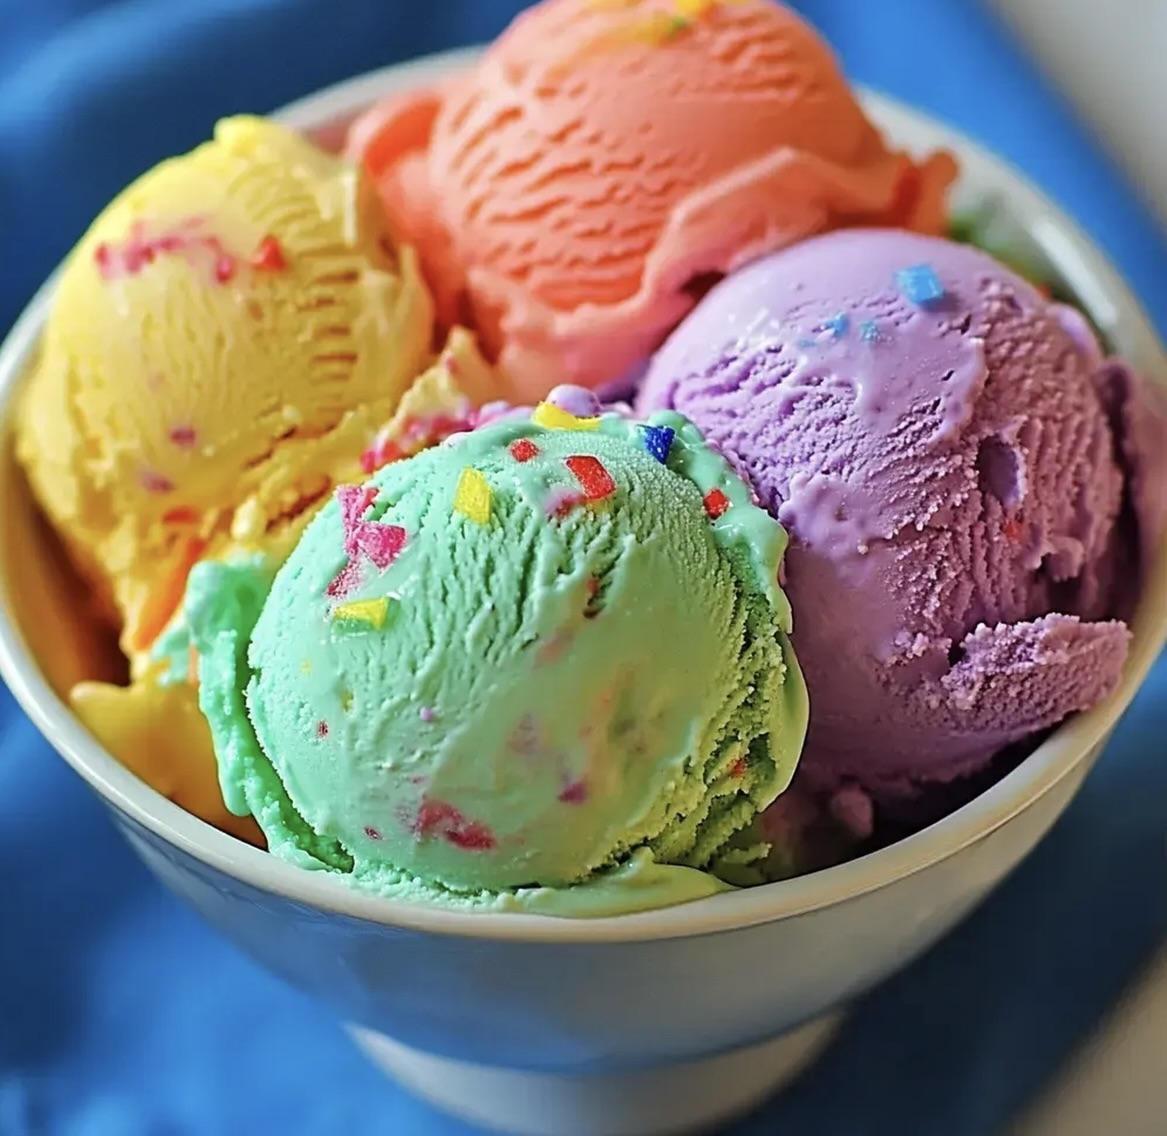
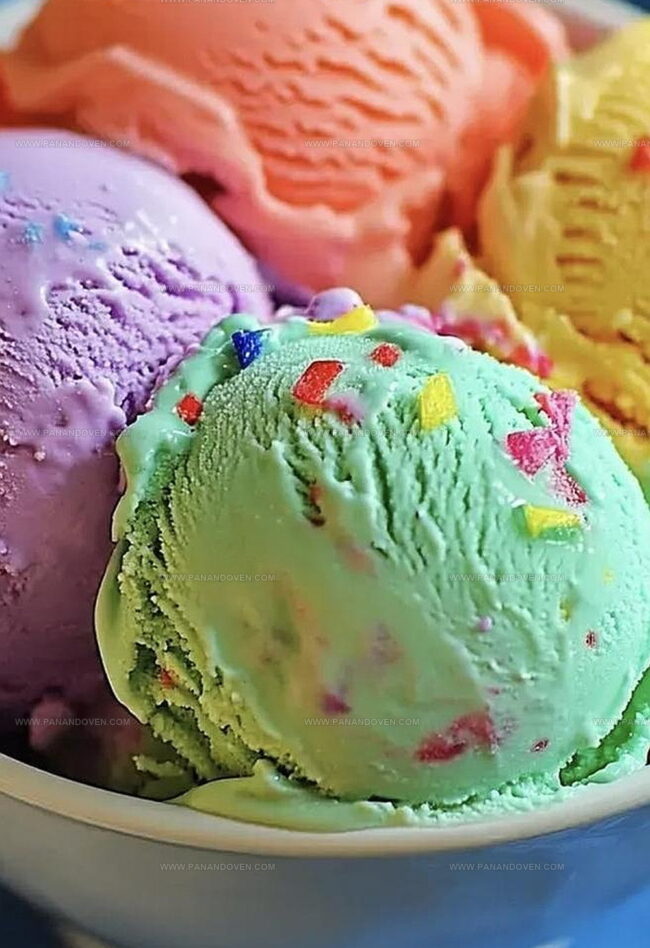
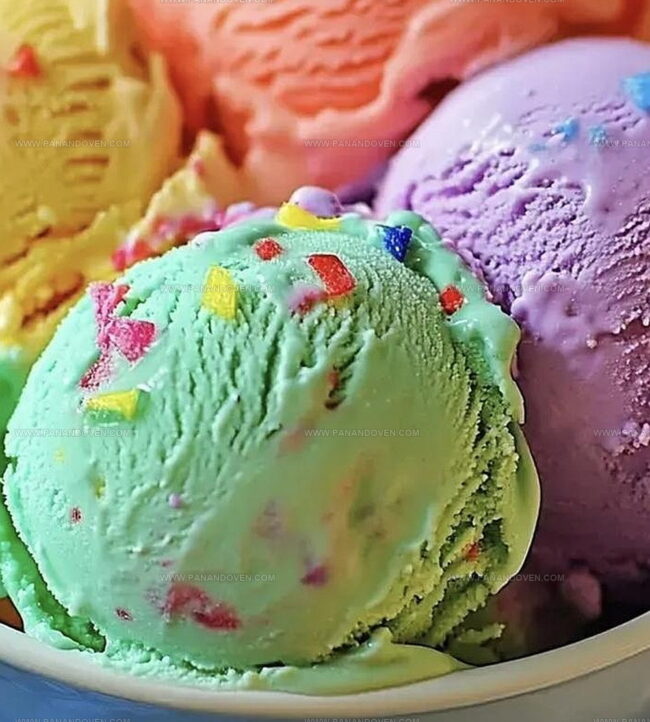
Summers demand cool, vibrant treats that sparkle with color and homemade rainbow ice cream brings pure joy to every scoop.
Creamy, dreamy swirls of bright hues dance together in this delightful dessert that promises instant smiles.
Each colorful layer tells a playful story of sweet indulgence and culinary creativity.
Whipping up this delectable treat requires simple ingredients and a touch of whimsy.
The magic happens when ordinary cream transforms into a spectacular rainbow of flavors that enchant both kids and adults.
Soft, smooth, and absolutely stunning, this ice cream turns ordinary moments into extraordinary memories.
Prepare to dive into a dessert that celebrates summer’s most delicious spectrum.
Why Homemade Rainbow Ice Cream Is So Magical
Ingredients for Swirled Rainbow Ice Cream Bliss
Main Ingredients:Coloring Ingredients:Optional Add-ins:Tools for Churning Up Creamy Rainbow Ice Cream
Easy Steps to Fun Homemade Rainbow Ice Cream
Step 1: Create The Creamy Base
Grab a big mixing bowl and whisk together these magical ingredients:Blend everything until the sugar completely melts and the mixture looks smooth and dreamy.
Your ice cream foundation is ready to rock!
Step 2: Chill The Mixture
Pop the bowl into the refrigerator and let it cool down for about 2 hours.
This chilling time helps create that super smooth texture we all love in homemade ice cream.
Step 3: Prepare Color Stations
Once chilled, split your creamy mixture into separate bowls – one for each rainbow color you want to create.
Think red, orange, yellow, green, blue, and purple!
Step 4: Paint With Colors
Time to transform your white base into a vibrant rainbow:Add a few drops of color to each bowl and stir until you get those eye-popping shades.
Feel free to mix colors and get creative!
Step 5: Churn The Ice Cream
If you have an ice cream maker:
Churn each color separately following the machine’s instructions.
Pour each colored batch into a freezer-safe container, creating beautiful layers.
If you don’t have a machine:
Pour colors into shallow dishes, freeze for 45 minutes, then stir vigorously.
Repeat freezing and stirring every 30 minutes until smooth.
Step 6: Layer And Swirl
Carefully pour each color into your container, creating stunning rainbow layers.
For extra pizzazz, use a knife to create gentle swirls between colors.
Step 7: Final Freeze
Cover your container and let the ice cream set in the freezer for at least 4 hours or overnight.
This ensures perfect scooping consistency.
Step 8: Scoop And Celebrate
Pull out your colorful creation and scoop into bowls or cones.
Tips for Extra Creamy and Colorful Ice Cream
Flavor Variations to Customize Your Rainbow Ice Cream
Fun Ways to Serve Rainbow Ice Cream Scoops
Storing Rainbow Ice Cream for Repeat Treats
FAQs
You’ll need heavy cream, milk, sugar, and vanilla extract. These simple ingredients create a rich, creamy foundation for your colorful dessert.
Yes! If you don’t have an ice cream maker, you can use the manual freezing method. Pour each colored mixture into a shallow dish, freeze for 45 minutes, then stir vigorously with a fork to break up ice crystals. Repeat this process every 30 minutes until the ice cream is smooth.
Typically, you can use 4-6 colors to create a vibrant rainbow look. Common colors include red, orange, yellow, green, blue, and purple. Feel free to experiment with different color combinations that appeal to you.
Print
Homemade Rainbow Ice Cream Recipe
- Total Time: 6 hours 30 minutes
- Yield: 4 1x
Description
Creamy homemade rainbow ice cream delights dessert enthusiasts with its colorful swirls and playful charm. Smooth layers of pastel hues promise a joyful treat you’ll savor with pure culinary excitement.
Ingredients
Dairy:
- 2 cups heavy cream
- 1 cup whole milk
Sweeteners and Flavoring:
- 3/4 cup granulated sugar
- 2 teaspoons vanilla extract
Coloring:
- Food coloring (red, orange, yellow, green, blue, and purple)
Instructions
- Whisk heavy cream, milk, sugar, and vanilla extract in a large bowl until sugar dissolves completely, creating a smooth, creamy base for the ice cream.
- Refrigerate the mixture for 2 hours, ensuring the base is thoroughly chilled to improve churning and texture quality.
- Separate the chilled base into multiple smaller bowls, preparing for individual color treatments.
- Introduce food coloring to each bowl, stirring carefully to achieve vibrant, distinct rainbow hues. Adjust color intensity as desired.
- For ice cream maker method: Churn each colored base separately according to manufacturer’s instructions. Carefully layer colors in a freezer-safe container, creating a striking rainbow pattern. Optional: Create a marbled effect by gently swirling colors with a knife.
- For no-machine method: Pour colored bases into shallow dishes. Freeze for 45 minutes, then vigorously stir with a fork to prevent ice crystal formation. Repeat freezing and stirring every 30 minutes until creamy.
- Transfer layered ice cream to a container, ensuring colors are beautifully arranged. Freeze for 4-6 hours or overnight until firm and perfectly scoopable.
- Serve the vibrant, multi-colored ice cream in bowls or cones, presenting a delightful and eye-catching dessert that promises to bring joy and excitement to any occasion.
Notes
- Stabilize the base by using a pinch of cornstarch to prevent ice crystals and ensure a smoother texture.
- Choose gel food coloring for more vibrant colors that won’t water down the ice cream mixture.
- Experiment with natural food colorings like beet juice, matcha, or spirulina for a healthier alternative to artificial dyes.
- Create a dairy-free version by substituting coconut milk or almond milk for the cream and milk, maintaining the same creamy consistency.
- Prep Time: 30 minutes
- Cook Time: 6 hours
- Category: Desserts, Snacks
- Method: Freezing
- Cuisine: American
Nutrition
- Serving Size: 4
- Calories: 400
- Sugar: 18g
- Sodium: 50mg
- Fat: 30g
- Saturated Fat: 18g
- Unsaturated Fat: 10g
- Trans Fat: 0g
- Carbohydrates: 33g
- Fiber: 0g
- Protein: 4g
- Cholesterol: 110mg
Marcus Reed
Founder & Food Content Creator
Expertise
Single-recipe development, Seasonal and local ingredient utilization, Food photography and styling, Culinary writing and content creation
Education
Culinary Arts Certificate, Blue Ridge Community and Technical College, WV
Focus: Fundamentals of culinary techniques, emphasizing hands-on experience in small-scale kitchen settings.
Marcus’s story begins in Asheville, where good food and family kitchens shaped his earliest memories. After hands-on culinary training and a lot of trial (and a little error), he realized that real cooking isn’t about perfection, it’s about connection.
At Pan and Oven, Marcus crafts recipes that are easy to follow, packed with flavor, and built for real kitchens.