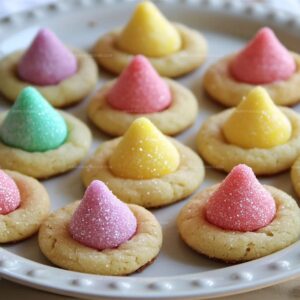
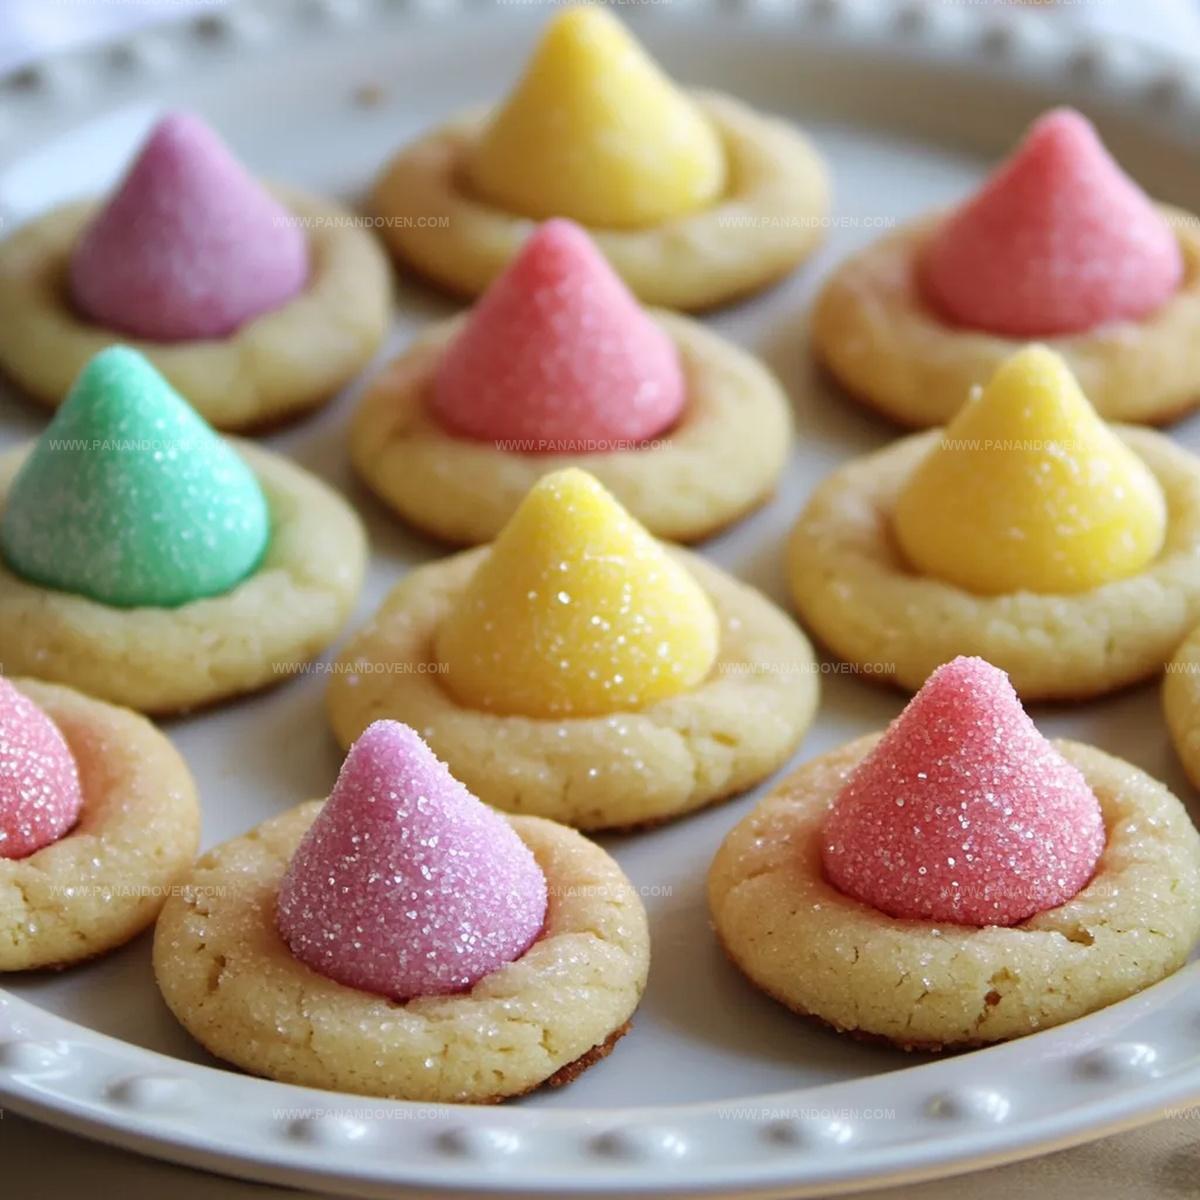
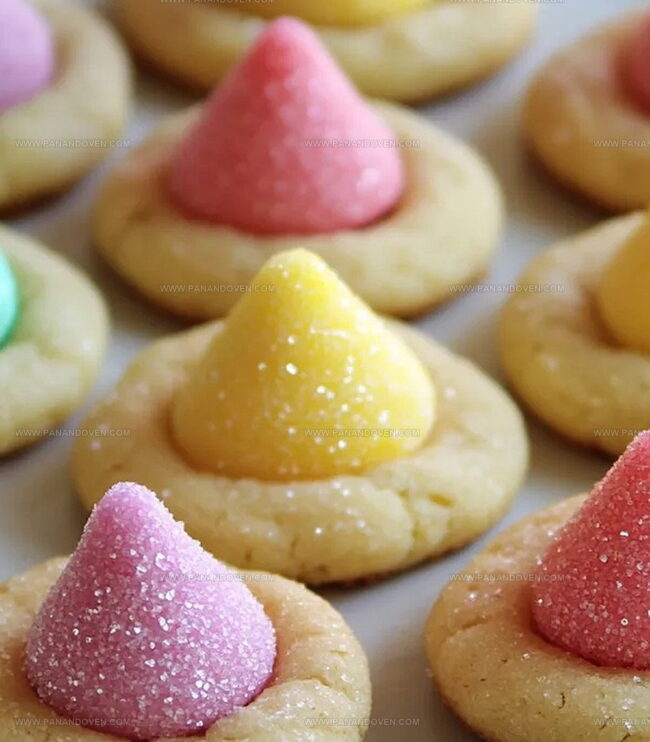
Soft & Sweet Hershey Kiss Cookies Recipe for Holiday Magic
Sweet chocolate kiss cookies blend comfort and nostalgia into every delectable bite.
These Hershey kiss cookies combine simple ingredients with pure delight.
Soft, buttery dough wraps around rich chocolate kisses, creating a melt-in-your-mouth experience.
Bakers of all skill levels can master this classic treat with ease.
Perfect for holiday gatherings or afternoon snacking, these cookies bring warmth to any kitchen.
Whip up a batch and watch smiles spread faster than melted chocolate.
Indulge in a timeless recipe that promises sweet memories with every crisp, chocolatey morsel.
Why Hershey Kiss Cookies Are So Popular
Ingredients That Make Hershey Kiss Cookies Shine
Main Ingredients:Binding Ingredients:Finishing Ingredients:Supplies and Tools for Hershey Kiss Cookies
Instructions for Making Soft Hershey Kiss Cookies
Step 1: Warm Up The Oven
Crank the oven to 375F and grab a baking sheet.
Line it with parchment paper to keep things smooth.
Unwrap those Hershey’s Kisses and set them nearby – they’ll be the star of the show later.
Step 2: Create Creamy Base
Grab a big mixing bowl and whip together sugar and softened butter until they look light and fluffy like a cloud.
Crack in the egg and splash of vanilla, then blend until everything looks silky and combined.
Step 3: Combine Dry Ingredients
In a separate bowl, mix flour and baking soda with a quick whisk.
Slowly fold this powdery mix into your wet ingredients, stirring until a soft, tender dough forms.
Step 4: Roll and Coat Cookies
Use your hands to roll the dough into cute little balls, each about the size of a golf ball.
Dance these balls around in colorful sanding sugar until they’re totally covered in sparkly sweetness.
Place them on the baking sheet with some breathing room between each cookie.
Step 5: Bake Until Perfect
Slide the tray into the hot oven and bake for exactly 7 minutes.
You want them set but not turning brown – think golden and delicate.
Step 6: Kiss and Press
The moment they come out of the oven, quickly press a Hershey’s Kiss right in the center of each warm cookie.
The heat will help the chocolate stick perfectly.
Step 7: Let Them Chill
Leave the cookies right on the baking sheet until they cool completely.
This helps the chocolate Kisses firm up and keeps everything looking beautiful.
Cookie Tips for Perfect Hershey Kiss Centers
Variations to Try with Hershey Kiss Cookies
Presentation and Serving Ideas for Kiss Cookies
How to Keep Hershey Kiss Cookies Fresh
FAQs
The combination of softened butter, sugar, egg, vanilla, flour, and baking soda creates a tender, sweet base. Rolling the cookies in colorful sanding sugar adds a sparkling, crunchy texture, while the Hershey’s Kiss provides a rich chocolate finish.
Yes! You can prepare the cookie dough in advance and refrigerate it for up to 3 days. When ready to bake, let the dough sit at room temperature for 15-20 minutes to soften before rolling and baking.
Press the Kiss into the warm cookie immediately after baking, but let the cookies cool completely on the baking sheet. This allows the chocolate to set without fully melting and helps maintain the Kiss’s shape.
Print
Hershey Kiss Cookies Recipe
- Total Time: 27 minutes
- Yield: 24 1x
Description
Hershey kiss cookies blend chocolate and peanut butter into classic holiday magic. Sweet morsels nestle atop tender cookie bases, creating irresistible treats you cannot resist.
Ingredients
Main Ingredients:
- 2 1/4 cups (270 grams) all-purpose flour
- 1 cup (200 grams) sugar
- 3/4 cup (170 grams) salted butter, softened to room temperature
- 1 egg
Cookie Enhancers:
- 1 teaspoon vanilla extract
- 1 teaspoon baking soda
Decoration:
- 24 Hershey’s Kisses chocolates, unwrapped
- Bright colored sanding sugar (any festive colors you prefer)
Instructions
- Prepare the oven environment by heating to 375°F and lining a baking sheet with parchment paper for optimal non-stick performance. Unwrap Hershey’s Kisses in advance for seamless cookie assembly.
- Cream sugar and softened butter in a large mixing bowl until achieving a light, airy texture. Incorporate egg and vanilla, blending until the mixture becomes smooth and homogeneous.
- In a separate bowl, combine flour and baking soda through careful whisking. Gradually integrate the dry ingredients into the wet mixture, stirring until a cohesive, soft dough forms.
- Craft uniform dough balls approximately 1-inch in diameter using gentle hand rolling. Completely coat each ball in vibrant sanding sugar, positioning them strategically on the prepared baking sheet with adequate spacing.
- Transfer the cookie-laden sheet into the preheated oven, baking precisely 7 minutes until cookies appear set but not discolored.
- Immediately after removing from the oven, swiftly press an unwrapped Hershey’s Kiss into the center of each warm cookie. The residual heat will slightly melt the Kiss’s base, ensuring secure placement.
- Allow cookies to cool completely on the baking sheet, permitting the Hershey’s Kisses to re-solidify and prevent potential chocolate smearing during transfer.
Notes
- Choose room-temperature ingredients for smoother mixing and better cookie texture.
- Chill the dough for 30 minutes before rolling to prevent spreading and create more defined cookie shapes.
- For gluten-free version, swap wheat flour with almond or gluten-free blend, ensuring equal measurements.
- When pressing Hershey Kisses, use gentle pressure to avoid cracking the warm cookie base.
- Prep Time: 20 minutes
- Cook Time: 7 minutes
- Category: Desserts, Snacks
- Method: Baking
- Cuisine: American
Nutrition
- Serving Size: 24
- Calories: 150
- Sugar: 6 g
- Sodium: 120 mg
- Fat: 7 g
- Saturated Fat: 4 g
- Unsaturated Fat: 3 g
- Trans Fat: 0 g
- Carbohydrates: 22 g
- Fiber: 0 g
- Protein: 1 g
- Cholesterol: 20 mg


Clara Thompson
Recipe Developer & Food Educator
Expertise
Plant-based and vegetarian recipe development, Nutritional analysis and meal planning, Culinary education and workshop facilitation, Content writing with a focus on healthy living
Education
Diploma in Culinary Arts, Mt. San Jacinto College, CA
Focus: Comprehensive culinary training with an emphasis on sustainable cooking practices.
Certificate in Nutrition and Healthy Living, Cornell University (Online Program)
Focus: Understanding the principles of nutrition to create balanced and health-conscious recipes.
Clara lives where fresh ideas and fresh ingredients meet. She pairs her culinary know-how with her passion for healthy, planet-friendly cooking.
For Clara, good food should taste great, nourish your body, and feel easy to make. Her recipes highlight whole foods, colorful produce, and a deep respect for seasonal eating.