Create Irresistible Hearty Bread Bowls: A Homestyle Recipe
Comfort arrives in a delightful package with these incredible bread bowls recipe that cradle rich, creamy soups like a warm embrace.
Crusty on the outside and soft within, these homemade bread bowls promise a dining experience that elevates any meal from ordinary to extraordinary.
Bakers of all skill levels can master this simple yet impressive technique with just a few basic ingredients.
The golden-brown exterior provides a perfect vessel for hearty stews, chowders, or creamy vegetable soups.
Crafting these edible containers transforms an everyday soup into a memorable culinary adventure.
Each bread bowl becomes a personal serving that delights both the eyes and the palate.
Prepare to savor every delicious spoonful in a bread bowl that’s as much a treat as the soup inside.
Hearty Bread Bowls The Soup Lover’s Dream
Ingredients for Homemade Bread Bowls
Bread Base:Wet Ingredients:Activation and Flavor Enhancers:Equipment for Shaping and Baking Bread Bowls
Steps for Making Sturdy Bread Bowls
Step 1: Activate Yeast Mixture
In a large mixing bowl, combine warm milk, yeast, and sugar.
Gently stir and let the mixture sit until it becomes foamy and bubbly, which typically takes about 5-10 minutes.
This process awakens the yeast and prepares it for creating a delightful rise in your bread.
Step 2: Create Dough Magic
Add to the yeast mixture:Knead the ingredients thoroughly for 8 minutes until the dough becomes smooth and elastic.
The kneading process develops gluten and ensures a perfect texture for your bread bowls.
Step 3: First Dough Rise
Allow the dough to rise in a warm, draft-free area for 1.5 hours until it doubles in size.
For enhanced flavor, you can alternatively let it rise slowly in the refrigerator for 8-24 hours, which develops deeper, more complex taste notes.
Step 4: Shape Bread Bowls
Divide the dough into 6 equal pieces.
Carefully shape each piece into a tight, round ball by tucking edges underneath.
Place the balls on a baking sheet and let them rise for another hour.
Just before baking, score the tops with a sharp knife to create an artisan look.
Step 5: Bake to Golden Perfection
Preheat the oven to 425°F.
Place a small pan of ice cubes on the bottom rack to create steam.
Bake the bread bowls for 25-28 minutes until they turn a beautiful golden brown.
The steam helps create a crispy, glossy exterior.
Step 6: Cool and Serve
Remove bread bowls from the oven and let them cool on a wire rack.
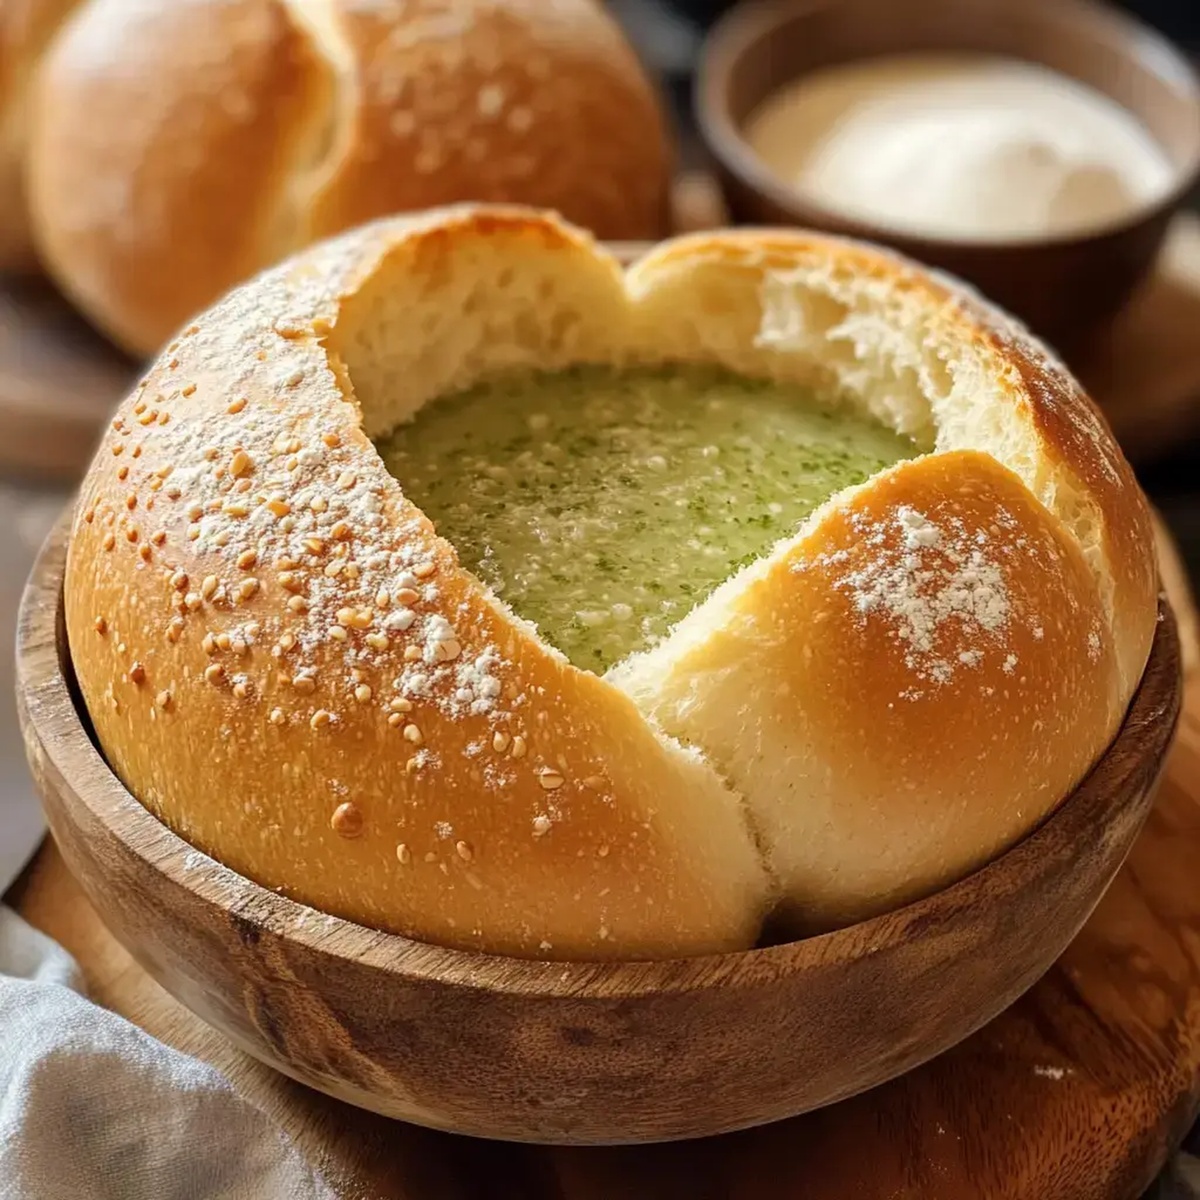
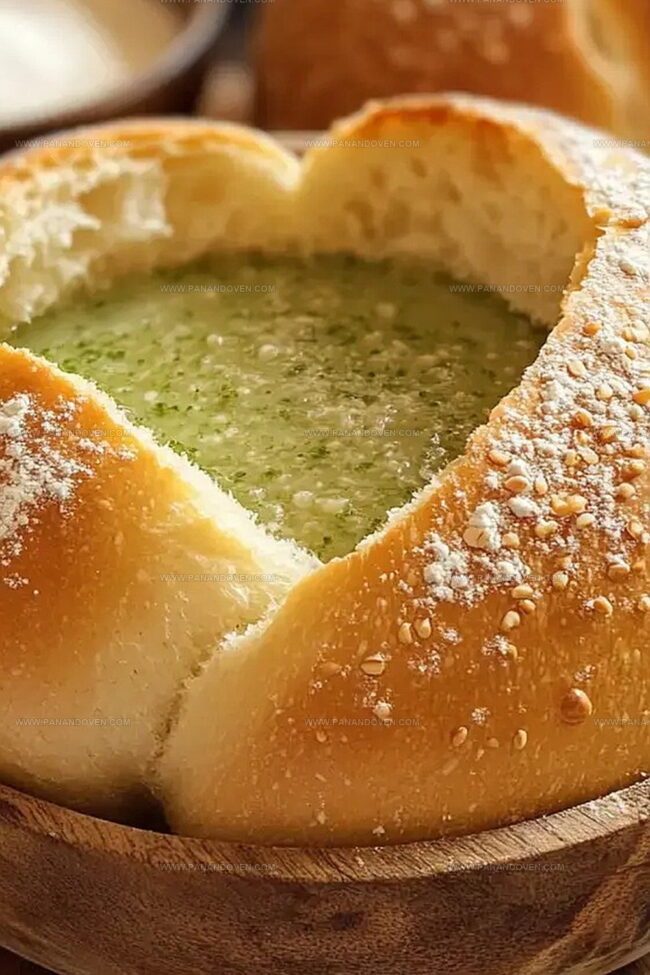
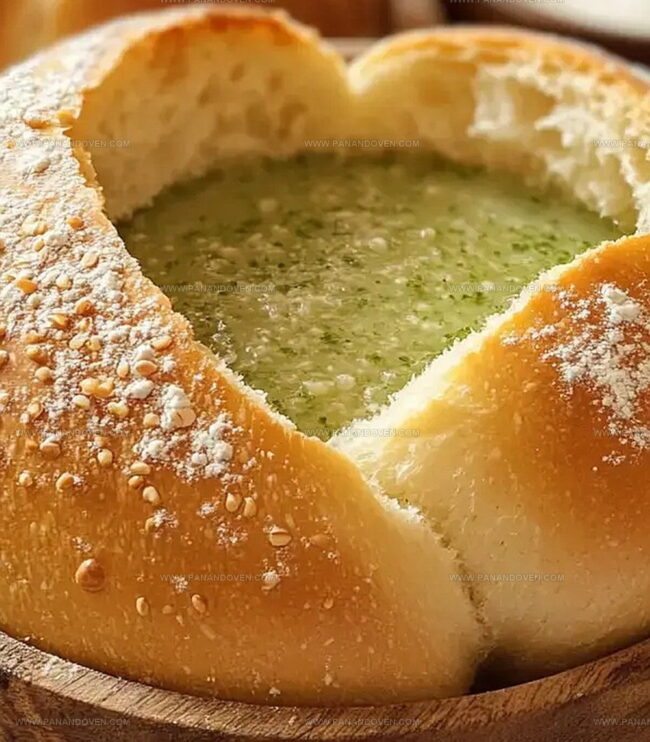
Once cooled, they’re ready to be hollowed out and filled with your favorite soups, stews, or creamy dishes.
Pro Tips for Soup Ready Bread Bowls
Ideas for Filling Bread Bowls Beyond Soup
Serving Up Bread Bowls for Meals
Soup Sanctuary: Serve these bread bowls brimming with creamy clam chowder, hearty beef stew, or classic tomato soup for a comforting meal that transforms dinner into a cozy experience.
Breakfast Twist: Crack a perfectly poached egg inside the warm bread bowl, top with crispy bacon bits and fresh chives for a stunning morning breakfast that elevates standard morning fare.
Party Presentation: Create a bread bowl buffet by filling each bowl with different dips like spinach artichoke, hummus, or French onion – perfect for gatherings and allowing guests to customize their appetizer adventure.
Salad Surprise: Fill these rustic bread bowls with fresh summer salads like Greek cucumber salad or southwest chicken salad, turning a simple side into a delightful handheld meal.
Keeping Bread Bowls Fresh and Soft
FAQs
This recipe requires intermediate baking skills. You’ll need experience with yeast doughs, kneading techniques, and understanding proofing processes.
Yes, you can mix bread flour with whole wheat flour or all-purpose flour. Just maintain the total flour measurement to ensure proper texture and rise.
Ensure your yeast is fresh and active. Check water temperature (too hot kills yeast, too cold prevents activation). Warm environment helps dough rise effectively.
Scoring helps control bread expansion during baking, creates attractive patterns, and prevents uneven rising. Use a sharp knife or razor blade for clean cuts.
Print
Hearty Bread Bowls Recipe
- Total Time: 2 hours 38 minutes
- Yield: 4 1x
Description
Comforting bread bowls filled with rich potato soup spotlight classic comfort cuisine from France. Rustic serving vessels invite diners to enjoy warm, creamy goodness while connecting with traditional culinary craftsmanship.
Ingredients
Main Ingredients:
- 4.5 cups bread flour
- 0.5 cups whole wheat flour
- 2.25 cups milk (warmed)
Leavening and Flavoring:
- 1 tablespoon instant yeast
- 1 tablespoon sugar
- 1 tablespoon salt
Additional Ingredients:
- 1 tablespoon olive oil
Instructions
- Activate yeast by whisking warm milk, yeast, and sugar in a large mixing bowl. Allow the mixture to become frothy and develop a soft, foamy texture.
- Incorporate olive oil and salt into the yeast mixture, then gradually fold in bread and whole wheat flours. Knead the dough thoroughly for 8 minutes until smooth and elastic.
- Cover the dough with a clean kitchen towel and let it rise in a warm environment for approximately 1.5 hours, or until the volume doubles. Alternatively, refrigerate the dough for 8-24 hours to enhance flavor complexity.
- Divide the risen dough into 6 equal portions. Carefully shape each piece into compact, taut spherical forms using gentle rolling motions.
- Place the shaped dough balls on a parchment-lined baking sheet. Allow them to proof for 1 hour, enabling further expansion and developing a light texture.
- Using a sharp knife, delicately score the top of each bread bowl to create an attractive pattern and facilitate even rising.
- Preheat the oven to 425°F. Place a few ice cubes on the bottom of the oven to create steam, which promotes a crisp exterior.
- Bake the bread bowls for 25-28 minutes, rotating the tray midway to ensure uniform golden-brown coloration and consistent texture.
Notes
- Cold milk straight from the fridge can kill yeast, so always use warm milk around 110°F for perfect activation.
- Proofing in the refrigerator develops deeper, more complex bread flavors and improves overall texture.
- For gluten-free variations, replace wheat flour with a blend of gluten-free alternatives like rice flour and xanthan gum.
- Scoring the tops allows steam to escape and creates beautiful, professional-looking bread bowl designs with crispy exterior edges.
- Prep Time: 2 hours 10 minutes
- Cook Time: 28 minutes
- Category: Lunch, Dinner, Appetizer
- Method: Baking
- Cuisine: American
Nutrition
- Serving Size: 4
- Calories: 290
- Sugar: 1 g
- Sodium: 550 mg
- Fat: 4.5 g
- Saturated Fat: 0.5 g
- Unsaturated Fat: 4 g
- Trans Fat: 0 g
- Carbohydrates: 56 g
- Fiber: 2 g
- Protein: 9 g
- Cholesterol: 0 mg
Clara Thompson
Recipe Developer & Food Educator
Expertise
Plant-based and vegetarian recipe development, Nutritional analysis and meal planning, Culinary education and workshop facilitation, Content writing with a focus on healthy living
Education
Diploma in Culinary Arts, Mt. San Jacinto College, CA
Focus: Comprehensive culinary training with an emphasis on sustainable cooking practices.
Certificate in Nutrition and Healthy Living, Cornell University (Online Program)
Focus: Understanding the principles of nutrition to create balanced and health-conscious recipes.
Clara lives where fresh ideas and fresh ingredients meet. She pairs her culinary know-how with her passion for healthy, planet-friendly cooking.
For Clara, good food should taste great, nourish your body, and feel easy to make. Her recipes highlight whole foods, colorful produce, and a deep respect for seasonal eating.