Spooky & Fun Halloween Mummy Meatballs Recipe
Spooky season calls for haunting Halloween mummy meatballs that will send delightful chills down dinner guests’ spines.
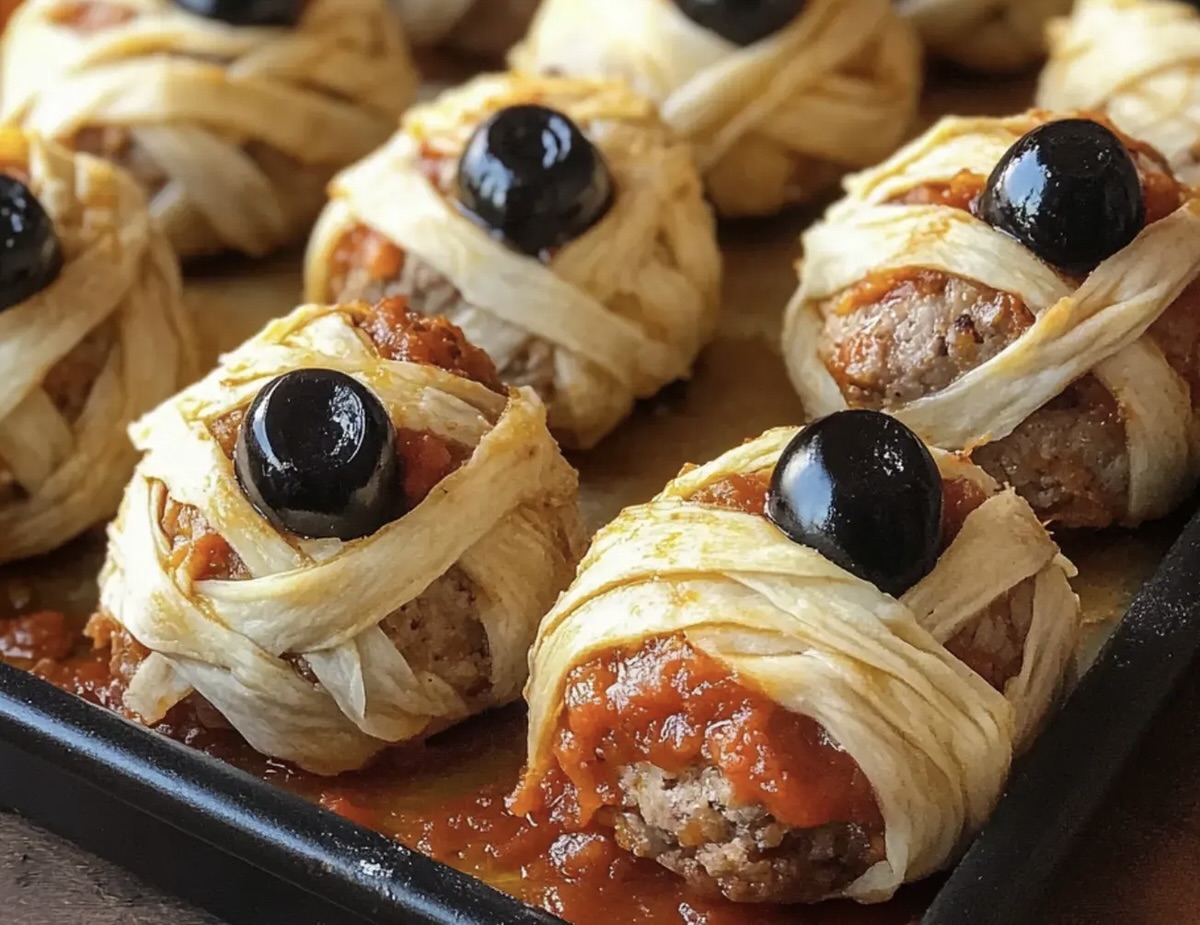
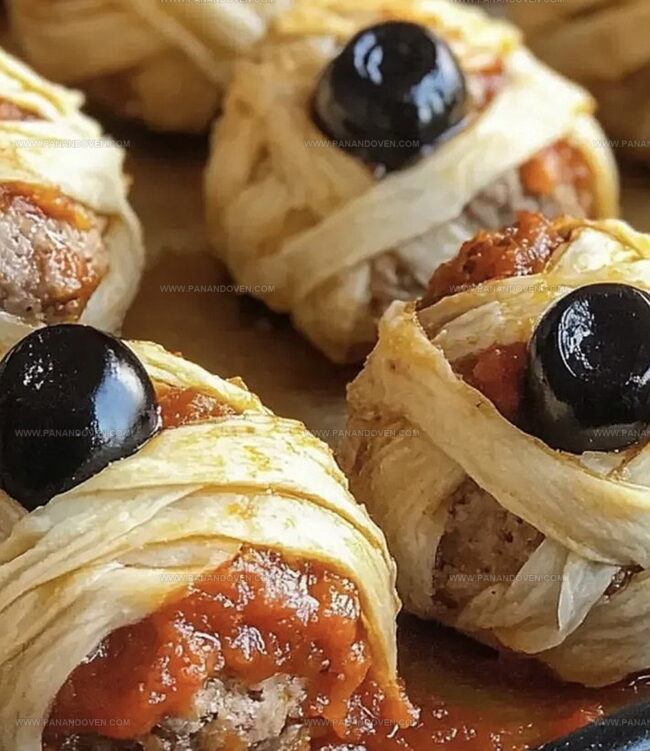
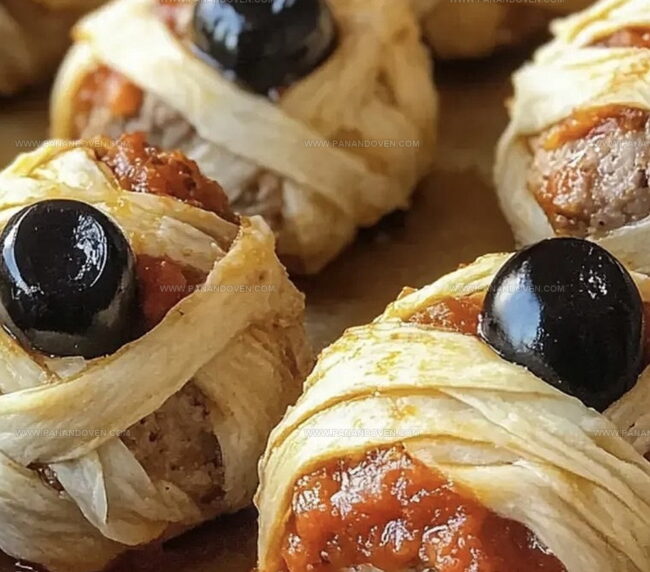
These creepy-cute bites wrap tender, juicy meatballs in delicate strips of cheese-laden pastry.
Playful and perfectly seasoned, each meatball transforms into a ghoulish character ready to frighten and delight.
Crisp white bandages drape dramatically over savory meat, creating an edible masterpiece that sparks conversation.
The combination of rich meat and flaky pastry makes these meatballs an irresistible Halloween party centerpiece.
Every bite promises a blend of festive fun and delicious flavor that will enchant both kids and adults.
Unleash your inner culinary monster and make these spine-tingling treats that are sure to become a seasonal favorite.
Halloween Mummy Meatballs Spooky Party Snack Reasons
Mummy Meatball Ingredients for Halloween Fun
Main Protein:Wrap Ingredient:Decoration and Garnish:Tools to Craft Spooky Meatball Mummies
Step by Step Halloween Mummy Meatballs
Step 1: Preheat The Oven
Turn on your oven and set the temperature to 375 degrees Fahrenheit.
This will ensure your mummy meatballs cook evenly and become perfectly golden.
Step 2: Prepare Crescent Dough
Unroll the crescent roll dough and carefully slice each rectangular piece into thin strips.
Your goal is to create about 10 long, skinny strips from each rectangle.
These strips will become the mummy’s wrapping.
Step 3: Dress Meatballs In Dough Bandages
Take each frozen meatball and gently wrap the dough strips around it in a crisscross pattern.
Make sure to leave a small space open near the top, which will be perfect for creating spooky eyes later.
The strips should look slightly uneven and messy, just like real mummy bandages.
Step 4: Position On Baking Sheet
Place the wrapped meatballs on a clean baking sheet.
Space them slightly apart so they have room to bake and become crispy.
Step 5: Bake Until Golden
Slide the baking sheet into the preheated oven.
Bake for 15-20 minutes, watching carefully until the crescent dough turns a beautiful golden brown color.
Step 6: Create Creepy Eyes
Once baked, take black olives and slice them in half.
Carefully position these olive halves in the small spaces you left earlier to create realistic mummy eyes.
Step 7: Serve With Spooky Sauce
Transfer the mummy meatballs to a serving platter and place a bowl of marinara sauce nearby for dipping.
Your creepy, delicious Halloween appetizer is ready to enjoy!
Meatball Tips for Scary Good Results
Mummy Meatball Variations for Creative Spooks
Serving Meatballs at Halloween Gatherings
Storing Halloween Meatballs Until Party Time
FAQs
Yes! Kids can help wrap the meatballs with crescent roll strips and place olive eyes, making it a fun Halloween cooking activity.
No special cooking skills required. The recipe is straightforward and perfect for beginners who want to make a festive appetizer.
Absolutely! Homemade or store-bought frozen meatballs work great. Just ensure they’re pre-cooked before wrapping.
The crescent roll dough strips wrapped around the meatballs create a bandage-like appearance, and the olive eyes complete the spooky mummy look.
Print
Halloween Mummy Meatballs Recipe
- Total Time: 35 minutes
- Yield: 4 1x
Description
Spooky halloween mummy meatballs combine ground beef, breadcrumbs, and seasonal spices for a festive dinner. Wrapped in crispy pastry strips and adorned with olive eyes, these playful bites will delight guests at any Halloween gathering.
Ingredients
Main Protein:
- 1 package frozen meatballs (about 14–16 meatballs)
Bread Wrap:
- 1 can crescent roll dough
Garnish and Serving:
- Black olives
- Marinara sauce
Instructions
- Warm the oven to 375°F, creating an ideal environment for transforming ordinary meatballs into spooky culinary creations.
- Unroll the crescent roll dough and slice each rectangle into thin, elongated strips, targeting approximately 10 delicate strips per rectangle.
- Envelop each frozen meatball with the dough strips, strategically wrapping them to mimic mummy-like bandages while intentionally leaving small openings for ghostly eyes.
- Position the wrapped meatballs carefully on a clean baking sheet, ensuring they are evenly spaced for consistent heating.
- Transfer the baking sheet to the preheated oven and allow the meatballs to roast for 15-20 minutes, watching for the crescent dough to transform into a golden, crispy exterior.
- After removing from the oven, slice black olives in half and delicately place them within the reserved gaps, crafting haunting “eyes” that bring the mummy meatballs to life.
- Present the meatball mummies immediately while warm, accompanied by a side of marinara sauce for an interactive and playful dipping experience.
Notes
- Carefully slice crescent roll dough into thin, even strips to ensure consistent wrapping and an authentic mummy-like appearance.
- Slightly stretch the dough strips while wrapping to create a more realistic bandage effect and prevent gaps.
- Use pre-cooked frozen meatballs to guarantee food safety and reduce overall cooking time.
- For a gluten-free version, swap crescent roll dough with gluten-free pastry or thinly sliced cheese to maintain the mummy design.
- Prep Time: 15 minutes
- Cook Time: 20 minutes
- Category: Dinner, Appetizer, Snacks
- Method: Baking
- Cuisine: American
Nutrition
- Serving Size: 4
- Calories: 150
- Sugar: 2g
- Sodium: 400mg
- Fat: 8g
- Saturated Fat: 3g
- Unsaturated Fat: 4g
- Trans Fat: 0g
- Carbohydrates: 15g
- Fiber: 1g
- Protein: 6g
- Cholesterol: 20mg


Marcus Reed
Founder & Food Content Creator
Expertise
Single-recipe development, Seasonal and local ingredient utilization, Food photography and styling, Culinary writing and content creation
Education
Culinary Arts Certificate, Blue Ridge Community and Technical College, WV
Focus: Fundamentals of culinary techniques, emphasizing hands-on experience in small-scale kitchen settings.
Marcus’s story begins in Asheville, where good food and family kitchens shaped his earliest memories. After hands-on culinary training and a lot of trial (and a little error), he realized that real cooking isn’t about perfection, it’s about connection.
At Pan and Oven, Marcus crafts recipes that are easy to follow, packed with flavor, and built for real kitchens.