
Spooky Graveyard Dirt Cake Recipe: Haunting Treats Made Easy
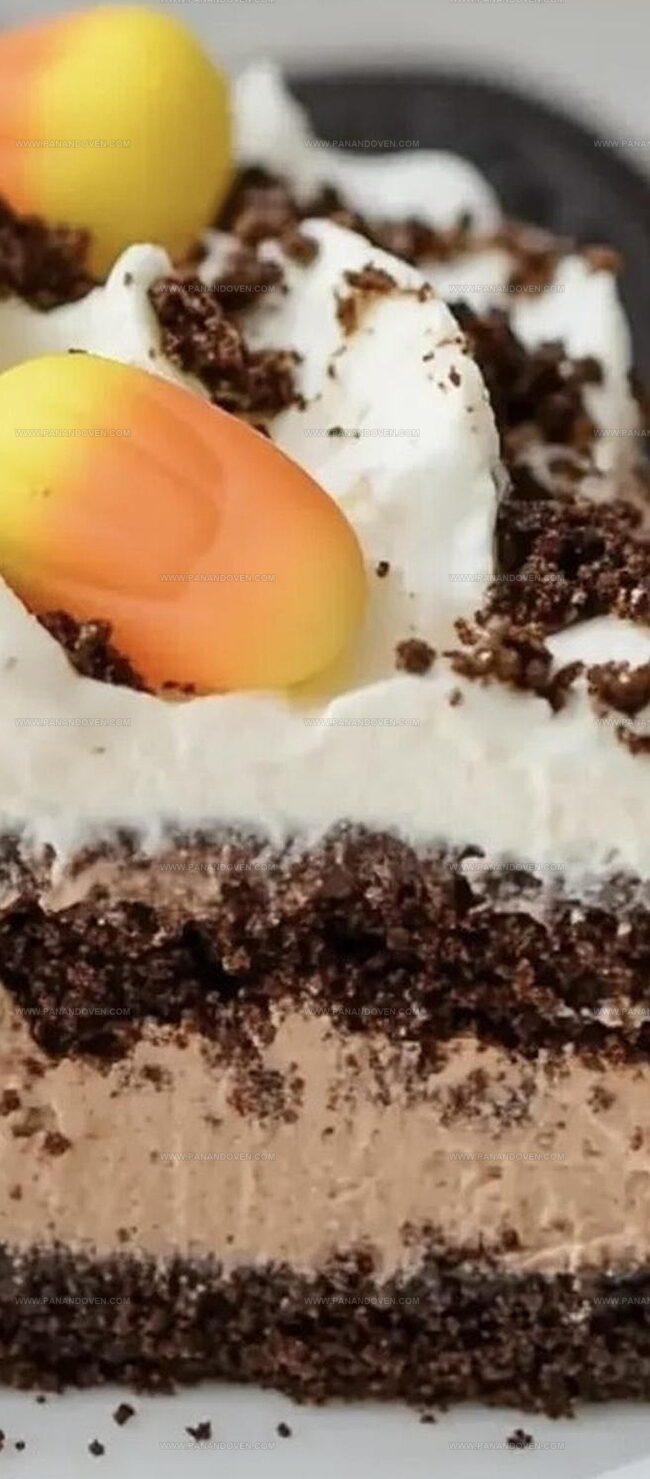
Dark chocolate crumbles meld with creamy layers in this spine-tingling graveyard dirt cake that sends delicious chills down dessert lovers’ spines.
Chocolate cookies crushed into delicate “dirt” create an eerily realistic landscape of sweet shadows.
Gummy worms peek through chocolate pudding like mischievous creatures emerging from dark depths.
Smooth cream cheese blends seamlessly with whipped topping, creating a hauntingly delectable base.
Marshmallow tombstones and cookie crumb graves complete this playful Halloween treat.
Each spoonful promises a wickedly delightful adventure that transforms ordinary dessert into a ghoulish masterpiece.
Prepare to bewitch your taste buds with this wickedly fun confection.
Graveyard Dirt Cake: Spooky Fun for All Ages
Ingredients for Creepy Dirt Cake
Tools for Building a Graveyard Cake

Steps to Make Graveyard Dirt Cake
Step 1: Bake Chocolate Base
Whip up a delicious chocolate cake following the package instructions in a 9×13 baking dish.
Let the cake cool completely, creating a delectable foundation for your haunting dessert.
Step 2: Crush Oreo Cookies
Transform Oreo cookies into a crumbly “dirt” texture by crushing them using a plastic bag and rolling pin or a food processor.
Crush until the cookies resemble fine, dark soil.
Step 3: Create Creamy Pudding Layer
In a mixing bowl, blend instant pudding with milk and powdered sugar.
Gently fold in Cool Whip until the mixture becomes light and fluffy, creating a smooth, creamy layer.
Step 4: Layer Pudding Goodness
Spread the luscious pudding mixture evenly over the cooled chocolate cake, ensuring a smooth and even surface that will make your graveyard come to life.
Step 5: Sprinkle Dirt Topping
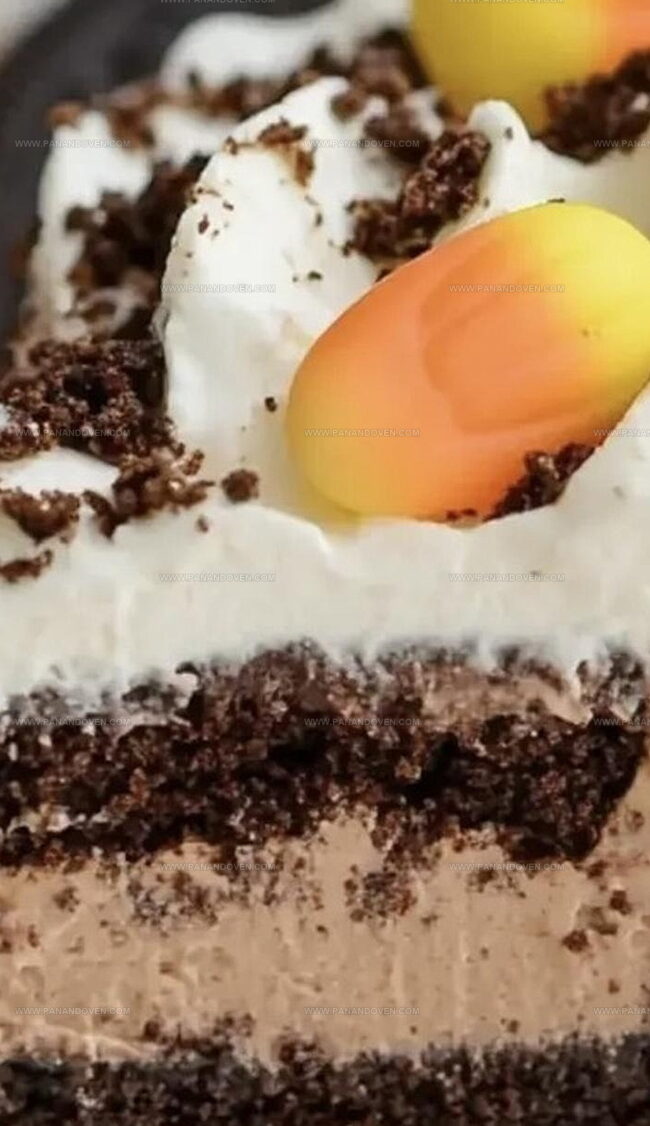
Generously cover the pudding layer with the crushed Oreo “dirt” cookies, creating a realistic graveyard ground effect that looks eerily delicious.
Step 6: Craft Spooky Decorations
Design cemetery decorations using:Arrange these elements to create a chilling graveyard scene on top of your cake.
Step 7: Add Personalized Tombstone Details
Use melted chocolate and food coloring to write spooky messages or names on the cookie tombstones, adding an extra touch of Halloween creativity to your dessert.
Tips for Creative Cake Decorations
Graveyard Cake Variations
Serving Spooky Dirt Cake at Halloween
Storing Dirt Cake for Freshness
FAQs
Chocolate cake mix, Oreo cookies, instant pudding, milk, powdered sugar, Cool Whip, and Halloween-themed decorations are the main ingredients.
Yes! Kids love helping crush cookies, mix pudding, and decorate the cake with spooky Halloween candies and tombstones.
Absolutely! You can prepare the cake a day in advance and store it in the refrigerator, which actually helps the flavors meld together.
No special skills required. It’s a simple, no-bake dessert that’s easy for beginners and fun for all ages to create.
Print
Graveyard Dirt Cake Recipe
- Total Time: 1 hour 30 minutes
- Yield: 12 1x
Description
Graveyard dirt cake delights Halloween enthusiasts with spooky chocolate layers and cookie crumble. Creamy pudding and crushed Oreos create a haunting dessert perfect for seasonal celebrations you’ll want to devour at frightful gatherings.
Ingredients
Cake Base:
- 1 (15.25 ounces / 432 grams) chocolate cake mix
- Ingredients required to make the cake (as specified on cake mix package)
Pudding and Cream Layer:
- 1 (3.9 ounces / 110 grams) package instant chocolate pudding mix
- 1 cup milk
- 2 tablespoons powdered sugar
- 1 (8 ounces / 226 grams) container Cool Whip, thawed
- 25 Oreo cookies, crushed
Decorative Toppings:
- Milano or Nutter Butter cookies for tombstones
- Assorted Halloween candy (gummy worms, candy pumpkins, marshmallow ghosts, candy bones)
- Melted chocolate for decorating
- Gel food coloring or edible markers
Instructions
- Craft the chocolate base by following package instructions in a 9×13 inch pan, ensuring thorough cooling to room temperature.
- Pulverize Oreo cookies using a food processor or by sealing in a resealable bag and crushing with a rolling pin until achieving a fine, sandy texture.
- Whisk instant pudding with milk and powdered sugar until smooth, then gently incorporate Cool Whip to create a light, airy filling with a creamy consistency.
- Evenly distribute the pudding mixture across the completely cooled chocolate cake, creating a uniform layer that covers the entire surface.
- Generously sprinkle the ground Oreo cookies over the pudding layer, mimicking the appearance of freshly disturbed earth or graveyard terrain.
- Transform the dessert into a spooky scene by strategically placing Halloween-themed candies and crafted cookie tombstones across the “dirt” surface.
- Enhance cookie tombstones by using melted chocolate and food coloring to add personalized details, names, or eerie designs that amplify the graveyard aesthetic.
Notes
- Crush cookies finely for an authentic dirt-like texture that mimics fresh soil.
- Chill the cake thoroughly before serving to help pudding layer set and enhance flavor blending.
- Swap traditional ingredients for dietary needs like using gluten-free Oreos or dairy-free whipped topping for allergen-friendly version.
- Create realistic graveyard effect by varying Oreo crumb sizes and adding edible rocks or chocolate pebbles for more depth.
- Prep Time: 30 minutes
- Cook Time: 1 hour
- Category: Desserts, Snacks
- Method: Baking
- Cuisine: American
Nutrition
- Serving Size: 12
- Calories: 320
- Sugar: 22 g
- Sodium: 300 mg
- Fat: 14 g
- Saturated Fat: 5 g
- Unsaturated Fat: 7 g
- Trans Fat: 0 g
- Carbohydrates: 45 g
- Fiber: 1 g
- Protein: 4 g
- Cholesterol: 20 mg
Marcus Reed
Founder & Food Content Creator
Expertise
Single-recipe development, Seasonal and local ingredient utilization, Food photography and styling, Culinary writing and content creation
Education
Culinary Arts Certificate, Blue Ridge Community and Technical College, WV
Focus: Fundamentals of culinary techniques, emphasizing hands-on experience in small-scale kitchen settings.
Marcus’s story begins in Asheville, where good food and family kitchens shaped his earliest memories. After hands-on culinary training and a lot of trial (and a little error), he realized that real cooking isn’t about perfection, it’s about connection.
At Pan and Oven, Marcus crafts recipes that are easy to follow, packed with flavor, and built for real kitchens.