Gooey Fudgy Brownie Cookies Recipe: Homemade Chocolate Bliss
Chocolate lovers rejoice at the magic of fudgy brownie cookies that blend the best of two delectable desserts.
These irresistible treats marry classic brownie richness with the perfect cookie crunch in one mind-blowing bite.
Every batch promises a decadent experience that melts in your mouth with intense chocolate depth.
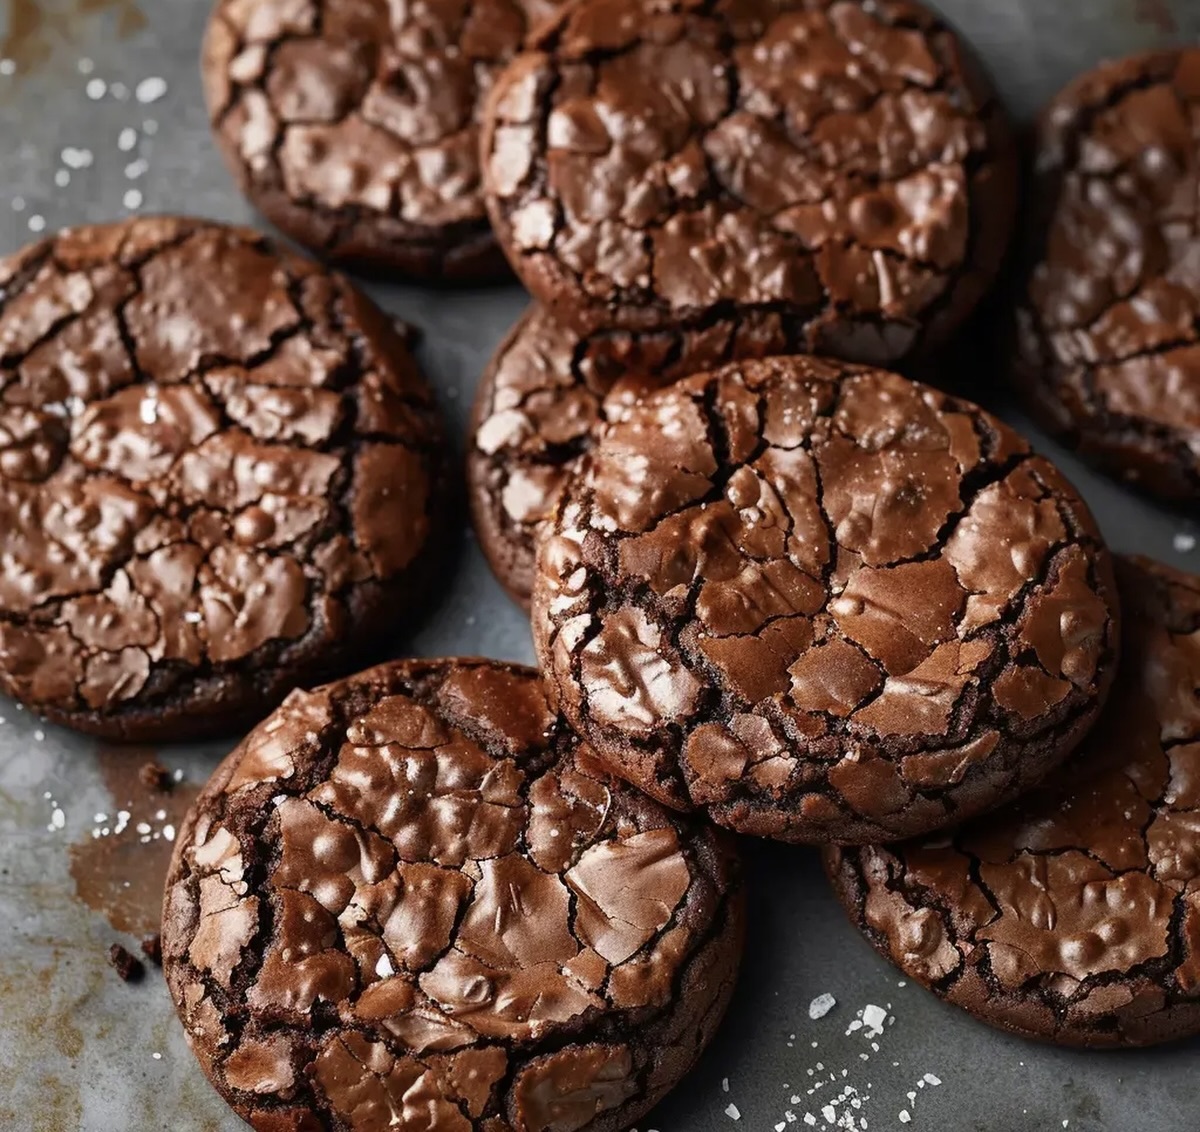
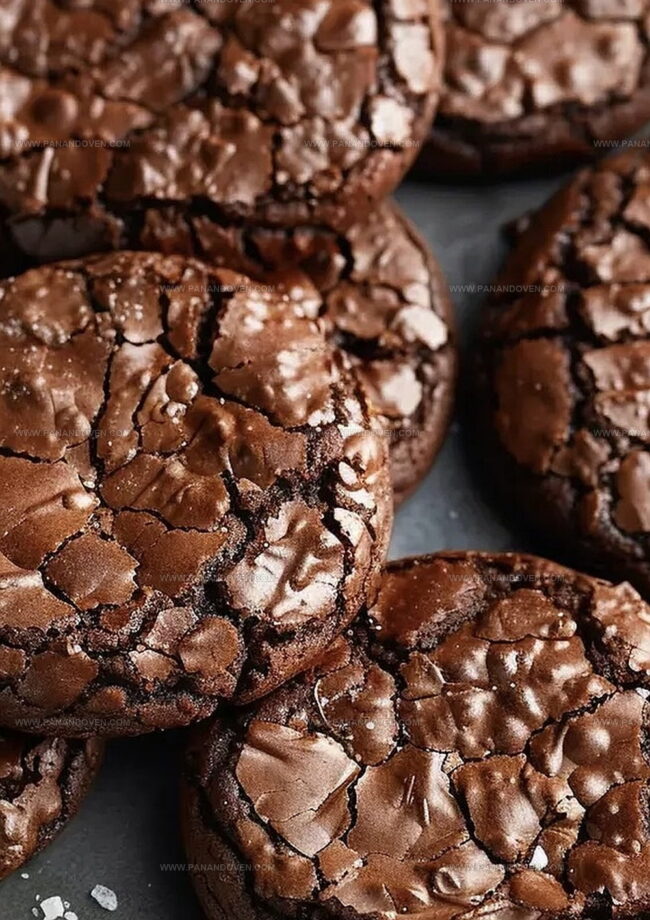
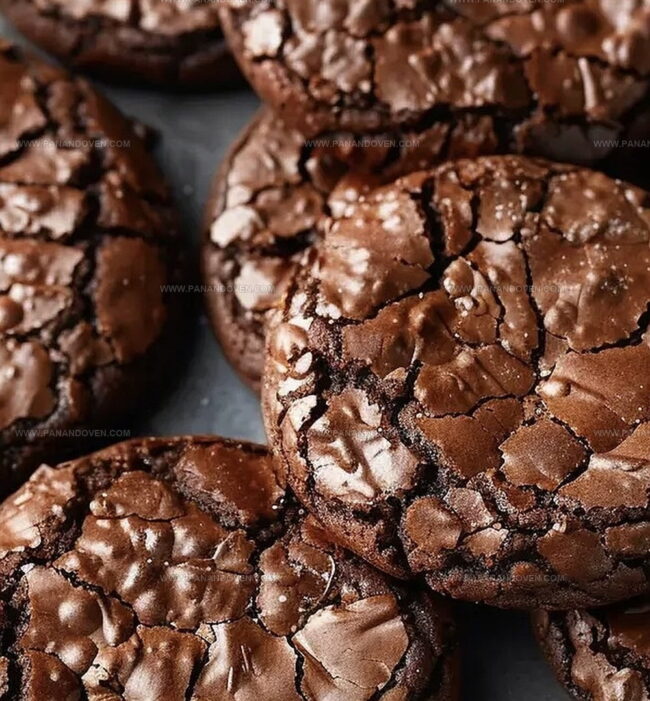
The edges emerge crisp while the center remains gloriously soft and gooey.
Rich cocoa and premium chocolate create a luxurious texture that signals pure indulgence.
Chocolate enthusiasts will adore how these cookies deliver intense flavor in every single morsel.
Prepare to fall in love with the most delightful dessert crossover that’s sure to become your new obsession.
Best Parts of Fudgy Brownie Cookies
Key Ingredients for Rich Brownie Cookies

Tools for Baking Fudgy Cookies Easily
How to Make Fudgy Brownie Cookies Right
Step 1: Warm Up the Oven
Get your oven ready by heating it to 180C/350F.
Grab two large baking trays and line them with parchment paper or a silicone mat.
Step 2: Mix Dry Ingredients
Grab a small bowl and whisk together:Set this magical dry mixture aside.
Step 3: Create Chocolate Magic
Find a microwave-safe bowl and combine:Zap in 30-second bursts, stirring between each interval, until everything melts into a smooth, glossy mixture.
Step 4: Whip Up Fluffy Base
Use a hand mixer or stand mixer to blend:Whip until the mixture turns pale, super fluffy, and triples in volume (about 5 minutes of mixing).
Step 5: Blend Chocolate Wonder
Pour in the melted chocolate mixture and vanilla.
Whisk everything together until fully combined.
Step 6: Combine Dry and Wet
Gently fold the dry ingredients into the wet mixture.
The batter will look runny – that’s totally normal!
Step 7: Chill the Batter
Pop the batter in the refrigerator for 15 minutes.
It’ll thicken up and start looking like rich brownie batter.
Step 8: Prepare for Baking
Use a medium cookie scoop to distribute batter onto the prepared baking trays.
Step 9: Bake to Perfection
Slide the trays into the oven, baking one at a time for 10-12 minutes.
Look for shiny, cracked tops that are slightly domed.
Step 10: Cool and Enjoy
Let the cookies rest on the trays for 15-20 minutes.
Then transfer to a wire rack to cool completely before devouring.
Tips for Chewy Brownie Cookie Results
Brownie Cookie Flavors to Switch Up

Ways to Serve Fudgy Brownie Cookies

Storing Brownie Cookies Soft and Fresh

FAQs

Refrigerating helps the batter thicken and prevents the cookies from spreading too much during baking, ensuring a better texture and shape for your brownie cookies.
Yes, you can use dark chocolate. It will create a richer, more intense chocolate flavor in the cookies. Just make sure to use good quality chocolate for the best results.
Look for shiny, cracked tops and slightly domed surfaces. The edges should be set, but the centers might still look slightly soft. They’ll continue to set as they cool on the baking tray.
Print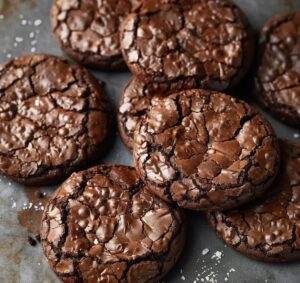
Fudgy Brownie Cookies Recipe
- Total Time: 42 minutes
- Yield: 12 1x
Description
Irresistible double chocolate fudgy brownie cookies blend rich cocoa with intense chocolate chips for an indulgent dessert. Home bakers can easily create these decadent treats that satisfy serious chocolate cravings in one delightful bite.
Ingredients
Main Ingredients:
- 7 ounces (200 grams) 60-70% dark chocolate, coarsely chopped
- 2 large eggs, room temperature
- 3/4 cup (150 grams) light brown sugar
- 1/4 cup (56 grams) unsalted butter
Dry Ingredients:
- 1/2 cup (60 grams) all-purpose flour
- 1/4 cup (25 grams) cocoa powder
- 1/2 teaspoon baking powder
- 1/4 teaspoon salt
Flavor Enhancers:
- 1 teaspoon vanilla extract
Instructions
- Preheat the oven to 180°C/350°F and prepare two large baking trays with parchment paper or silicone mats.
- Combine flour, cocoa powder, baking powder, and salt in a small bowl, whisking thoroughly to ensure even distribution.
- Melt chocolate and butter in a microwave-safe bowl, heating in 30-second intervals and stirring between each interval until smooth and fully integrated.
- Whip eggs and sugar using an electric mixer on medium-high speed until the mixture becomes pale, fluffy, and significantly increased in volume, approximately 5 minutes.
- Incorporate melted chocolate and vanilla into the egg mixture, gently whisking until completely blended.
- Carefully fold dry ingredients into the wet mixture, stirring until a uniform, slightly runny batter forms.
- Chill the batter in the refrigerator for 15 minutes, allowing it to thicken and develop a consistency similar to dense brownie mix.
- Drop batter onto prepared trays using a medium cookie scoop, ensuring even spacing between cookies.
- Bake for 10-12 minutes, rotating trays midway through cooking, until cookies display a shiny, cracked surface with a slightly domed appearance.
- Allow cookies to rest on baking trays for 15-20 minutes before transferring to a wire rack for complete cooling.
Notes
- Chill the batter to achieve that perfect fudgy texture, preventing overly thin cookies that spread too much during baking.
- Use high-quality dark chocolate for intense flavor and rich, decadent brownie-like consistency.
- Avoid overmixing the batter when folding dry ingredients to maintain a tender, soft cookie structure.
- For gluten-free option, substitute all-purpose flour with almond flour or a gluten-free flour blend to accommodate different dietary needs.
- Prep Time: 30 minutes
- Cook Time: 12 minutes
- Category: Desserts, Snacks
- Method: Baking
- Cuisine: American
Nutrition
- Serving Size: 12
- Calories: 162
- Sugar: 12g
- Sodium: 67mg
- Fat: 8g
- Saturated Fat: 5g
- Unsaturated Fat: 3g
- Trans Fat: 0g
- Carbohydrates: 21g
- Fiber: 1g
- Protein: 2g
- Cholesterol: 37mg
Marcus Reed
Founder & Food Content Creator
Expertise
Single-recipe development, Seasonal and local ingredient utilization, Food photography and styling, Culinary writing and content creation
Education
Culinary Arts Certificate, Blue Ridge Community and Technical College, WV
Focus: Fundamentals of culinary techniques, emphasizing hands-on experience in small-scale kitchen settings.
Marcus’s story begins in Asheville, where good food and family kitchens shaped his earliest memories. After hands-on culinary training and a lot of trial (and a little error), he realized that real cooking isn’t about perfection, it’s about connection.
At Pan and Oven, Marcus crafts recipes that are easy to follow, packed with flavor, and built for real kitchens.