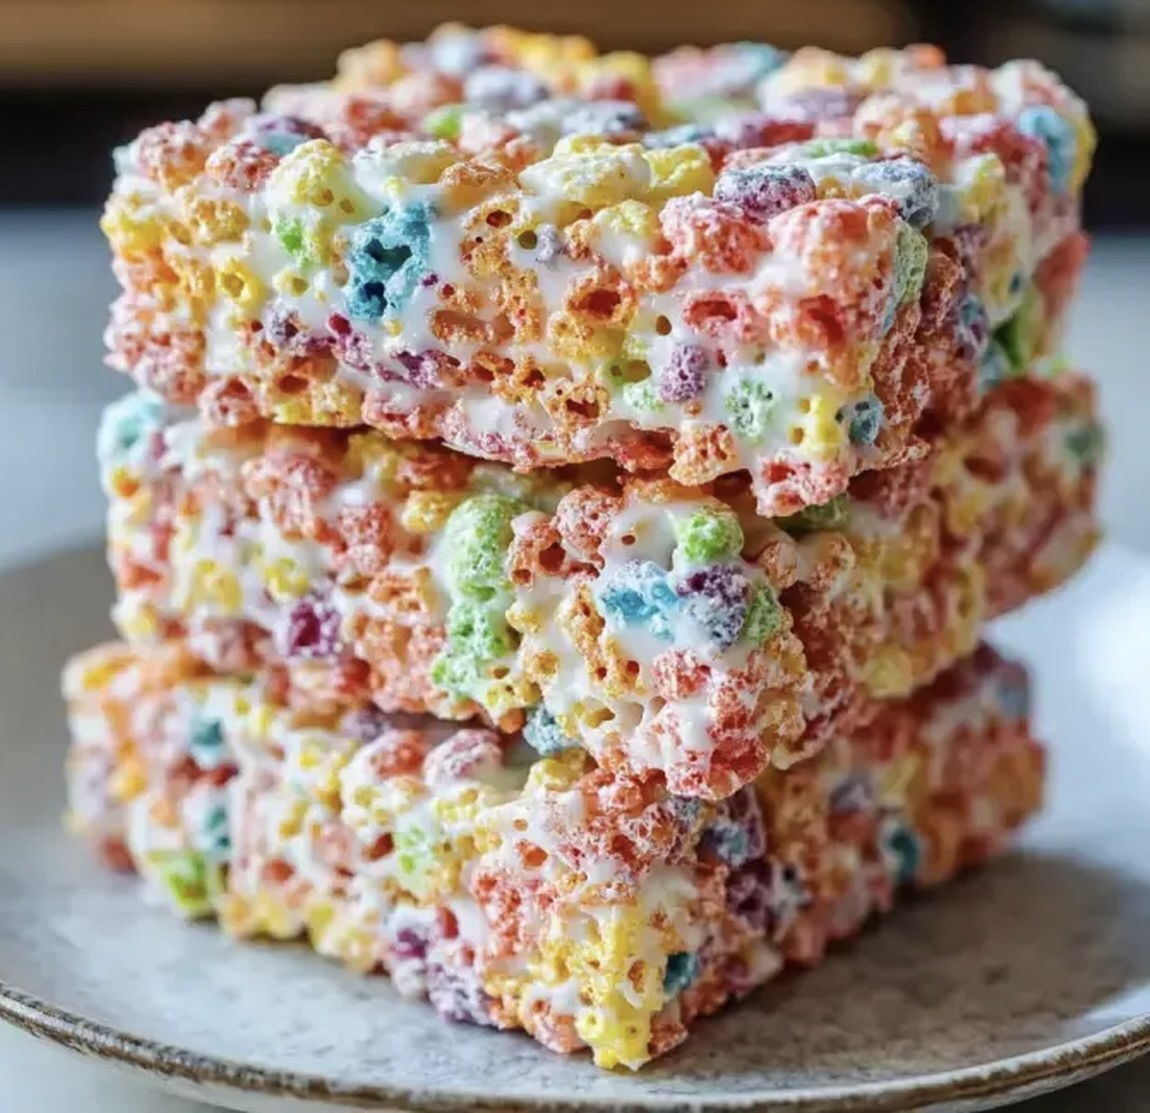
Colorful Fruity Pebbles Krispie Treats Recipe: A Playful Twist
Crisp rice cereal meets a colorful twist with these fruity pebbles krispie treats that promise pure nostalgic delight.
Sweet marshmallow goodness binds the vibrant cereal into irresistible squares of childhood memories.
The classic rice krispie treat gets a playful upgrade with bright, fruity colors and a delightful crunch.
Each bite delivers a burst of sugary excitement that transports you back to carefree afternoons.
These treats are ridiculously simple to whip up in just minutes, requiring minimal ingredients and zero baking skills.
The rainbow-hued squares will instantly become a crowd-pleaser at parties, potlucks, or whenever you need a quick sugar fix.
Prepare to become the dessert hero with this crowd-winning recipe that guarantees smiles all around.
What Makes Fruity Pebbles Krispie Treats a Hit
Fruity Pebbles Krispie Treats Ingredient Lineup
Tools You’ll Need for Krispie Treat Fun

Making Colorful Fruity Pebbles Krispie Treats
Step 1: Melt The Base
Grab a large microwave-safe bowl and toss in salted butter and marshmallows.
Zap the mixture in the microwave on high for one minute to start the magical transformation.
Step 2: Create Smooth Marshmallow Magic
Pull out the bowl and stir like crazy until the marshmallows become a silky smooth mixture.
If they’re stubborn, pop the bowl back in the microwave for quick 15-second bursts until everything melts perfectly.
Step 3: Fold In The Rainbow Crunch
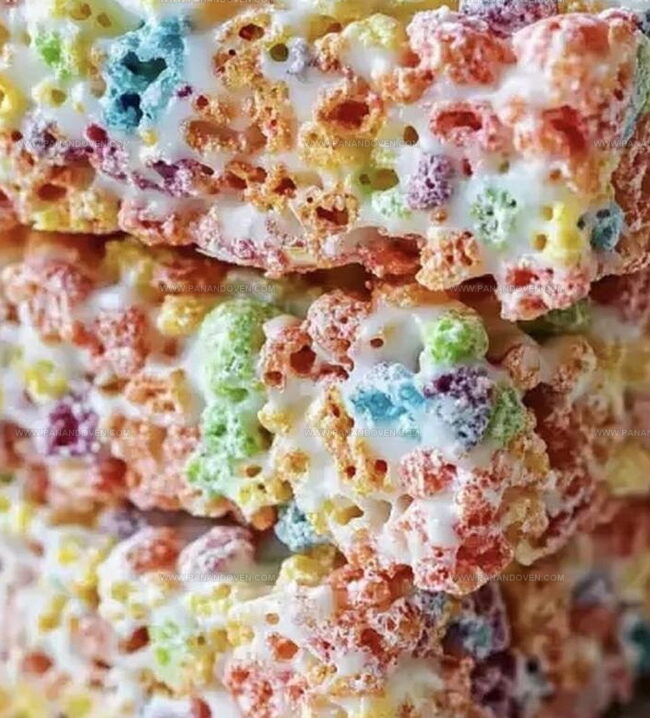
Dump in your Fruity Pebbles Cereal and gently fold until every single colorful piece gets coated with the gooey marshmallow goodness.
Step 4: Press Into Sweet Shape
Transfer the vibrant mixture into an 8×8-inch pan, using a spatula or clean hands to press and spread the treats evenly across the surface.
Step 5: Chill And Slice
Let the treats set for 30 minutes at room temperature or speed things up by placing them in the refrigerator for 15 minutes.
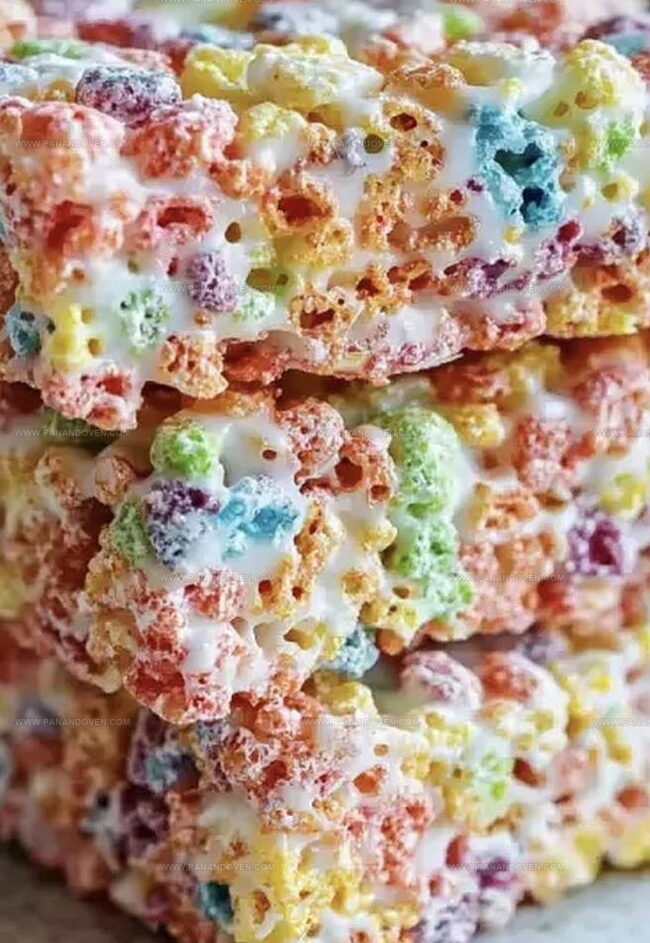
Once firm, slice into 9 delightful squares.
Step 6: Keep Fresh And Enjoy
Store your rainbow treats in an airtight container at room temperature, where they’ll stay deliciously fresh for up to 5 days – if they last that long!
Tips for Chewy, Perfect Krispie Treats

Fruity Pebbles Krispie Treats Flavor Options
Fun Ways to Serve Fruity Pebbles Krispie Treats
Best Ways to Store Fruity Krispie Treats
FAQs

Yes, you can substitute Fruity Pebbles with Rice Krispies, Cocoa Pebbles, or any similar crispy cereal that you enjoy.
Yes, lightly grease the pan with butter or cooking spray to prevent the treats from sticking and make removal easier.
Absolutely! You can melt butter and marshmallows in a large saucepan over low heat, stirring constantly until smooth and fully combined.
Definitely! These colorful, sweet treats are perfect for children’s parties, school events, or as a fun weekend snack that kids will love.
Print
Fruity Pebbles Krispie Treats Recipe
- Total Time: 10 minutes
- Yield: 12 1x
Description
Colorful Fruity Pebbles krispie treats bring nostalgic childhood memories to life with marshmallow magic. Sweet cereal squares deliver quick happiness for dessert lovers who crave playful, effortless snacking.
Ingredients
Main Ingredients:
- 5 cups Fruity Pebbles Cereal
- 10 ounces (280 grams) mini marshmallows
Binding Ingredients:
- 1/4 cup (57 grams) salted butter
Additional Seasoning:
- 1/4 teaspoon salt (if using unsalted butter)
Instructions
- Melt butter and marshmallows in a microwave-safe bowl for 1 minute on high, stirring vigorously until smooth and fully liquefied.
- Continue microwaving in 15-second intervals if marshmallows are not completely melted, ensuring a uniform consistency.
- Immediately fold Fruity Pebbles cereal into the warm marshmallow mixture, gently turning to coat every colorful morsel evenly.
- Transfer the sticky mixture into an 8×8-inch pan, using a spatula to press and distribute the cereal uniformly and create an even surface.
- Allow the treats to set at room temperature for 30 minutes, or expedite cooling by placing the pan in the refrigerator for 15 minutes.
- Once completely cooled and firm, slice the treats into 9 equal rectangular portions using a sharp knife.
- Preserve the treats’ freshness by storing them in an airtight container at room temperature, where they will maintain their delightful texture for up to 5 days.
Notes
- Use fresh, high-quality marshmallows for the creamiest texture and best melting consistency.
- Spray your spatula or hands with non-stick cooking spray to prevent sticky mixture from clinging while mixing and spreading.
- For a gluten-free version, ensure your marshmallows are gluten-free and use certified gluten-free Fruity Pebbles.
- Experiment with different cereal variations like Rainbow or Cocoa Pebbles for unique flavor twists on this classic treat.
- Prep Time: 10 minutes
- Cook Time: 0 minutes
- Category: Snacks, Desserts
- Method: None
- Cuisine: American
Nutrition
- Serving Size: 12
- Calories: 150
- Sugar: 10 g
- Sodium: 80 mg
- Fat: 5 g
- Saturated Fat: 3 g
- Unsaturated Fat: 1.5 g
- Trans Fat: 0 g
- Carbohydrates: 24 g
- Fiber: 0 g
- Protein: 1 g
- Cholesterol: 15 mg
Marcus Reed
Founder & Food Content Creator
Expertise
Single-recipe development, Seasonal and local ingredient utilization, Food photography and styling, Culinary writing and content creation
Education
Culinary Arts Certificate, Blue Ridge Community and Technical College, WV
Focus: Fundamentals of culinary techniques, emphasizing hands-on experience in small-scale kitchen settings.
Marcus’s story begins in Asheville, where good food and family kitchens shaped his earliest memories. After hands-on culinary training and a lot of trial (and a little error), he realized that real cooking isn’t about perfection, it’s about connection.
At Pan and Oven, Marcus crafts recipes that are easy to follow, packed with flavor, and built for real kitchens.