Irresistible Fruit Salad Cheesecake Recipe: Sweet Summer Magic
Sweet summer memories dance on the palate with this delightful fruit salad cheesecake that blends creamy textures and vibrant flavors.
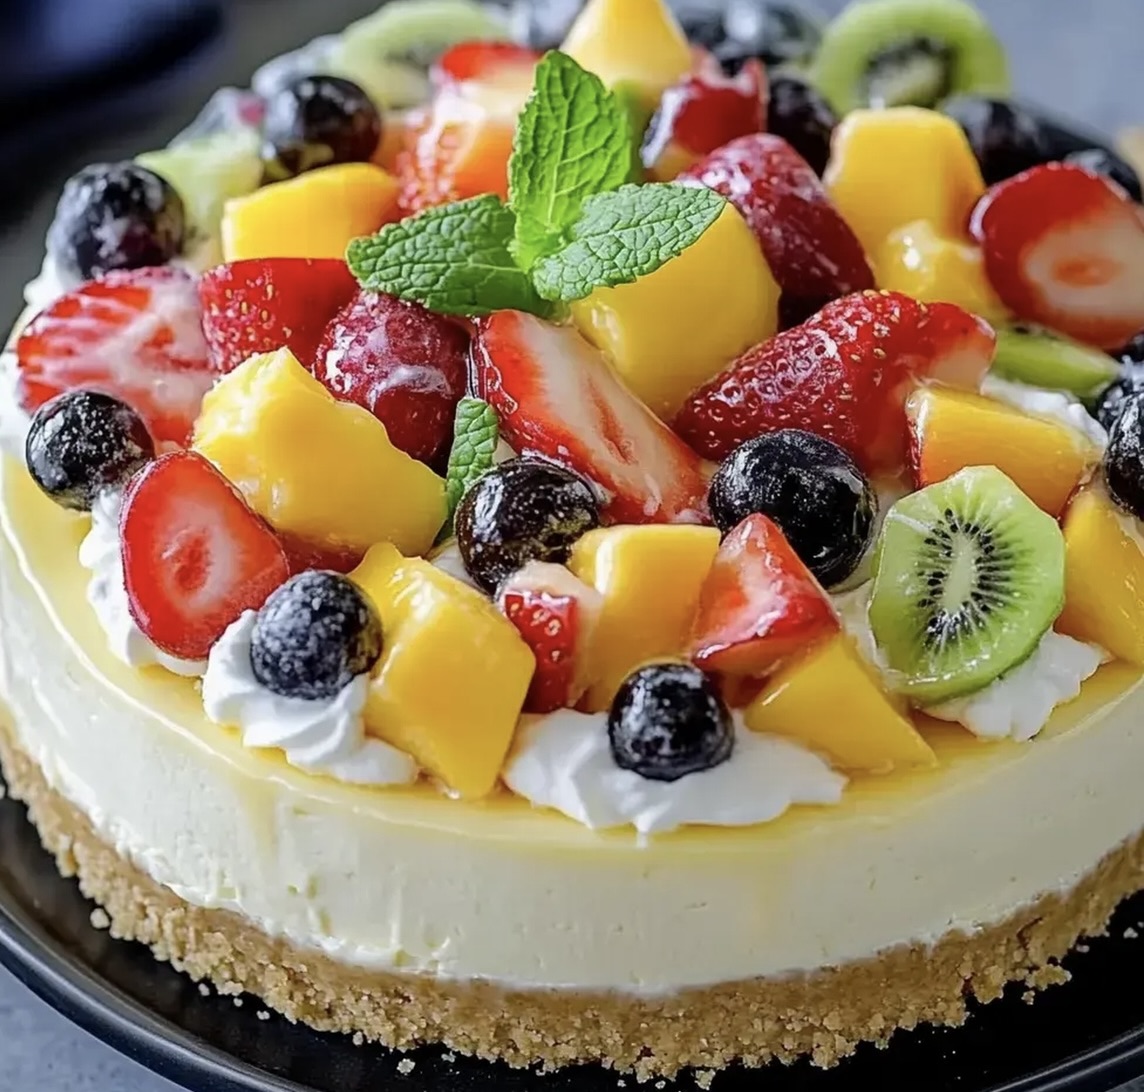
Fresh seasonal fruits mingle with a velvety cream cheese base, creating a dessert that sings of sunshine and joy.
Each layer tells a delicious story of carefully selected ingredients.
The cheesecake offers a perfect balance between tangy and sweet notes that will delight your taste buds.
Colorful berries and tropical fruits nestled atop a buttery graham cracker crust promise pure indulgence.
Chilled and luxurious, this dessert transforms an ordinary moment into something extraordinary.
Prepare to embark on a culinary adventure that celebrates summer’s most delectable bounty.
Fruit Salad Cheesecake Why This Treat Stands Out
Ingredients in Fruit Salad Cheesecake Bliss
Base Ingredients:Filling Ingredients:Fruit Topping Ingredients:Tools for Blending Fruit and Creamy Cheesecake
How to Put Together Fruit Salad Cheesecake
Step 1: Warm Up the Oven
Fire up your oven to a cozy 325F (163C), getting ready for some baking magic.
Step 2: Create Crumbly Crust Base
Grab a mixing bowl and combine:Blend everything until it looks like delicious sandy texture.
Step 3: Shape Crust Foundation
Press the crumbly mixture into a 9-inch springform pan, creating an even layer.
Slide it into the oven and bake for 8-10 minutes until perfectly set.
Pull it out and let it cool down.
Step 4: Whip Creamy Filling
In a large bowl, beat cream cheese until silky smooth.
Add granulated sugar and vanilla extract, mixing until everything blends beautifully.
Step 5: Incorporate Eggs
Gently beat eggs into the mixture one at a time.
Stir in sour cream and heavy cream until the filling becomes luxuriously smooth and creamy.
Step 6: Fill the Pan
Pour the dreamy cheesecake filling over the cooled crust, creating a perfect canvas.
Step 7: Bake to Perfection
Bake for 50-60 minutes.
You’ll know it’s ready when the center looks set but slightly wiggly, with firm edges.
Step 8: Gentle Cooling Process
Turn off the oven and crack the door open slightly.
Let the cheesecake rest inside for one hour to prevent unwanted cracks.
Step 9: Chill and Settle
Remove the cheesecake and refrigerate for at least 4 hours or overnight for ultimate texture.
Step 10: Craft Vibrant Fruit Topping
In a bowl, mix together:Drizzle with honey or maple syrup and gently toss.
Step 11: Final Flourish
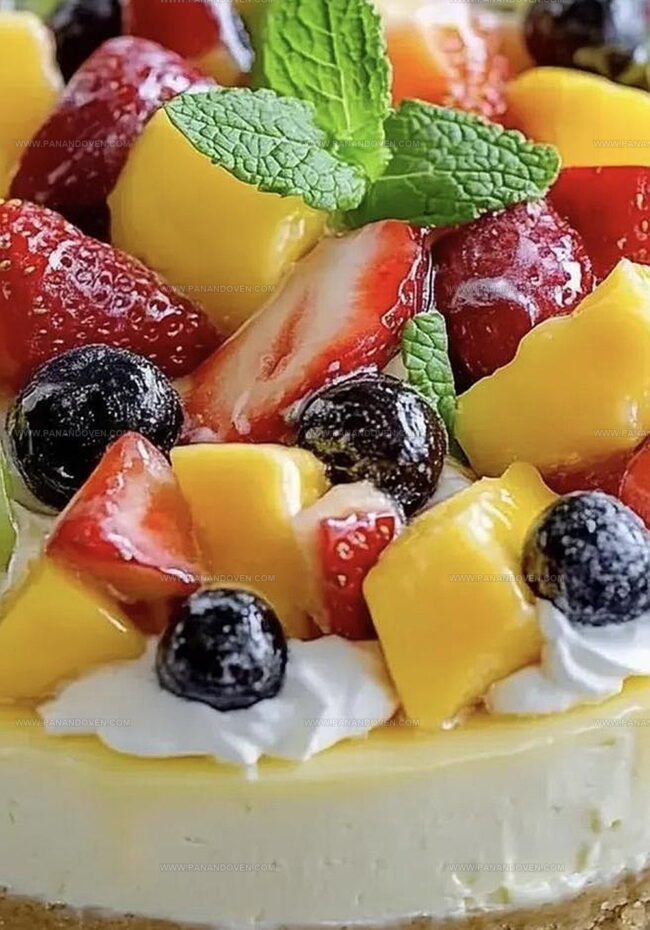
Spread the colorful fruit mixture over the chilled cheesecake.
Optionally, garnish with fresh mint leaves for an extra touch of elegance.
Pro Tips for Fresh and Fruity Cheesecake
Cheesecake Variations with Seasonal Fruits
Serving Fruit Salad Cheesecake with Flair
Storing Fruit Salad Cheesecake
FAQs
Let the cheesecake cool gradually in the oven with the door slightly open after baking. This slow cooling process helps prevent sudden temperature changes that cause cracks in the surface.
Fresh fruits are recommended for the best flavor and texture. Frozen fruits tend to release more liquid and can make the topping watery, potentially affecting the cheesecake’s appearance and consistency.
Use a sharp knife dipped in hot water and wiped dry between each cut. This technique helps create smooth, clean slices without dragging the creamy filling.
Print
Fruit Salad Cheesecake Recipe
- Total Time: 1 hour 40 minutes
- Yield: 8 1x
Description
Heavenly fruit salad cheesecake blends creamy cheesecake with fresh seasonal fruits in one elegant dessert. Colorful layers and smooth textures create a delightful treat you’ll savor with each delectable bite.
Ingredients
Crust:
- 1 1/2 cups graham cracker crumbs
- 1/4 cup granulated sugar
- 1/2 cup (113 grams) unsalted butter, melted
Cheesecake Filling:
- 16 ounces (454 grams) cream cheese, softened
- 1 cup granulated sugar
- 3 large eggs
- 1 cup sour cream
- 1 cup heavy cream
- 1 teaspoon vanilla extract
Fruit Topping:
- 1 cup diced fresh strawberries
- 1 cup diced fresh peaches or nectarines
- 1 cup diced fresh kiwi
- 1 cup diced fresh mango
- 1/4 cup honey or maple syrup
- Fresh mint leaves for garnish (optional)
Instructions
- Preheat the oven to 325°F (163°C), ensuring an optimal baking environment for the cheesecake.
- Create the crust by thoroughly blending graham cracker crumbs, sugar, and melted butter until uniformly mixed.
- Transfer the crust mixture into a 9-inch springform pan, pressing firmly to create an even, compact layer.
- Bake the crust for 8-10 minutes until it sets, then remove and allow to cool completely at room temperature.
- In a large mixing bowl, whip the cream cheese until silky and free of lumps.
- Incorporate sugar and vanilla extract into the cream cheese, mixing until the texture becomes smooth and consistent.
- Gently introduce eggs one at a time, ensuring each is fully integrated before adding the next.
- Fold in sour cream and heavy cream, stirring until the mixture achieves a luxurious, creamy consistency.
- Carefully pour the filling over the cooled crust, maintaining an even distribution.
- Bake for 50-60 minutes, watching for a set center with a slight wobble and firm edges.
- Switch off the oven, slightly open the door, and allow the cheesecake to cool gradually for one hour to prevent surface cracking.
- Transfer the cheesecake from the oven and refrigerate for a minimum of 4 hours or overnight.
- Prepare the fruit topping by dicing strawberries, peaches, kiwi, and mango into uniform pieces.
- Drizzle the fruit with honey or maple syrup, gently tossing to ensure even coating.
- Before serving, artfully spread the macerated fruit across the chilled cheesecake surface.
- Optional: Garnish with fresh mint leaves for an elegant finishing touch.
Notes
- Prevent cracks by using room temperature ingredients, especially cream cheese and eggs, which blend more smoothly and reduce potential texture issues.
- Create a water bath by placing the springform pan inside a larger pan filled with hot water during baking to ensure even heat distribution and prevent surface cracking.
- Customize fruit topping by using seasonal or frozen fruits, adapting the recipe to available produce and personal taste preferences.
- Enhance dairy-free version by substituting cream cheese with cashew or tofu-based alternatives and using coconut cream instead of heavy cream for a plant-based adaptation.
- Prep Time: 30 minutes
- Cook Time: 1 hour 10 minutes
- Category: Desserts, Snacks
- Method: Baking
- Cuisine: American
Nutrition
- Serving Size: 8
- Calories: 482
- Sugar: 34 g
- Sodium: 250 mg
- Fat: 30 g
- Saturated Fat: 18 g
- Unsaturated Fat: 10 g
- Trans Fat: 0 g
- Carbohydrates: 43 g
- Fiber: 1 g
- Protein: 6 g
- Cholesterol: 109 mg
Marcus Reed
Founder & Food Content Creator
Expertise
Single-recipe development, Seasonal and local ingredient utilization, Food photography and styling, Culinary writing and content creation
Education
Culinary Arts Certificate, Blue Ridge Community and Technical College, WV
Focus: Fundamentals of culinary techniques, emphasizing hands-on experience in small-scale kitchen settings.
Marcus’s story begins in Asheville, where good food and family kitchens shaped his earliest memories. After hands-on culinary training and a lot of trial (and a little error), he realized that real cooking isn’t about perfection, it’s about connection.
At Pan and Oven, Marcus crafts recipes that are easy to follow, packed with flavor, and built for real kitchens.