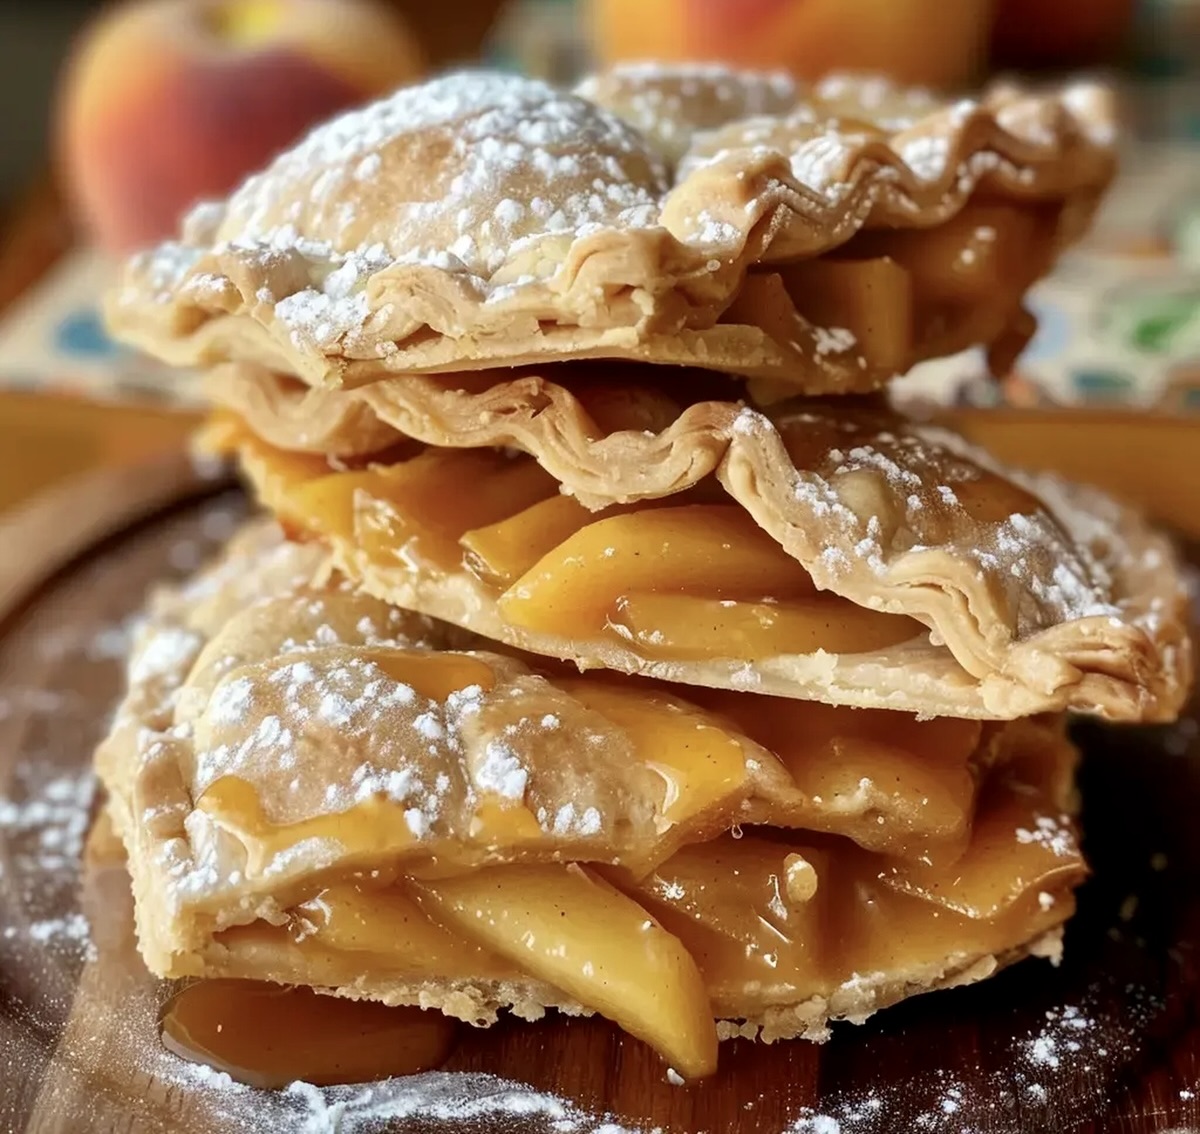
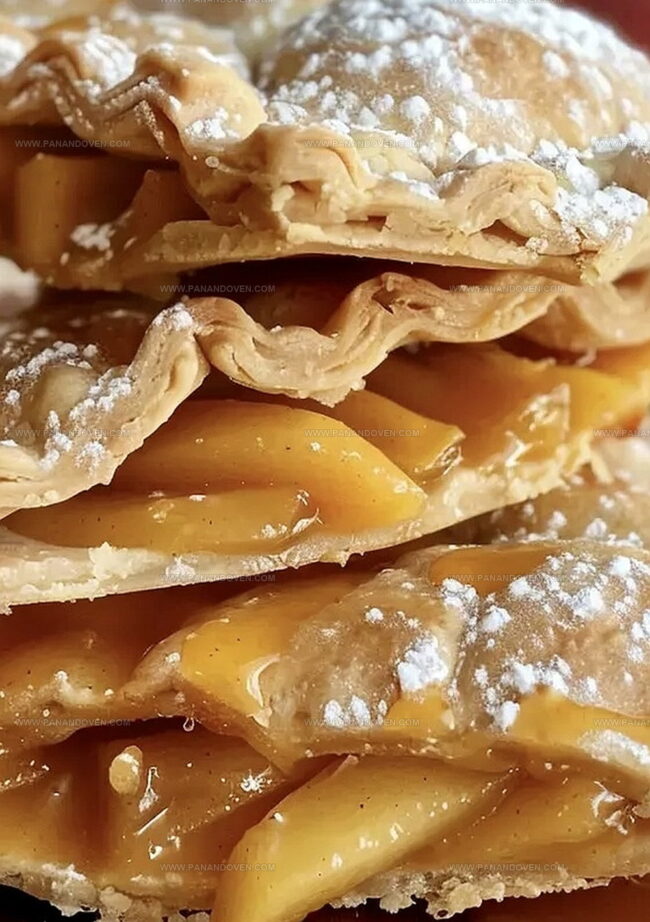
Crispy Homemade Fried Apple or Peach Pies Recipe for Sweet Smiles
Sweet memories of Southern comfort come alive with these delectable fried apple or peach pies that transport you straight to grandma’s kitchen.
Crisp, golden pastry hugs a warm filling bursting with juicy fruit and aromatic spices.
Each bite delivers a nostalgic crunch that melts in your mouth, revealing layers of delightful homemade goodness.
The recipe combines simple ingredients with traditional techniques passed down through generations.
Flaky dough cradles seasonal fruits, creating a handheld dessert that’s both rustic and irresistible.
These pies are perfect for weekend baking or surprising loved ones with a homemade treat.
You’ll fall in love with the irresistible combination of crispy exterior and soft, fruity interior that makes these pies a true Southern classic.
Why You’ll Love Fried Apple or Peach Pies
Apple and Peach Pie Ingredients to Gather
Fruit Filling:Pie Crust:Glaze and Finishing:Tools for Frying Perfect Hand Pies
Directions for Making Fried Apple or Peach Pies

Step 1: Whip Up The Fruity Center
Start by warming your oven to a toasty 425F.
While the oven heats, grab your pie filling and dice it into small, bite-sized chunks using a fork and knife.
Sprinkle in some warm cinnamon and mix thoroughly, creating a fragrant and flavorful base for your mini pies.
Step 2: Create Delicate Pastry Pockets
Gently unroll your pie crusts and use a 4-inch biscuit cutter to craft perfect circular bases.
If you need more circles, simply re-roll the remaining dough.
Carefully place a generous spoonful of fruit filling right in the center of each circle.
Fold the dough over to create a half-moon shape, then press the edges together firmly.
Use a fork to crimp the edges and create a beautiful seal, and poke a small vent hole to allow steam to escape.
Step 3: Bake To Golden Perfection
Whip an egg white until it becomes light and frothy.
Brush this over the top of each pie to create a gorgeous golden sheen.
Arrange the pies on a parchment-lined baking sheet and slide into the preheated oven.
Bake for approximately 15 minutes, watching for a beautiful golden-brown color.
Step 4: Add A Sweet Finishing Touch
While the pies are baking, prepare a luscious glaze by whisking powdered sugar and milk until silky smooth.
Once the pies emerge from the oven, carefully dip each warm pie into the glaze, ensuring complete coverage.
Use two forks to handle the delicate pies with care.
Place the glazed pies back on parchment paper and allow the glaze to set for about 5 minutes.
Serve and enjoy these irresistible handheld treats!
Tips for Extra Crispy Fried Fruit Pies
Sweet Variations for Apple and Peach Hand Pies
Best Ways to Serve Fried Fruit Pies
How to Store Fried Apple or Peach Pies
FAQs
Yes, absolutely! Homemade fruit filling works great. Just ensure the filling isn’t too wet and is finely chopped to prevent leaking during baking.
Seal edges completely by pinching and using fork tines. Make sure not to overfill and leave enough border around the edges when folding the pie circles.
You can assemble the pies and freeze them uncooked on a baking sheet. Once frozen, transfer to a freezer bag. When ready to bake, place frozen pies directly in the oven and add a few extra minutes to baking time.
Print
Fried Apple or Peach Pies Recipe
- Total Time: 40 minutes
- Yield: 8 1x
Description
Sweet Southern Fried Apple Pies bring nostalgic comfort from grandmother’s kitchen to your plate. Crisp pastry pockets filled with spiced fruit create a delightful dessert you’ll savor with pure Southern charm.
Ingredients
Pie Crust:
- 2 boxes (14.1 ounces/400 grams each) refrigerated pie crust
Filling:
- 1 can (21 ounces/595 grams) peach pie filling
- 1 teaspoon cinnamon
Glaze and Egg Wash:
- 2.5 cups (300 grams) powdered sugar
- 1/4 cup (60 milliliters) milk
- 1 egg white, beaten
Instructions
- Prepare the filling by dicing the pie filling into small, uniform pieces using a fork and knife. Incorporate cinnamon thoroughly, ensuring even distribution throughout the mixture. Let the filling rest to allow flavors to meld.
- Gently unroll the pie crusts and use a 4-inch biscuit cutter to create precise circular shapes. Collect and re-roll any remaining dough scraps to maximize usage.
- Position a measured portion of filling at the center of each pie crust circle. Carefully fold the dough over to create a half-moon shape, pressing edges together firmly to seal completely.
- Crimp the sealed edges using fork tines, creating a decorative and secure border. Delicately puncture the top of each pie once with a fork to allow steam to escape during baking.
- Whisk egg white until it becomes light and frothy. Gently brush the egg white over the surface of each prepared pie, creating a golden sheen.
- Arrange pies on a parchment-lined baking sheet. Bake at 425°F for approximately 15 minutes, or until the pies achieve a rich, golden-brown color.
- While pies are baking, prepare the glaze by whisking powdered sugar and milk until smooth and free of lumps.
- Once baked, carefully remove pies from the oven. Using two forks, gently dip each warm pie into the glaze, ensuring complete coverage.
- Transfer glazed pies back to the parchment paper. Allow the glaze to set for 5 minutes, creating a delicate, sweet coating.
Notes
- Customize the filling by swapping peaches with fresh apples or mixed berries for a delightful flavor variation.
- Use homemade pie filling for a richer, more authentic taste that elevates the entire dessert experience.
- Prevent soggy crusts by ensuring the filling isn’t too wet and sealing edges completely with a fork.
- Create a dairy-free version by substituting milk in the glaze with almond or coconut milk for a lighter alternative.
- Prep Time: 25 minutes
- Cook Time: 15 minutes
- Category: Desserts, Snacks
- Method: Baking
- Cuisine: American
Nutrition
- Serving Size: 8
- Calories: 280
- Sugar: 18 g
- Sodium: 170 mg
- Fat: 12 g
- Saturated Fat: 4 g
- Unsaturated Fat: 6 g
- Trans Fat: 0 g
- Carbohydrates: 39 g
- Fiber: 1 g
- Protein: 2 g
- Cholesterol: 0 mg
Marcus Reed
Founder & Food Content Creator
Expertise
Single-recipe development, Seasonal and local ingredient utilization, Food photography and styling, Culinary writing and content creation
Education
Culinary Arts Certificate, Blue Ridge Community and Technical College, WV
Focus: Fundamentals of culinary techniques, emphasizing hands-on experience in small-scale kitchen settings.
Marcus’s story begins in Asheville, where good food and family kitchens shaped his earliest memories. After hands-on culinary training and a lot of trial (and a little error), he realized that real cooking isn’t about perfection, it’s about connection.
At Pan and Oven, Marcus crafts recipes that are easy to follow, packed with flavor, and built for real kitchens.