The Most Tender French Dip Sliders Recipe You’ll Ever Make
Comfort meets convenience in these mouthwatering French dip sliders that promise to steal the show at any gathering.
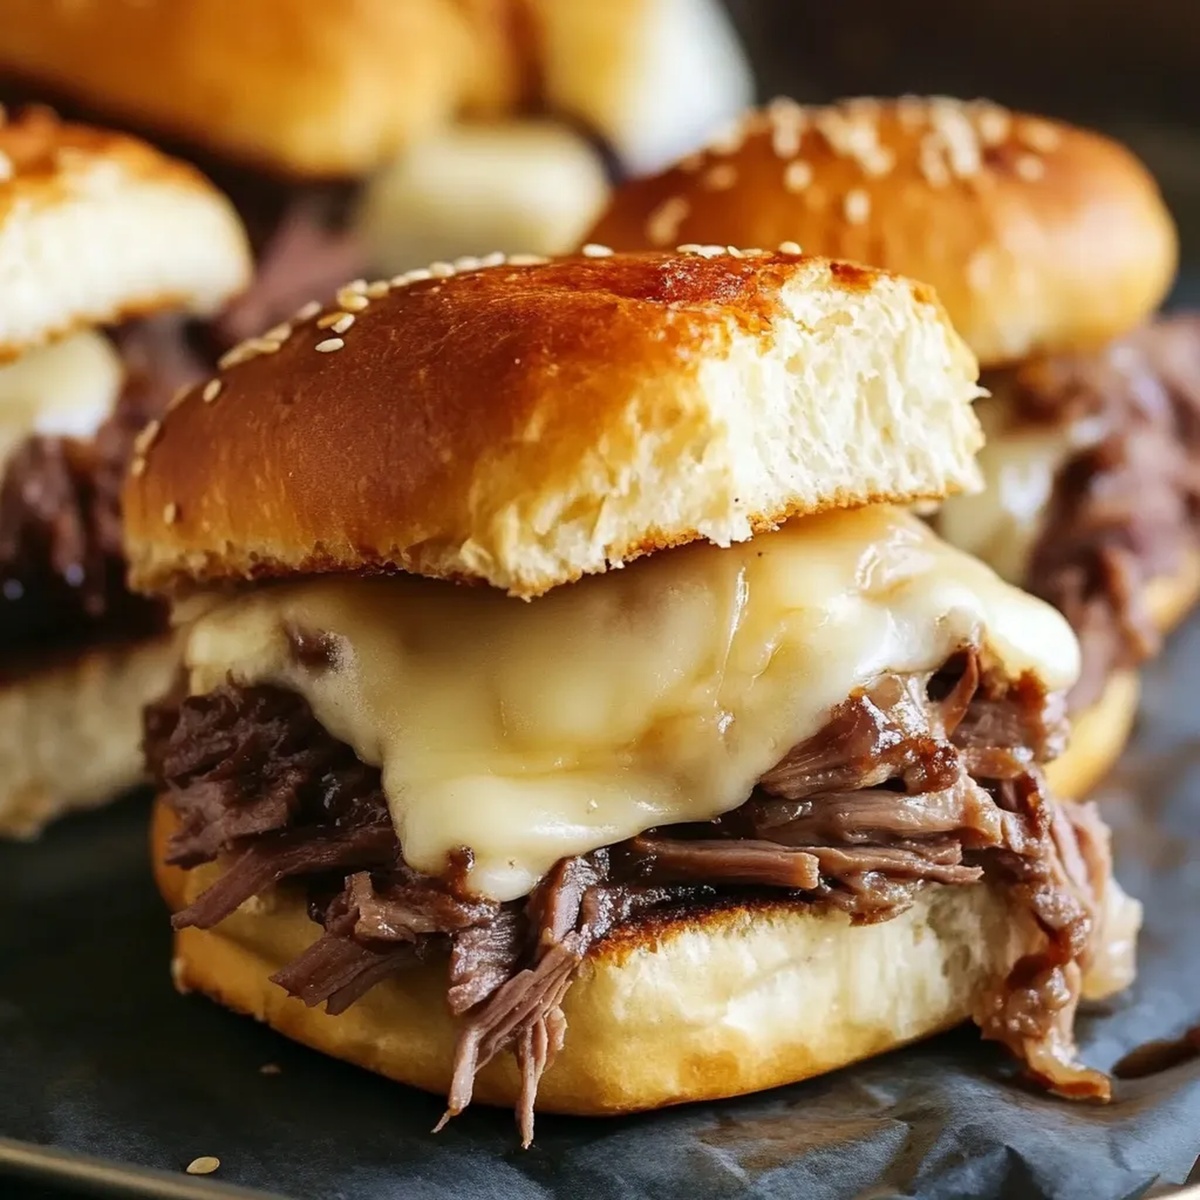
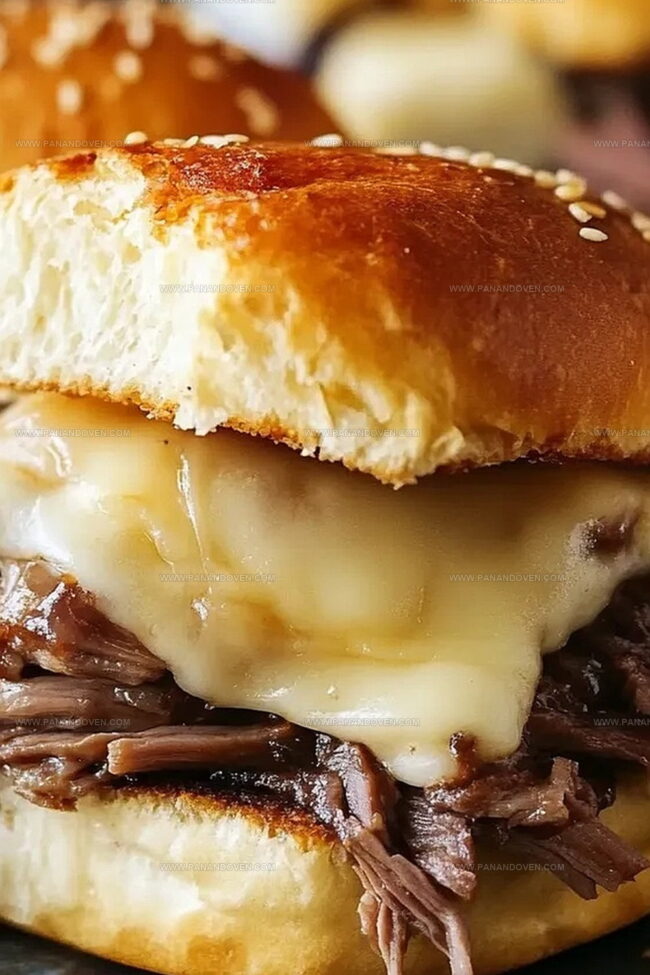
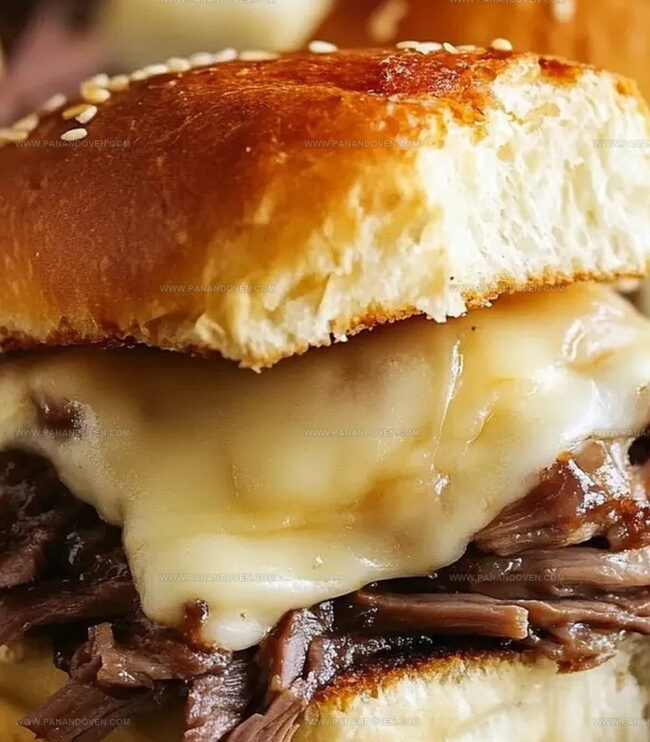
Packed with tender, juicy beef and melted cheese, these sliders combine irresistible flavors in every single bite.
The classic French dip sliders bring together soft rolls and succulent meat dripping with rich au jus sauce.
Perfectly sized for snacking, these mini sandwiches deliver maximum flavor in a compact package.
Each slider represents a delightful twist on the traditional French dip sandwich, making them ideal for game days, parties, or casual dinners.
Crispy on the outside and loaded with savory goodness, these sliders will have everyone reaching for seconds.
Prepare to win hearts and satisfy hunger with this crowd-pleasing recipe that turns ordinary meals into memorable moments.
French Dip Sliders – Top Features to Savor
What Goes Into French Dip Sliders
Main Ingredients:Seasoning and Flavor Enhancers:Baking and Preparation Ingredients:French Dip Slider Cooking Tools List
French Dip Slider Cooking Steps
Step 1: Warm Up the Oven
Crank the oven to a cozy 350F.
Grab your 9×13 pan and give it a generous butter massage.
Lay down a sheet of parchment paper for easy cleanup.
Step 2: Slice the Bread Bundle
Take your connected roll block and slice it horizontally like you’re opening a book.
Keep those rolls hugging each other.
Gently nestle the bottom half into the buttered pan.
Step 3: Create Delicious Layers
Start building your flavor tower:Step 4: Craft the Magic Topping
Melt butter and mix with au jus seasoning.
Whisk together these flavor warriors.
Lovingly paint the mixture over the tops and sides of your rolls, ensuring every inch gets some love.
Step 5: Bake to Perfection
Send your creation into the oven uncovered.
Bake for 15-20 minutes until the cheese turns into a melty dream and the tops become a gorgeous golden brown.
Step 6: Prepare the Dipping Sauce
Activate the remaining au jus mix with water, following package instructions.
Simmer until it reaches a slightly thickened, glossy consistency perfect for dunking.
Best Tips for Perfect French Dip Sliders
French Dip Slider Ideas for a Twist
Serving Up French Dip Sliders Right
Storing French Dip Sliders with Care
FAQs
Swiss or provolone cheese are ideal, melting beautifully and complementing the roast beef’s rich flavor while adding a creamy texture to the sliders.
Yes, you can prepare the sliders up to the point of baking, cover with foil, and refrigerate for up to 24 hours before baking. Just add an extra 5-10 minutes to the baking time.
Use fresh rolls and don’t overly saturate with the butter mixture. The parchment paper helps keep the bottom of the rolls crisp while baking.
Print
French Dip Sliders Recipe
- Total Time: 35 minutes
- Yield: 12 1x
Description
Mouthwatering french dip sliders deliver classic sandwich flavors in miniature form. Savory beef and melted cheese nestled between tender rolls create an irresistible party appetizer you’ll devour with pure delight.
Ingredients
Main Ingredients:
- 1 package (12-count) Hawaiian rolls
- 1 pound (454 grams) deli roast beef (rare)
- 12 slices provolone cheese
Butter Topping Ingredients:
- 8 tablespoons (113 grams) unsalted butter
- 1 packet au jus mix
- 1 teaspoon Worcestershire sauce
- 1 tablespoon sesame seeds
- 3/4 teaspoon dried minced garlic
- 1/2 teaspoon onion powder
Optional Topping:
- 1 1/2 cups French fried onions
Instructions
- Preheat oven to 350°F. Generously butter a 9×13-inch baking dish and line with parchment paper for easy removal.
- Carefully slice the entire connected roll block horizontally, keeping the rolls intact and maintaining their structure.
- Arrange the bottom half of the rolls in the prepared baking dish, creating a stable base for layering.
- Create strategic layers by placing cheese slices, tender roast beef, crispy fried onions (if desired), and remaining cheese on the roll base.
- Gently position the top half of the rolls over the layered ingredients, creating a complete slider assembly.
- Prepare the savory topping by melting butter and combining with au jus mix and complementary seasonings.
- Evenly distribute the butter mixture over the slider tops and sides, ensuring complete coverage for enhanced flavor.
- Bake uncovered for 15-20 minutes, monitoring until cheese melts completely and roll tops transform into a golden, crispy texture.
- While sliders bake, prepare the au jus by heating the remaining mix with water, stirring until it reaches a slightly thickened consistency.
- Once baked, remove from oven and let rest briefly before serving with the accompanying warm au jus dipping sauce.
Notes
- Bread Selection Choose soft, slightly sturdy rolls like Hawaiian or slider buns that can absorb flavors without falling apart.
- Cheese Variation Swap provolone or Swiss for classic American cheese to add more depth and richness to the sliders.
- Make-Ahead Friendly Assemble sliders up to 24 hours in advance and refrigerate, covering tightly with foil before baking for convenient meal prep.
- Dietary Adaptations Use gluten-free rolls and verify au jus mix ingredients for gluten-sensitive guests, or substitute roast beef with pulled chicken for protein variation.
- Prep Time: 15 minutes
- Cook Time: 20 minutes
- Category: Lunch, Dinner, Appetizer, Snacks
- Method: Baking
- Cuisine: American
Nutrition
- Serving Size: 12
- Calories: 360
- Sugar: 2g
- Sodium: 800mg
- Fat: 22g
- Saturated Fat: 10g
- Unsaturated Fat: 9g
- Trans Fat: 0g
- Carbohydrates: 25g
- Fiber: 1g
- Protein: 16g
- Cholesterol: 60mg


Clara Thompson
Recipe Developer & Food Educator
Expertise
Plant-based and vegetarian recipe development, Nutritional analysis and meal planning, Culinary education and workshop facilitation, Content writing with a focus on healthy living
Education
Diploma in Culinary Arts, Mt. San Jacinto College, CA
Focus: Comprehensive culinary training with an emphasis on sustainable cooking practices.
Certificate in Nutrition and Healthy Living, Cornell University (Online Program)
Focus: Understanding the principles of nutrition to create balanced and health-conscious recipes.
Clara lives where fresh ideas and fresh ingredients meet. She pairs her culinary know-how with her passion for healthy, planet-friendly cooking.
For Clara, good food should taste great, nourish your body, and feel easy to make. Her recipes highlight whole foods, colorful produce, and a deep respect for seasonal eating.