Irresistibly Fluffy Nutella Bombs Recipe: Sweet Chocolate Bliss
Chocolate and hazelnut lovers unite over these delectable Nutella bombs that melt in your mouth with pure indulgence.
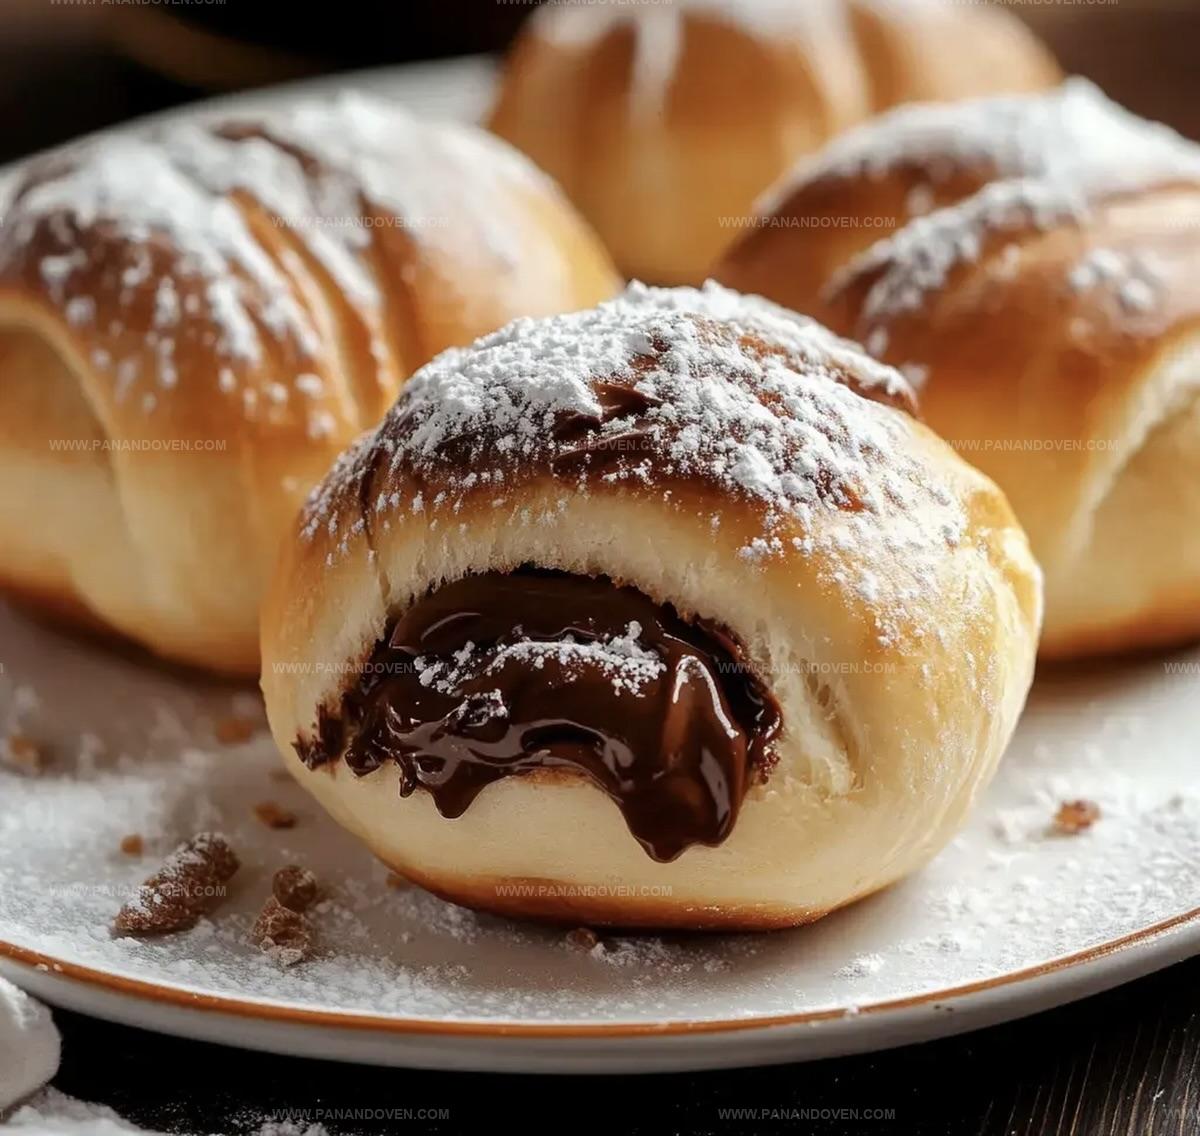
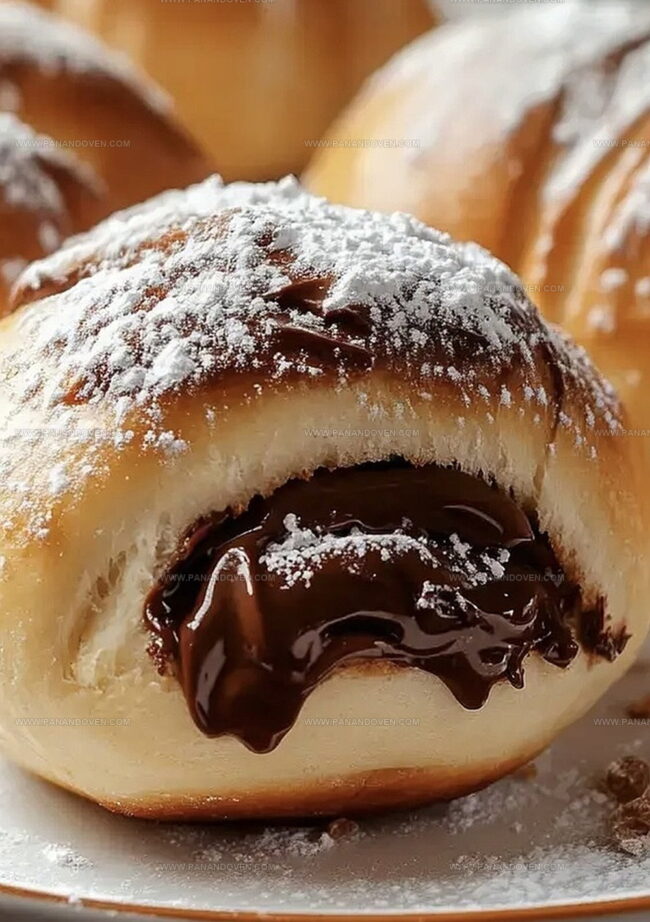
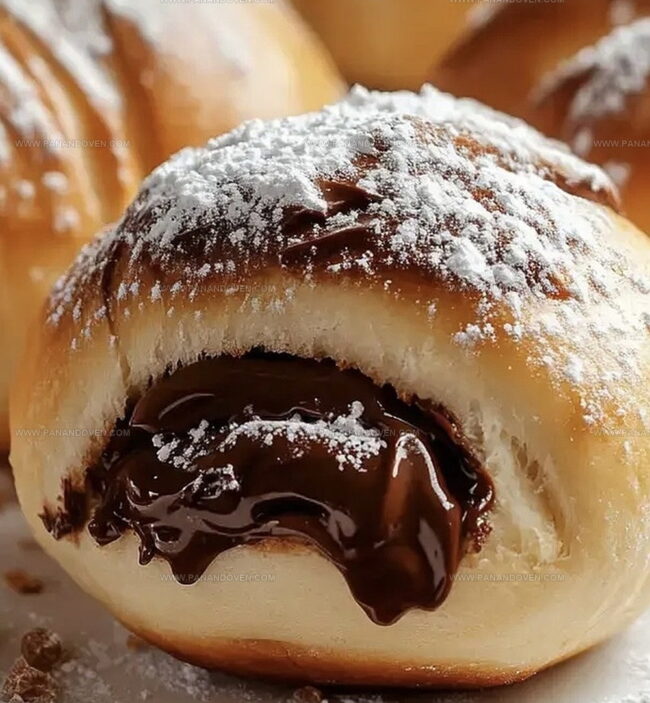
Soft, pillowy dough cradles a rich Nutella center waiting to surprise you.
Each bite promises a delightful explosion of sweet, creamy goodness.
Baking these treats is simpler than you might expect, requiring just a few basic ingredients.
The golden-brown exterior gives way to a molten Nutella core that will make dessert lovers swoon.
These little pastry bombs are perfect for weekend baking or impressing guests with minimal effort.
Treat yourself to this irresistible dessert that transforms an ordinary moment into a decadent experience.
Nutella Bread Bombs: Irresistible Features
Ingredients Needed for Nutella Bombs
Main Ingredients:Wet Ingredients:Finishing Ingredients:Tools List for Bread Bombs
Baking Nutella Bread Bombs Step by Step
Step 1: Craft Soft Dough
In a large mixing bowl, combine flour, yeast, sugar, salt, and warm milk.
Knead the mixture until it transforms into a smooth, elastic dough that springs back when touched.
Let the dough rest in a warm spot until it doubles in size, creating a puffy, pillowy base for your delicious treats.
Step 2: Shape Delightful Portions
Gently punch down the risen dough and divide it into twelve equal pieces.
Using your hands, carefully flatten each piece into a small circle, creating a perfect canvas for the upcoming Nutella surprise.
Step 3: Create Nutella Treasure Pockets
Place a generous dollop of Nutella in the center of each dough circle.
Carefully fold and pinch the edges, creating a secure seal that completely encases the chocolatey filling.
Roll each piece between your palms to form perfect, smooth spheres.
Step 4: Allow Magical Rising
Arrange the Nutella-filled dough balls on a baking sheet lined with parchment paper.
Drape a clean kitchen towel over the top and let them rest in a warm, draft-free area.
Watch as they become puffy and almost doubled in size.
Step 5: Bake to Golden Perfection
Heat the oven to 375F (190C).
Slide the tray of dough balls into the oven and bake until they turn a gorgeous golden brown.
Tap the surface – they should sound hollow, indicating they’re perfectly cooked through.
Step 6: Dust with Sweet Finale
Remove the bread bombs from the oven and let them cool for a few minutes.
Gently dust the tops with a light snowfall of powdered sugar, adding a sweet, elegant finishing touch to your delectable treats.
Tips for Gooey, Fluffy Nutella Bombs
Flavorful Nutella Bomb Swaps
Serving Nutella Bread Bombs Warm
Keeping Nutella Bombs Soft and Fresh
FAQs
A delightful pastry where soft bread dough is filled with creamy Nutella, shaped into balls, baked until golden, and dusted with powdered sugar for a sweet dessert treat.
Absolutely! Homemade Nutella works great and can add a more personalized flavor to your bread bombs. Just ensure it’s thick enough to stay inside the dough during baking.
Yes, it’s beginner-friendly. The process is straightforward: divide dough, fill with Nutella, seal, rise, and bake. Even novice bakers can create these delicious treats with some patience.
Print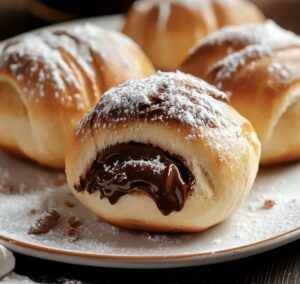
Fluffy Nutella Bombs Recipe
- Total Time: 40 minutes
- Yield: 12 1x
Description
Nutella bombs elevate dessert with a gooey chocolate center that melts in your mouth. Rich Italian-inspired pastries provide a delightful indulgence you cannot resist.
Ingredients
Main Ingredients:
- 1 cup Nutella
- 1 pound (454 grams) dough
Toppings and Garnishes:
- Powdered sugar
- Sea salt
- Crushed nuts
Instructions
- Craft a soft, elastic dough following the recipe guidelines, ensuring a smooth and pliable texture.
- Gently partition the dough into twelve uniform sections, carefully flattening each piece into a thin, even circle.
- Delicately place a dollop of Nutella at the center of each dough circle, meticulously folding and pinching the edges to create a completely sealed, spherical shape.
- Arrange the Nutella-filled dough balls on a lined baking sheet, drape with a clean kitchen towel, and allow them to proof in a warm, draft-free environment for approximately 30-45 minutes until they visibly expand.
- Heat the oven to 375°F (190°C), positioning the rack in the middle. Bake the bread bombs for 15-18 minutes, monitoring their transformation to a rich, golden-brown hue and listening for a hollow sound when gently tapped.
- Remove from the oven and let cool for 5-10 minutes, then dust generously with powdered sugar, creating a delicate, sweet finishing touch that enhances the visual appeal and adds a subtle sweetness to the Nutella-filled treats.
Notes
- Seal Nutella carefully to prevent leaks during baking, using pinched edges and gentle rolling motions.
- Create uniform dough balls by weighing each portion to ensure consistent size and even cooking.
- For gluten-free adaptation, substitute regular flour with a 1:1 gluten-free baking blend that maintains soft texture.
- Prevent over-browning by covering bread bombs with aluminum foil if they darken too quickly in the oven.
- Prep Time: 20 minutes
- Cook Time: 20 minutes
- Category: Desserts, Snacks
- Method: Baking
- Cuisine: Italian
Nutrition
- Serving Size: 12
- Calories: 200
- Sugar: 15g
- Sodium: 150mg
- Fat: 10g
- Saturated Fat: 4g
- Unsaturated Fat: 5g
- Trans Fat: 0g
- Carbohydrates: 25g
- Fiber: 1g
- Protein: 3g
- Cholesterol: 0mg




Marcus Reed
Founder & Food Content Creator
Expertise
Single-recipe development, Seasonal and local ingredient utilization, Food photography and styling, Culinary writing and content creation
Education
Culinary Arts Certificate, Blue Ridge Community and Technical College, WV
Focus: Fundamentals of culinary techniques, emphasizing hands-on experience in small-scale kitchen settings.
Marcus’s story begins in Asheville, where good food and family kitchens shaped his earliest memories. After hands-on culinary training and a lot of trial (and a little error), he realized that real cooking isn’t about perfection, it’s about connection.
At Pan and Oven, Marcus crafts recipes that are easy to follow, packed with flavor, and built for real kitchens.